

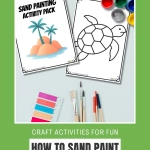
Kids absolutely love getting their hands involved in tactile, sensory crafts. There is a lot of fun in creating sand paintings: squeezing out lines of glue, pouring bright colours over the top, and shaking off the excess to reveal a brilliant piece of textured art. If you are searching for a brilliant new activity to keep the little ones engaged, you are in the right place.
We have put together a fantastic new printable activity pack to help you bring this wonderful craft to life. Whether you want to entertain your children on a rainy afternoon or need a creative project for your students, this guide covers everything. We will share a complete sand painting how to, the materials you need, and the wonderful learning benefits this activity brings to children.
What is sand painting?
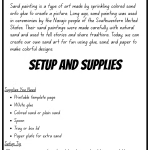
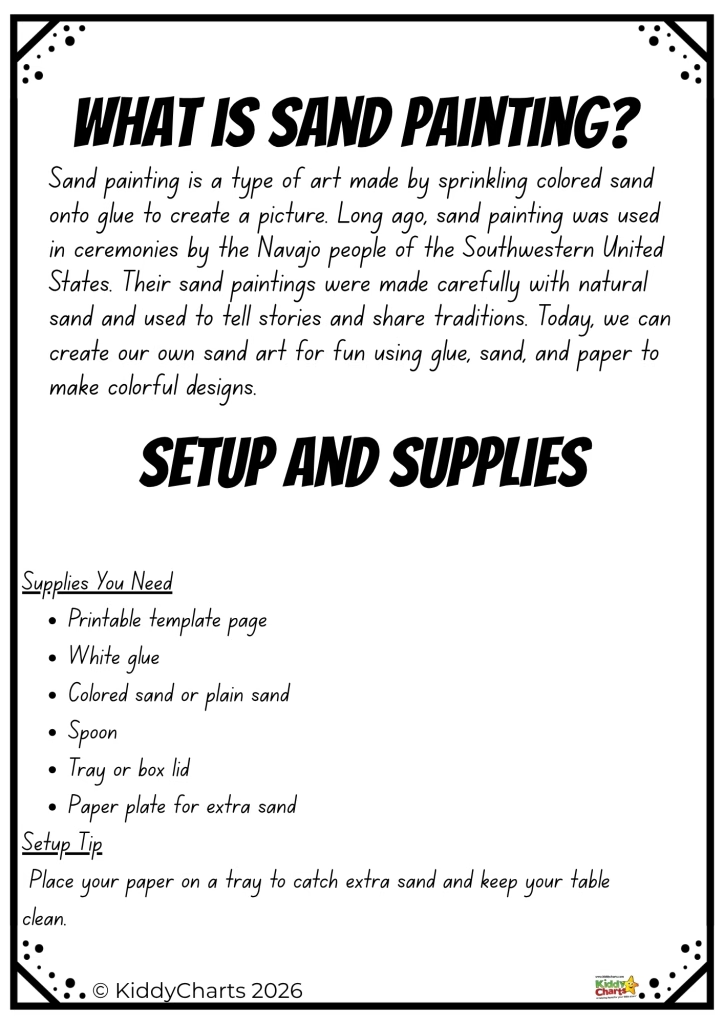
Sand painting is a wonderful type of art made by sprinkling coloured sand onto glue to create a picture. It sounds incredibly simple, but the results are wonderfully textured and vibrant. Sand serves as the primary artistic medium in both traditional and modern sand painting.
Long ago, sand painting was used in ceremonies by the Navajo people of the Southwestern United States. The ancient art of sand painting among Native American tribes in the Southwest was a form of religious expression, traditionally created to exist only for a few hours during ceremonies. Navajo sand paintings are symbolic representations of stories in Navajo mythology and are usually created in connection with healing ceremonies. Sand paintings were historically used by the Navajo people as a way to chase away evil spirits, integrating art with spiritual practices. Their sand paintings were made very carefully with natural sand. The traditional Navajo sand painting technique involves trickling colored sand onto a surface to create symbolic images. They used these intricate designs to tell important stories and share their rich traditions.
Today, we can take inspiration from this fascinating history to create our own sand art for fun. Many people are inspired by beach environments and use sand gathered from the beach to create their artwork. Using standard white glue, bright sand, and paper, children can make colourful, raised designs that look fabulous displayed on the fridge or a classroom wall.
The brilliant benefits of sand painting
When you set up a craft activity, it is always lovely to know that your children are learning while they play. Having a clear plan or lesson plan can help guide children through the sand painting process, ensuring they get the most educational value from the activity. Sand painting offers some benefits for kids, blending perfectly into both relaxed home environments and structured classroom settings, just like painting with fruit and vegetables, as an alternative way to explore colour and texture.
Developing fine motor skills
Squeezing a bottle of white glue requires a surprising amount of hand strength and control. Children have to trace the lines of their template carefully, which is also great for hand-eye coordination. Pinching the sand and sprinkling it gently over the glue also refines those small motor movements, preparing little hands for writing.
Encouraging sensory play
Kids learn by touching and feeling the world around them. The gritty texture of the sand, the sticky feel of the glue, and the heavy weight of the paper once the sand is applied all provide wonderful sensory feedback. It is a fantastic tactile experience, much like creating rainbow slime inspired by Red Rockets & Rainbow Jelly, which blends sensory play with simple science. If you are working with younger children who might need slightly different materials or simpler outlines, be sure to take a look at our specific ideas for sand painting for toddlers on KiddyCharts to keep the sensory play safe and age-appropriate.
Teaching patience and focus
Unlike painting with watercolours or scribbling with crayons, this craft requires a step-by-step approach. Children quickly learn that they need to finish one section completely before moving on to the next. They have to wait for the glue to dry, which teaches patience and delayed gratification. The focus required to tap the sand away gently without smudging the wet glue helps children practice concentration.
Boosting creativity
Our printable pack comes with lovely templates, but children still get to make crucial creative choices. Deciding which colour goes where, mixing sands to create new shades, or abandoning the templates altogether to draw their own glue designs gives them complete creative freedom.
Materials you need
Before we dive into the method, let’s gather our supplies. Sand painting uses sand as the artistic medium, allowing you to create vibrant designs and images. You likely have most of these items hiding in your craft cupboard already, just as you probably do for simple recycled crafts like our bottle cap sail boat activities. Sand painting can also introduce children to fine art concepts by using professional-quality materials and techniques.
To complete this activity, you will need, and you might also like to explore our wider collection of free printable colouring and activity pages to extend the fun:
- The printable template page: Download our exclusive activity pack, by scrolling to the end of the article and clicking on the image or the button,
- White glue: Standard PVA or school glue works best. Runny glues will not hold the sand well, and glue sticks will not work at all.
- Coloured sand or plain sand: You can buy brightly coloured craft sand, or simply use plain play sand for a more natural look. For best results, use fine-grained sand, which can be found at craft stores or hardware stores. Colored sand is often used in sand painting projects, and it can be applied using small plastic bottles for easy and precise application.
- A spoon: Useful for scooping and sprinkling the sand precisely.
- A tray or box lid: This is crucial for keeping your work surface clean.
- A paper plate: Perfect for catching extra sand so you can pour it back into your containers.
- Canvas, acrylic paints, paintbrushes, all-purpose glue, and a cup of water: These are basic materials for sand painting if you want to explore more advanced or fine art techniques.
To create your own colored sand, simply mix dry sand with acrylic paint and allow it to dry completely before use.
Setup tip: Always place your child’s paper on a tray or inside a shallow box lid before you begin. This catches the extra sand when they tap it off and keeps your table completely clean. It also makes it much easier to reuse the excess sand!
Preparing the surface
Before you begin your sand painting adventure, it’s important to prepare the perfect surface for your art. Start by choosing a sturdy base, perhaps a canvas, wooden plaque, or thick paper. These all work wonderfully for sand art. Make sure your chosen surface is clean and completely dry, as this helps the glue and colored sand stick better.
If you’re using a wooden plaque or canvas, you might want to paint a base color first. Adding a layer of paint can make your sand painting pop with extra color and depth. Just remember to let the paint dry fully before moving on. For a more textured effect, try mixing a bit of glue with water and brushing it over the surface. This creates a slightly rough texture that helps the sand grains grip and stay in place.
No matter which surface you pick, always apply a thin layer of glue to the areas where you want the sand to stick. This step is key to making sure your colored sand forms crisp, vibrant shapes and patterns. With your surface ready, you’re all set to start creating your masterpiece!
Your step-by-step sand painting how to
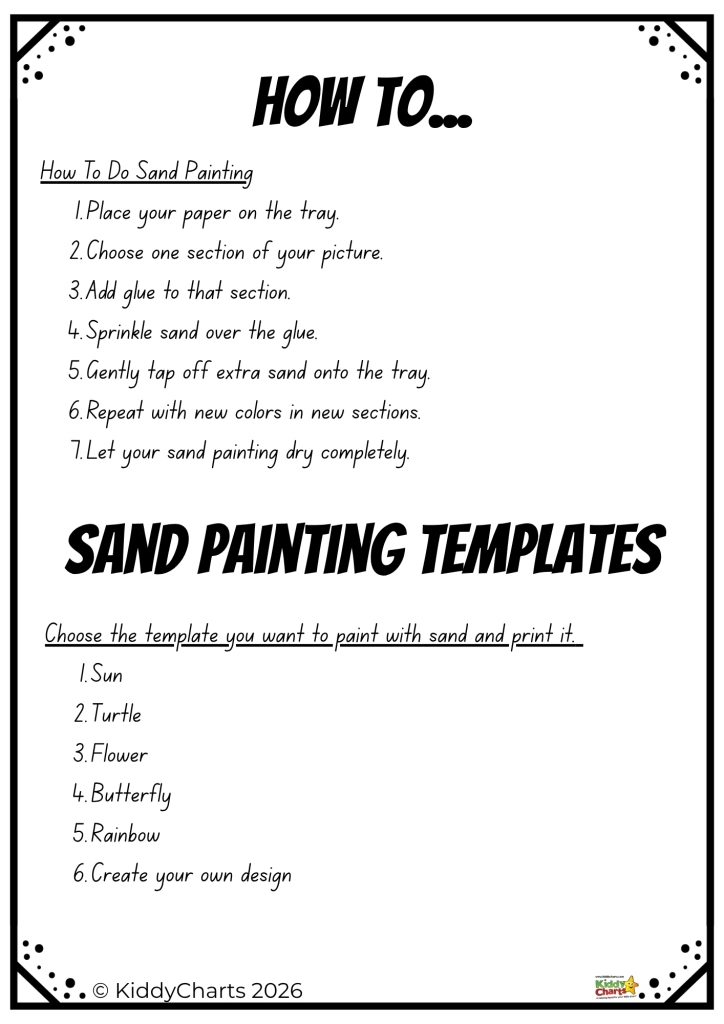
Ready to get creative? Print out your favourite designs from our pack, plan your artwork, and follow this simple sand painting how to guide.
1. Plan your design and sketch a pattern: Before you begin, plan your design and lightly sketch a pattern onto your paper. This pattern will guide where you apply glue and sand, helping you create detailed and inspired artwork.
2. Prepare your workspace: Place your printed paper flat on the tray or inside your box lid. Make sure you have your different coloured sands open and ready, alongside a spoon for each.
3. Choose your first section: Encourage your child to look at the picture and choose just one section to start with. Working in sections helps manage the application of sand and ensures details are not lost. Working on one small area at a time also prevents the glue from drying out before the sand is applied.
4. Apply the glue: Carefully add white glue to that chosen section. You can outline the shapes or fill them completely with a thin layer of glue.
5. Apply the sand using your chosen technique: Use a spoon, or just your fingers, to sprinkle sand generously over the wet glue. This is known as the sprinkle technique. Alternatively, try the mixed-media technique by combining sand directly with paint for textured effects. Make sure the glue is completely covered. Do not worry about using too much, as the excess will easily fall away.
Tip: Work with one color of sand at a time and gently tap off excess sand after each application to prevent unintended mixing of colors.
Note: You can enhance your sand colors by mixing plain sand with liquid food coloring, powdered tempera paint, or acrylic paint.
6. Tap away the excess: Carefully pick up the paper and gently tap it over the tray or paper plate. The extra sand will slide off, revealing your brilliantly coloured, textured shape!
7. Repeat the process: Move on to a new section of the picture. Add fresh glue, choose a new colour of sand, and repeat the sprinkling and tapping process. Keep going until your entire picture is complete.
8. Create layered art and textured effects: For added depth, create layered art by manipulating texture and color in your design. Use tools like palette knives, brushes, or toothpicks to achieve detailed, textured effects in your sand painting.
9. Let it dry: Set your masterpiece somewhere flat and safe. Let your sand painting dry completely before you try to hang it up. White glue can take a few hours to set fully under a heavy layer of sand.
10. Add finishing touches: Once dry, apply a fixative spray or a light coat of glued water to seal your sand painting and preserve your artwork.
Adding details and patterns
Now comes the fun part, adding all those special details and patterns to your sand painting! Use a small brush to carefully apply glue to the areas where you want to add color or create a design, in the same way that children enjoy planning outfits in a design your own clothes printables pack. Sprinkle colored sand over the glued spots, making sure to cover them completely. Once you’ve added the sand, gently tap off any excess sand so it doesn’t fall onto other parts of your art.
To make your sand painting really stand out, try using a toothpick or a small tool to shape the sand and create intricate patterns. You can experiment with different colors by layering blue, yellow, red, or any other bright colors you love. Mixing and matching different materials, like glitter or tiny beads, can add even more texture and sparkle to your landscape or design.
Don’t be afraid to experiment! Add layers of sand for a bold look, or use different colored sands to form unique patterns and details. Each new color and texture you add brings your sand art to life, making every piece truly one-of-a-kind.
Tips for working with sand
Sand painting is all about having fun and getting creative, but it can get a bit messy! To keep things tidy, set up your workspace on a surface that’s easy to clean, like a table covered with paper or a plastic tablecloth. Place a container or tray underneath your art to catch any excess sand that falls off, so you can reuse it later.
When you’re ready to add glue, remember that a little goes a long way! Use just enough to cover the area you want to decorate, and let each layer dry before adding more sand. For a smooth, even texture, choose fine-grained sand and apply it in thin layers. If you want to try something new, use a spray bottle to lightly mist the surface and create a cool, textured effect, or mix your sand with a bit of paint or ink for a different look, just as you might experiment with materials when following a clay house craft challenge activity.
Always work in a well-ventilated area and have fun experimenting with different materials and techniques. With a bit of planning and these handy tips, you’ll keep your workspace neat and your sand art looking fantastic.
Displaying the finished piece
After all your hard work, it’s time to show off your beautiful sand painting! To keep your sand art looking its best, carefully apply a clear coat of varnish or sealant over the surface. This helps protect the sand from falling off and keeps the colors bright and fresh.
Choose a frame or mounting style that highlights the colors and texture of your art. Adding a matte or border can make your piece stand out even more. When you’re ready to display your sand painting, pick a spot where it won’t get bumped or knocked over—somewhere safe and stable so you can enjoy your creation for years to come, or even use a free letter writing template printable for kids to write a note describing your artwork to friends or family.
Remember, sand painting is all about having fun and expressing your creativity. Don’t be afraid to experiment with new materials, colors, and techniques. Each piece you create is a unique work of art, and we hope you enjoy sharing your sand art with friends and family!
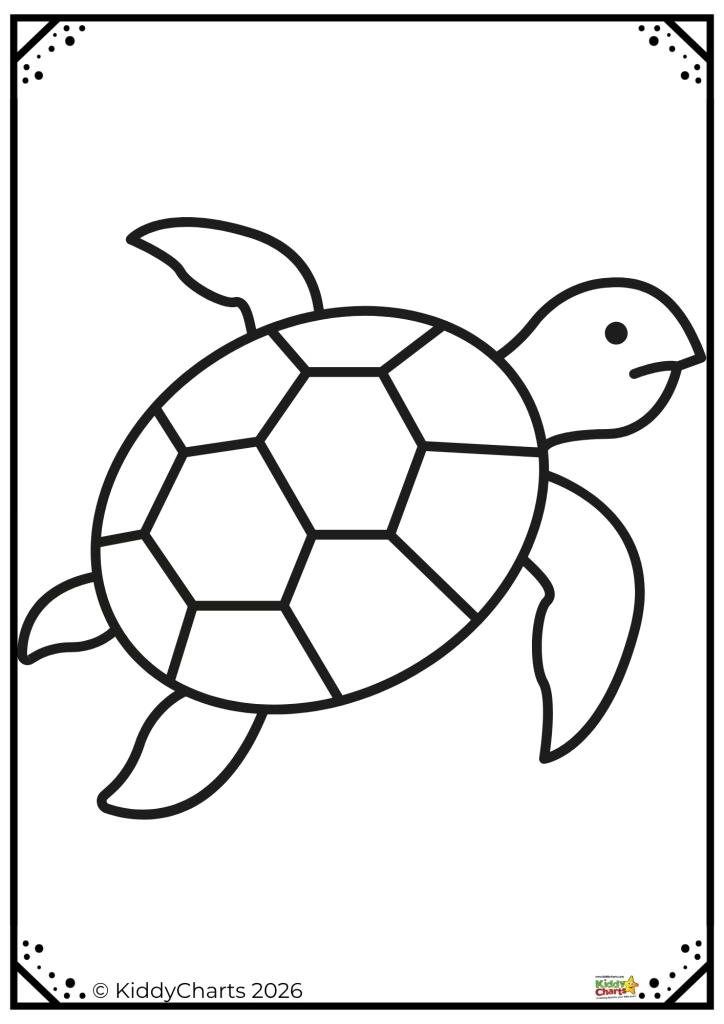
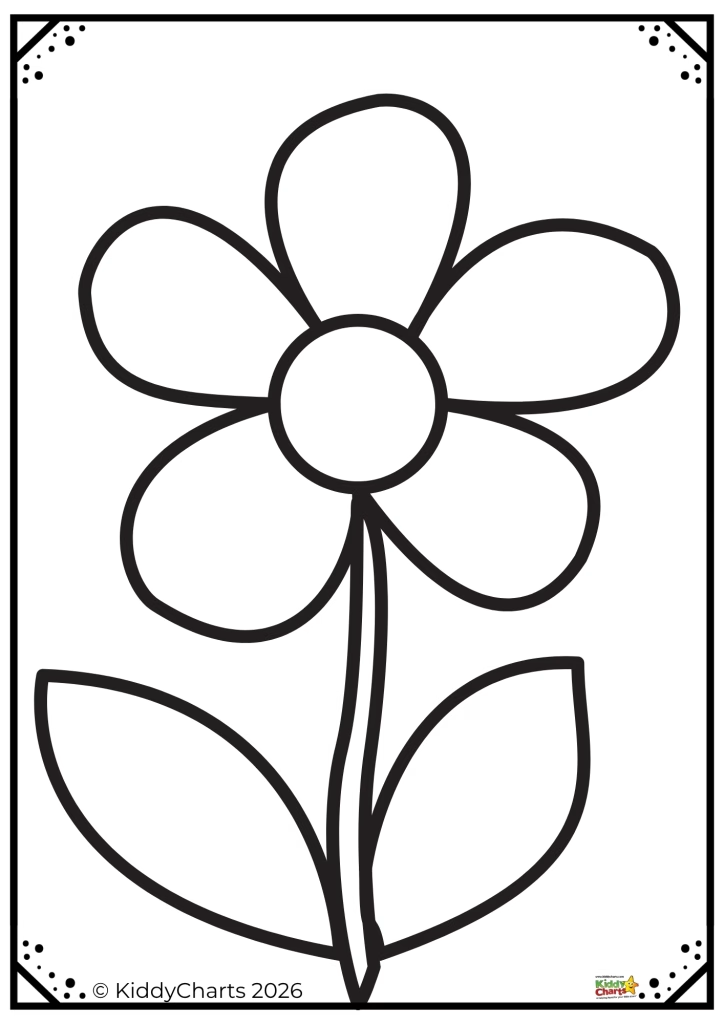
What is in the Printable Pack?
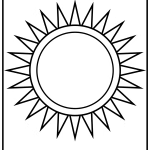
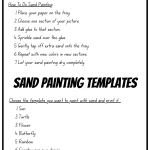
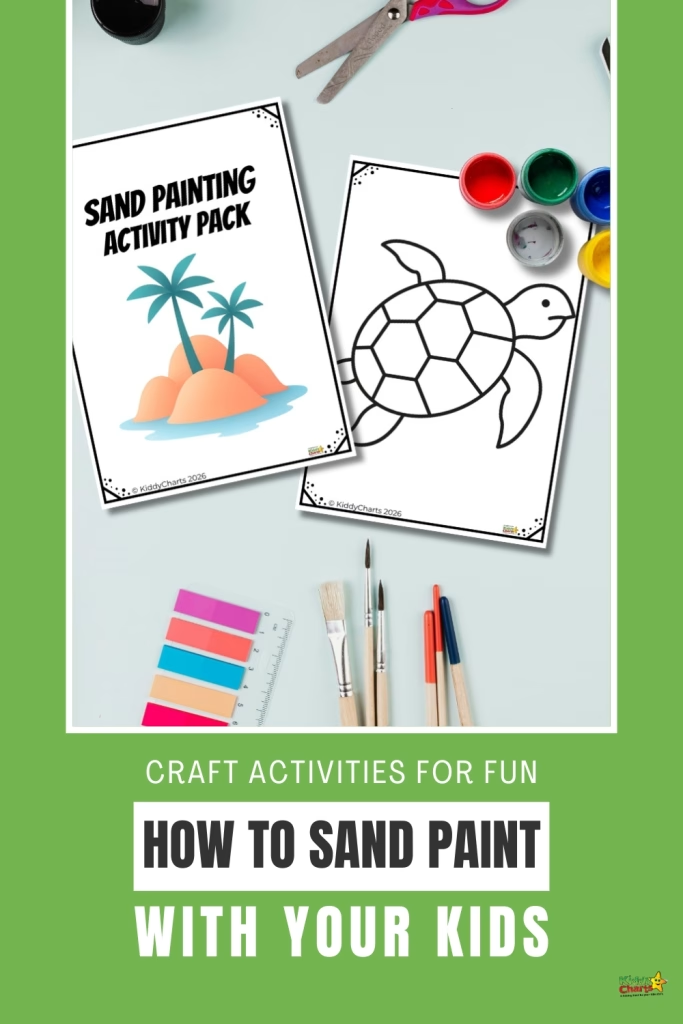
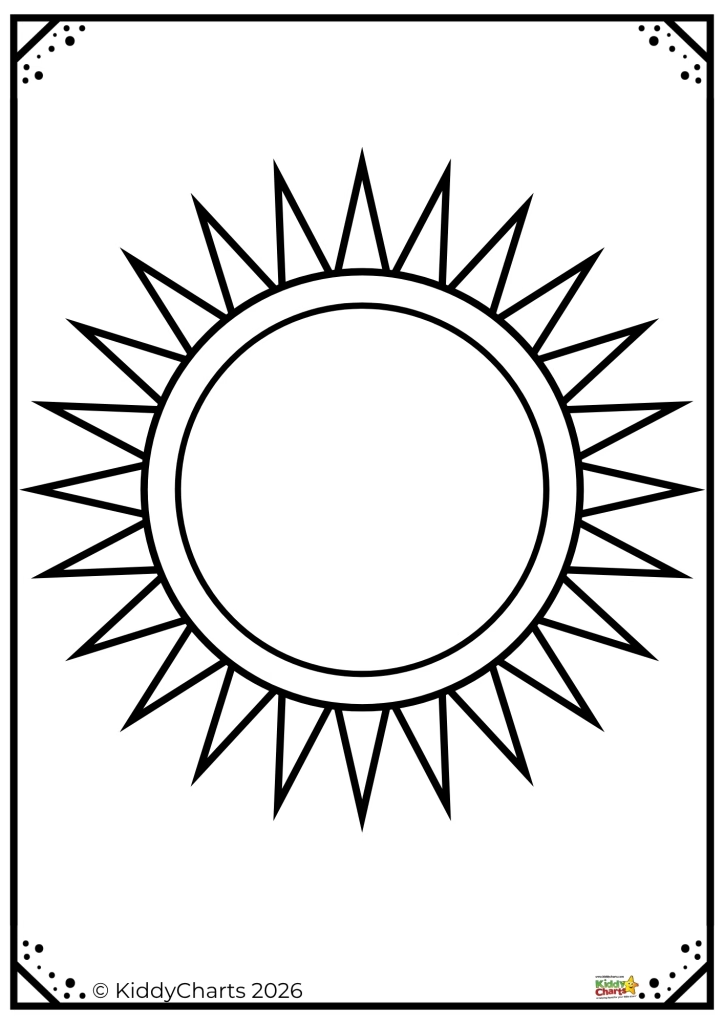
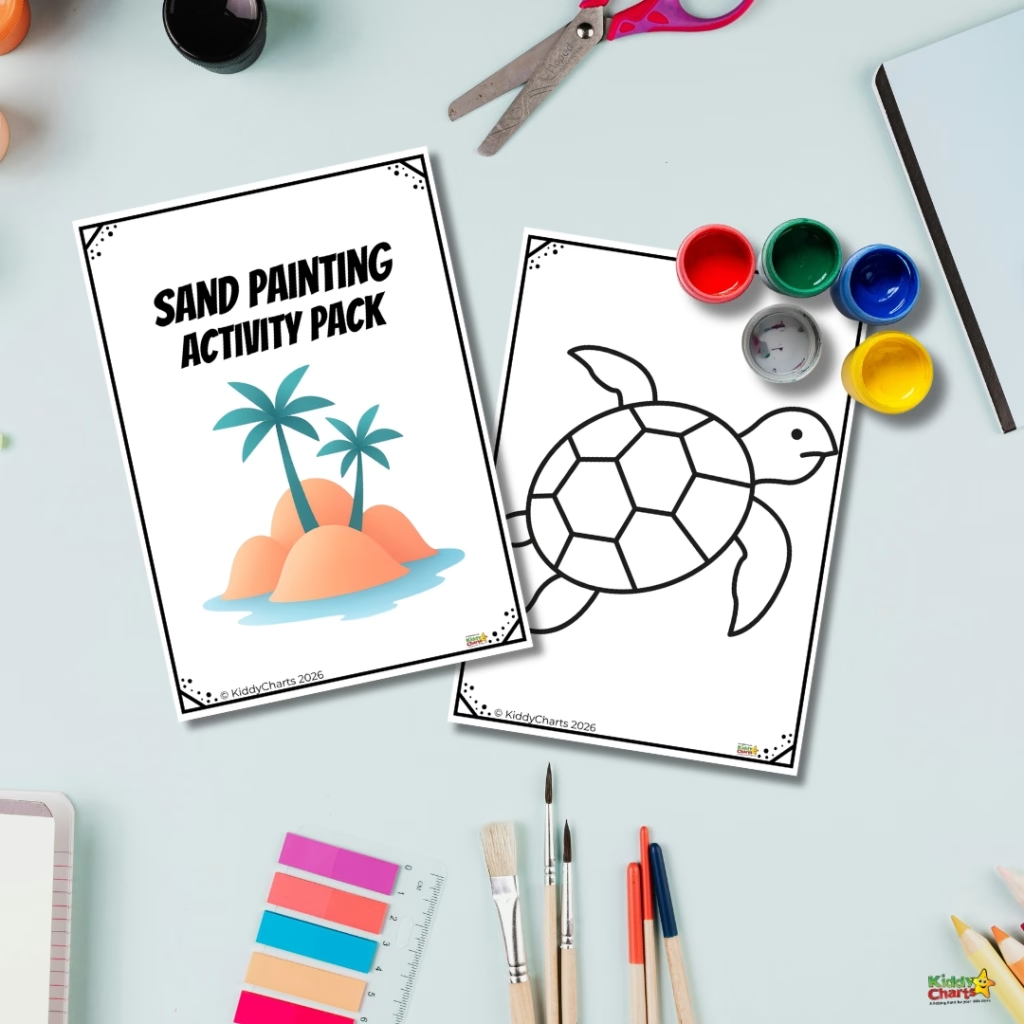
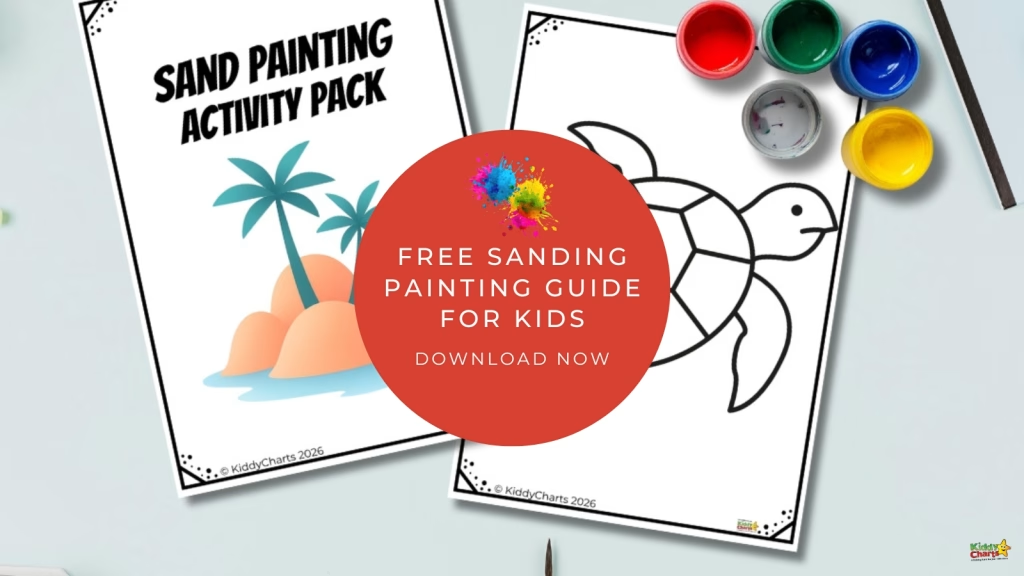
Our lovely activity pack comes with six fantastic pattern options for your children to choose from. We have included simple, bold patterns and designs that give kids plenty of space to squeeze their glue and pour their sand, and you can pair them with themed resources like Thomas the Tank Engine activity sheets and printables for an even more engaging craft session.
Choose the pattern template you want to paint with sand and print it out:
- Sun: Perfect for bright yellows and oranges.
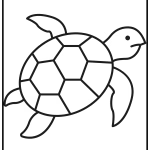
- Turtle: A brilliant pattern with lots of lovely shell segments to fill with different greens and browns.
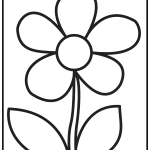
- Flower: Great for practising fine lines on the stem and bold colours on the petals.
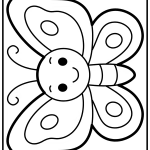
- Butterfly: Ideal for encouraging symmetrical patterns.
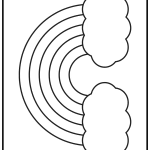
- Rainbow: A classic choice that lets kids use every single colour in their craft kit.
- Create your own design: A blank template page that encourages children to draw their own glue patterns.
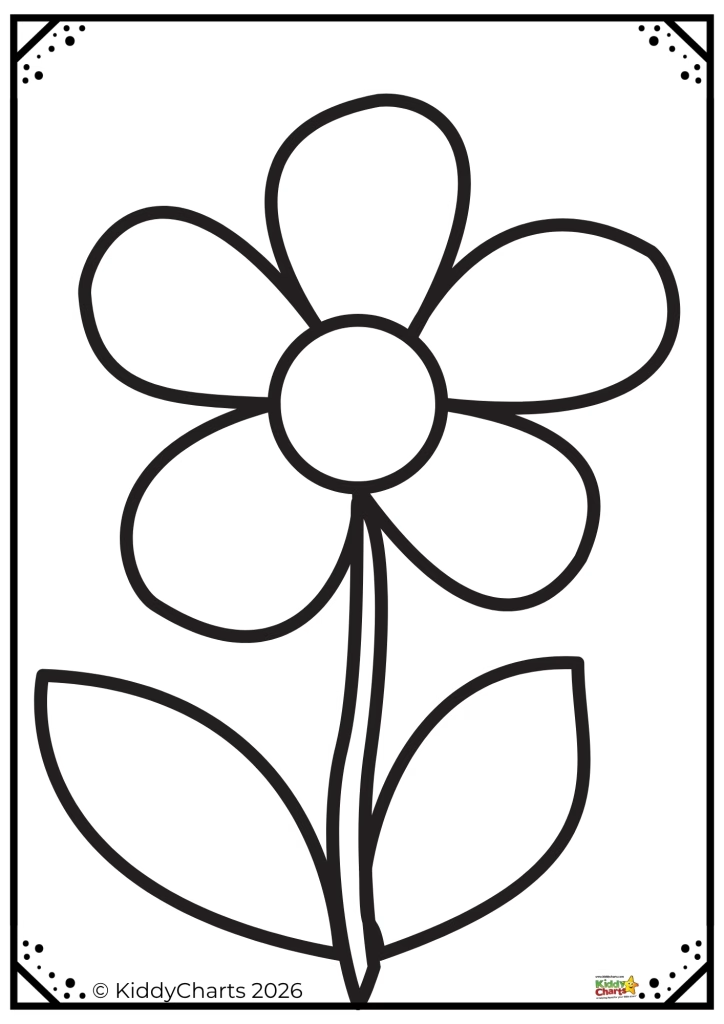
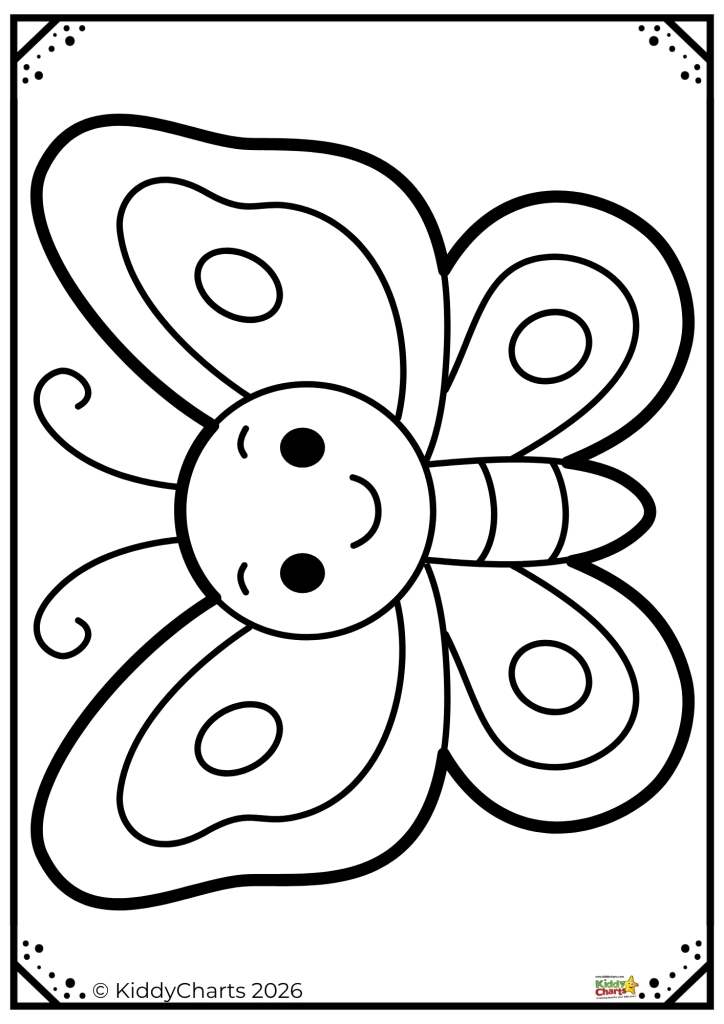
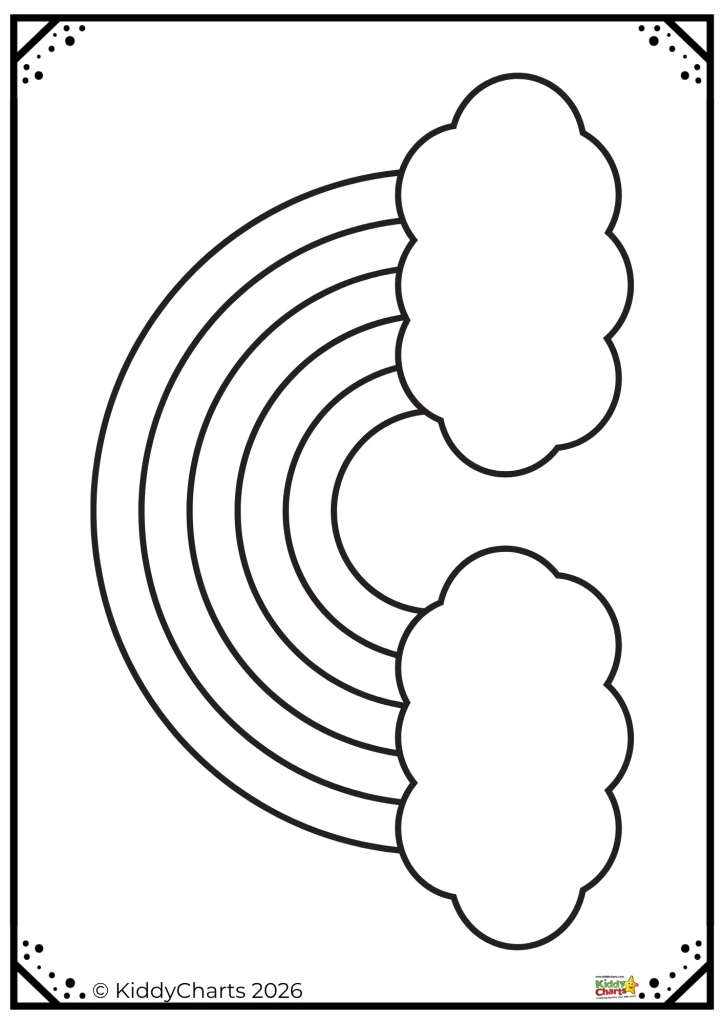
If you are interested in more creative ideas, be sure to visit our website for additional resources and inspiration, or explore this curated list of websites that offer free kids’ printables for even more activities. You can also navigate to related posts for more craft ideas and tutorials.
Whether you are setting this up on the kitchen table on a Sunday morning or preparing a creative afternoon for a busy class of students, this craft is an absolute winner. It combines history, sensory play, and brilliant fun into one incredibly simple activity.
Grab your glue, print out the pattern templates, and enjoy creating some wonderful textured art together! If you try this sand painting activity, please leave a comment or feedback below to share your experience.
Here is the printable pack for you to download:
We do hope you like this, if you are interested in more ideas for crafts, do check these out:
Painting and art ideas on KiddyCharts
Here are some more ideas for painting, and a bit of Messy play too.
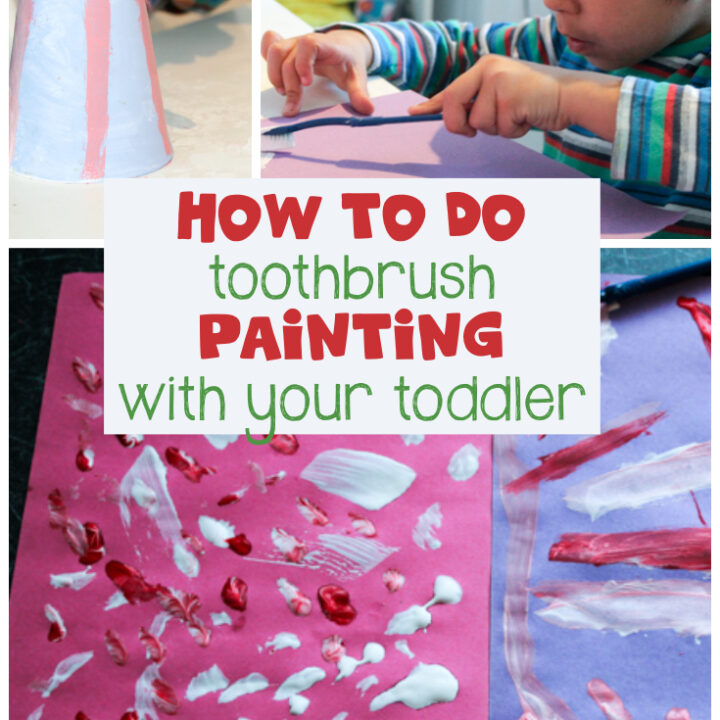
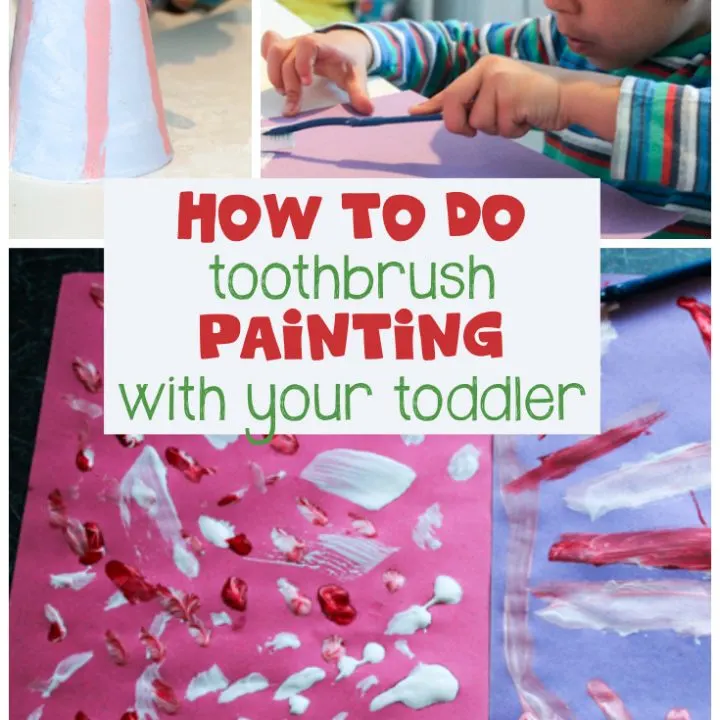
Toothbrush painting
A fabulous and simple idea for more toddler based pay and fun - with a toothbrush and a spot of paint!


Father's Day card craft : Mess free activity for babies
This is a perfect activity for Father's Day BUT you can do it any day for any card, and its mess free: honest...

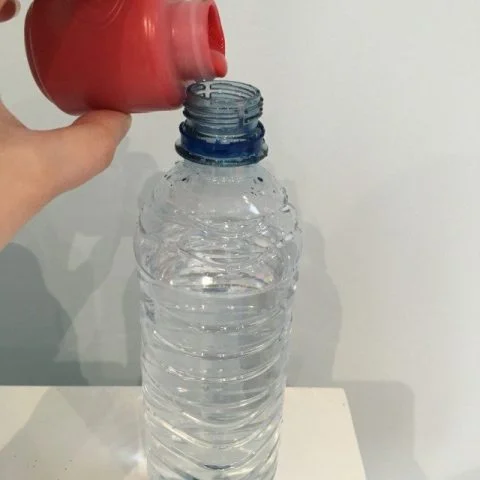
Sensory bottles for babies and toddlers
These are a great idea for sensory play with babies and toddlers. A great way to have fun with them.


Painting pots and sowing seeds
And why not make your own planters and paint them - a perfect way to intro younger kids to gardening. Why not check out our seed journal too?
And some more ideas off site to:
Painting ideas for toddlers on the internet
Some other fabulous ideas to get painting and having fun with your toddlers or nursery classes.
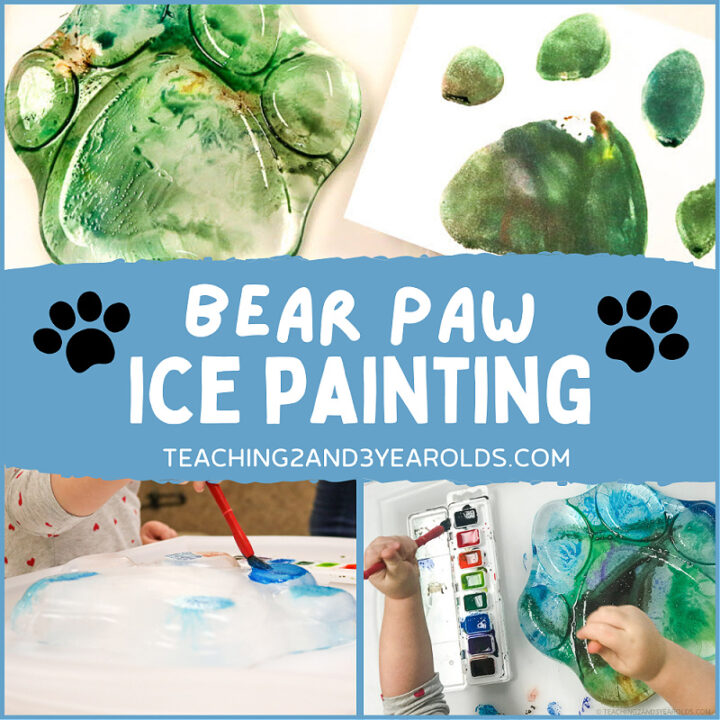
Toddler Bear Painting On Ice
This is such a lovely, yet really simple idea, of how to get toddlers to have loads of fun with ice, and paint together. Check it out now.
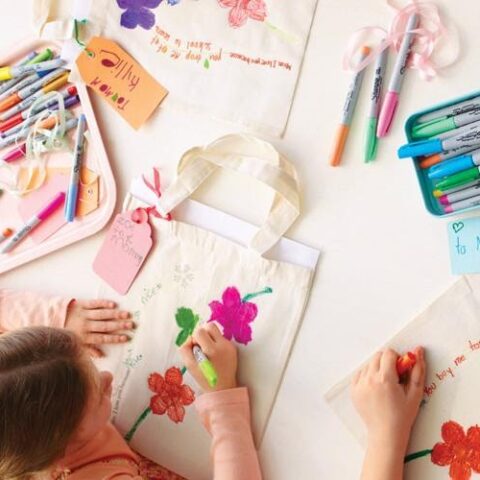
How To Make DIY Gifts For Your Teacher From Paint
Everyone gives present to their teachers at nursery to say thanks - well here are some DIY ideas for gifts to do for them with painting at the heart.
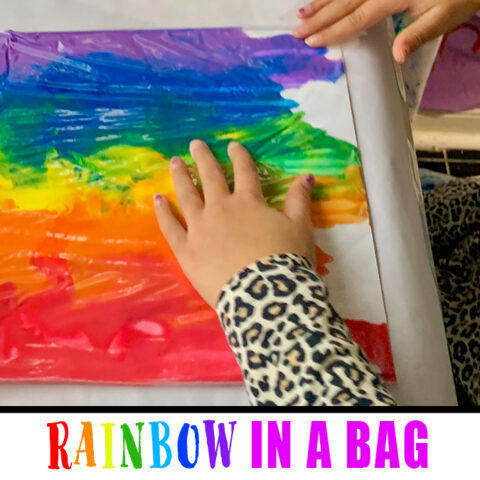
How to Make A Rainbow in a Bag
Who wouldn't want to make a rainbow - well we would, and this is a great, fun way for toddlers to do it too!
Do come back and see us again soon.
Helen
Helen Neale

Helen is a mum to two, social media consultant, website editor and a qualified counsellor with experience of working with both children and adults. She is a registered member of the British Association of Counselling and Psychotherapists, with her own private practise. She also freelances with her local Mind organisation. Since giving up being a business analyst when juggling travel, work and kids proved too complicated, she founded KiddyCharts so she could be with her kids, use those grey cells at the same time, and supplement her counselling income. KiddyCharts has reach of over 680k across socials and the site. The site works with big family brands to help promote their services, as well as offering free resources to parents of kids under 10. She is a specialist counsellor for neurodivergent individuals and brings this expertise to her resources and the site. She is also an ADHDer herself. KiddyCharts gives 51%+ profits to charities, focused on supporting mental health and a community in Tanzania Helen has also worked as a digital marketing consultant (IDM qualified) with various organisations, including Channel Mum, Truprint, Talk to Mums, and Micro Scooters. She loves to be creative in the brand campaigns she works on. Get in touch TODAY!