
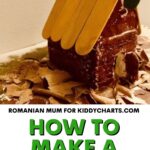

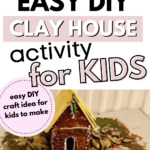
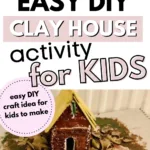


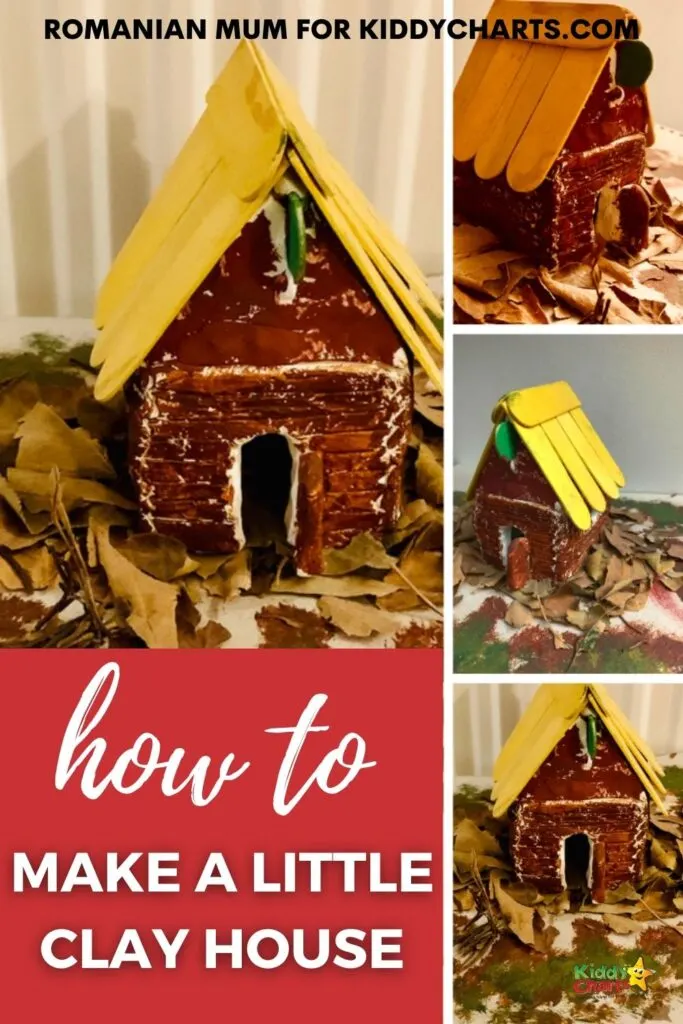
We LOVE clay, and it is such a wonderful material for kids to use. Working with clay is similar to working with ceramics, involving shaping and joining the material, and there are many clay craft ideas for kids that are especially fun to try in the summer. In our 31 days of activities event, Romanian Mum is sharing with us how to make a clay house with the kids.
Clay houses can be so cute and interesting, making them perfect for decorative purposes or as thoughtful handmade gifts.
The pandemic has affected our life for a bit over a year now. Too much time spent indoors made us and the kids more inclined to boredom, weight gain and irritability. We love to spend time together, but when it’s 24 hours every single day something has to change right?
We read lots of books, played cards, shopping games, we drew and painted, played hide and seek in the house and in the garden, we made houses out of cardboard and little pieces of wood and paint and learned how to create new and exciting crafts and products together,
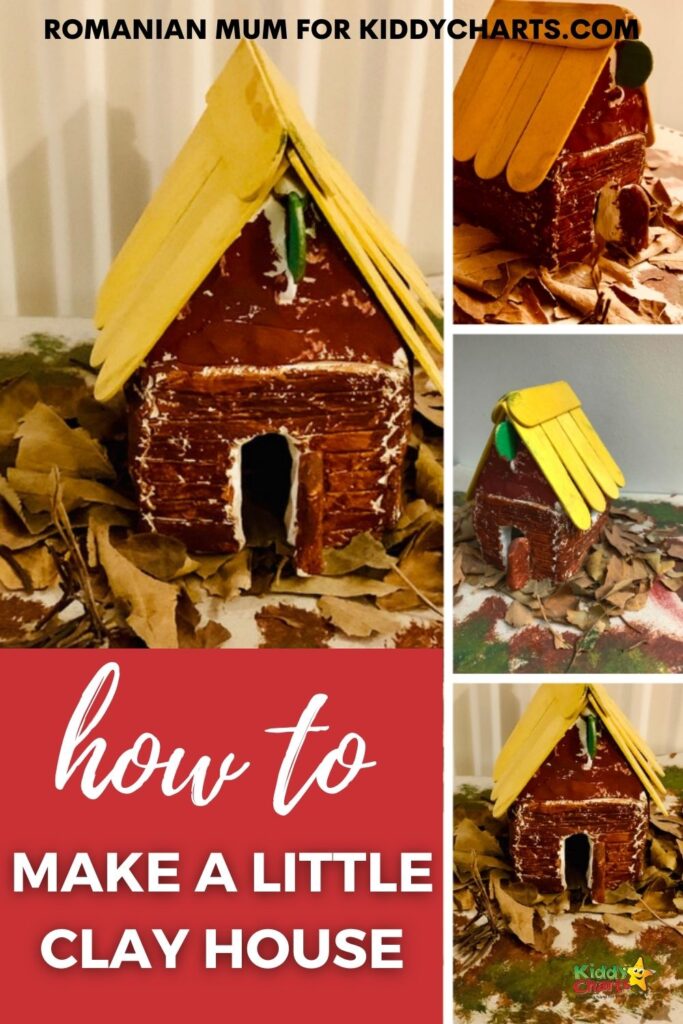
Creating houses was the most exciting project for the girls though, and today we would like to show you the smallest one we made. The girls were inspired by other clay craft ideas, and there are so many forms you can create with clay.


Introduction to the project
Welcome to the world of clay crafting, where your imagination can run wild and every project is a new adventure! In this activity, we’ll be making a clay house using air dry clay. This is a fantastic material that’s easy to shape and doesn’t need any baking or firing. Whether you’re a child or just young at heart, this clay house project is a wonderful way to explore your creativity and bring your own little world to life. Air dry clay is perfect for kids and adults alike, and you can design your house to match your unique style. Once created, your clay house can be used for decorative purposes, as a centerpiece, or even as a thoughtful handmade gift. Get ready to have fun, learn about art, and create something truly special together!
How to make a clay house
Before you get started, you will need to grab a few supplies…it’s best to have them all on hand before you start. You’ll be rolling out slabs of clay to form the walls and roof of your house. You’ll also use your fingers to shape and add texture to the clay for a unique look.
Materials:
- White modelling clay (alternatively you can choose colored one if you don’t want to be bothered with the painting too
- Twigs and dry leaves
- Ice cream stick – the wider ones
- Scissors
- A4 Cardboard
- Glue
- Paint(not a must)
Preparing the workspace
Before you dive into your clay house project, it’s important to set up a workspace that makes crafting easy and enjoyable. Start by covering your table with a plastic sheet or a piece of cardboard to keep things tidy and protect your surfaces. Gather all your materials above plus others that might be helpful too: air dry clay, a rolling pin, a knife, glue, and any fun decorative items you want to use. Make sure you have everything within reach so you can focus on being creative. If you’re working with kids, set up a craft table or a dedicated play area to encourage their creativity and let their ideas flow. Keep a bowl of water and some paper towels nearby for quick clean-ups, and don’t forget to have a glue stick handy for attaching details. A well-prepared workspace helps make the project smooth and lets everyone enjoy the process from start to finish.
Safety precautions and tips
When working with air dry clay and other craft materials, a few simple safety steps can help keep the project fun and worry-free. Always wash your hands before and after handling clay, and remind kids not to put any clay or glue in their mouths. Wearing old clothes or an apron is a smart way to protect your clothing from any accidental spills or stains. Make sure your workspace is well-lit and free from clutter or tripping hazards, especially if children are involved. For beginners, it’s a good idea to start with smaller pieces of clay to build confidence and develop skills before moving on to bigger projects. Encourage kids to take their time and enjoy each step: crafting is all about learning and having fun together!
Instructions:
- Decide how big and what shape you would like your house to be – we chose a rustic kind of house.
- Model your house – square , rectangle – do not forget to put a door and a couple of windows too.
- Put it on your piece of cardboard and let it dry for at least 24 hours
- If it didn’t properly stick on the cardboard already use some glue to stick it.
- Once it is dry you can either leave it white or colour it the colour you want. (brown)
- Break(if necessary) and glue the ice cream sticks on the top of the house to create a roof. Paint these if you wish with the color you want. (yellow)
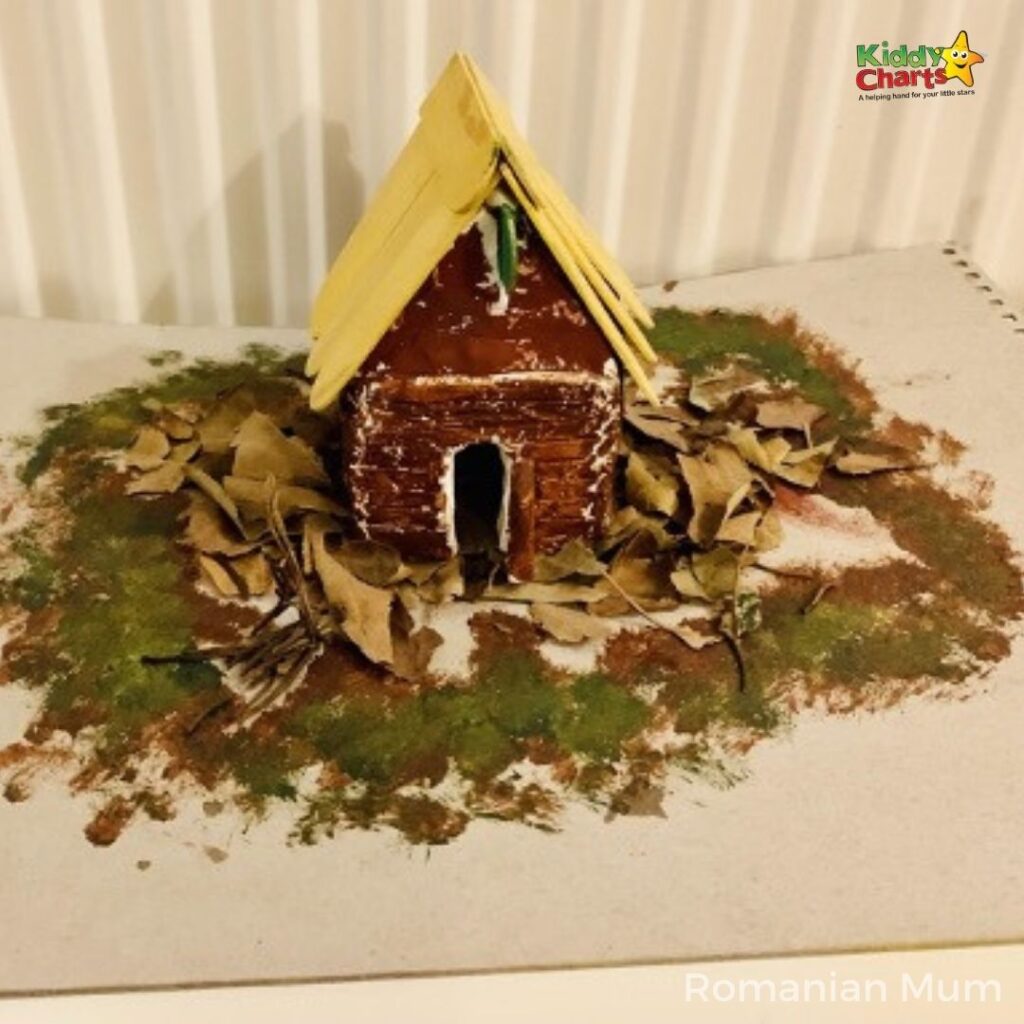
- Paint the cardboard around the house to give it a soil impression using a combination of brown and green paint. Let it dry.
- Cut , break the leaves and twigs in smaller pieces.
- Stick the leaves and the twigs on the cardboard with glue.
Drying and curing
After you’ve shaped and assembled your clay house, it’s time to let it dry and cure so it becomes strong and ready for decorating. Place your finished house in a well-ventilated area, away from direct sunlight or heat sources, to help the clay dry evenly. Depending on the size and thickness of your house, drying can take anywhere from a few hours to a couple of days. If you want to speed things up, a gentle fan can help, but be careful not to disturb any small details you’ve added. Remind kids that patience is part of the creative process: waiting for the clay to dry completely will make their project last longer and look even better. This is a great opportunity to talk about how art projects develop over time and why it’s important to let each step be completed fully.
Decorating and embellishing
Now comes another exciting part: decorating your clay house! Use paint, glitter, or even tiny tiles to add color, sparkle, and texture to your creation. You can get creative with the roof, windows, and doors, or add fun details like grass, trees, or a garden path. Don’t forget to use a sealant or varnish to protect your clay house and keep your decorations looking bright and fresh. Encourage kids to experiment with different materials and ideas. You can also maybe try adding a bit of glitter for extra magic, or use small pieces of wood or paper for unique touches. The possibilities are endless, and every clay house is as unique as its creator. Most importantly, have fun and let your creativity shine as you bring your miniature world to life.
Once you are decorated the….Ta-Da! Your house is ready!
What shape did you choose for your house and what colors are you going to paint them in?
We hope you like this activity, if so, why not sign up to our weekly newsletter?
There are many more ways to keep the kids entertained, and we have a lot of ideas for you on the site. Here are some you’ll enjoy.
Creative activities for kids
Here are some more ideas for kids form the site that include an element of creativity and art within them; from more colouring ideas to arts and crafts.
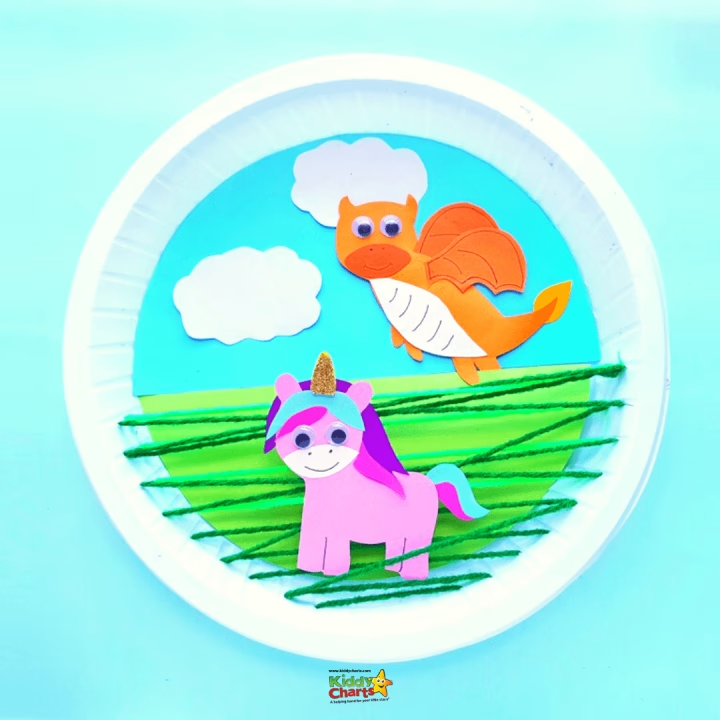
Unicorn paper plate craft; includes a dragon too!
Gorgeous paper plate craft to inspire your little ones with craft. Simple but very effective.
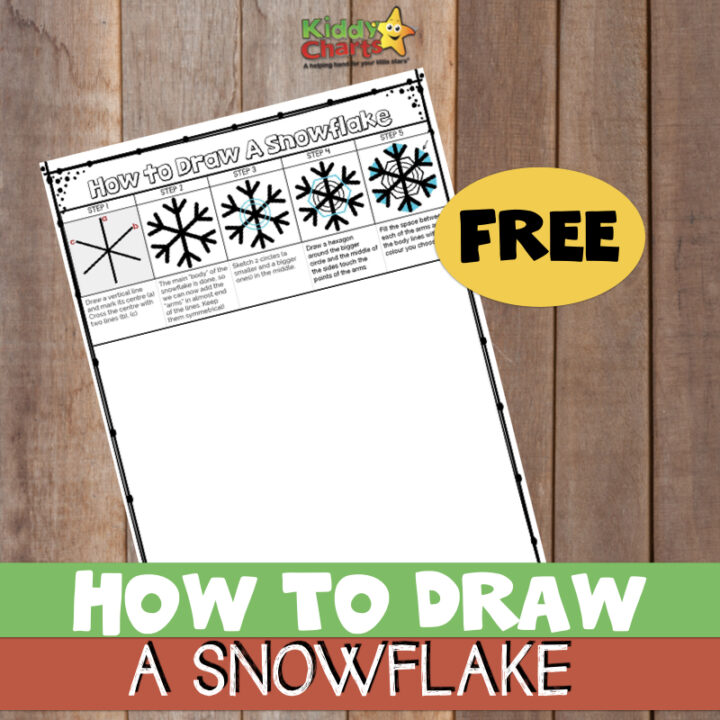
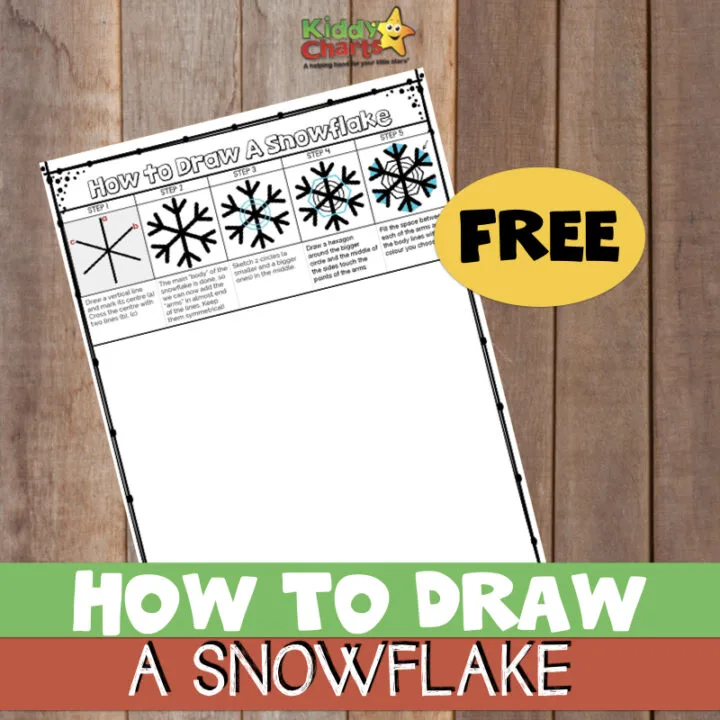
How to draw a snowflake step by step: Free printable
Simple idea, but fun - how to draw a snowflake.


Learn to draw Diary of a Wimpy Kid #WimpyKidMovie
Diary of the Wimpy Kid is an excellent serious, particularly for reluctant readers; this shows you how to draw just like the author.


Cat mindful coloring pages for adults and kids
Our most popular colouring sheets - mindful cats!
Why not encourage the kids to partake in some kindness activities too? Here are some ideas from around the web.
Kindness activities from the internet
More ideas to inspire kindness and positivity in your children
How To Make A Family Kindness Jar
A lovely, simple idea for a Kindness Jar from the fabulous Kids Activities Blog.


Teaching our Kids Kindness when there is Hatred all around
Helping our kinds to learn about kindness even though it is tough when they are often surrounded by the opposite.


Get Creative with Kindness – 4 Activities for the Classroom
A few ideas to help teach kindness in the classroom alongside this.
We hope you come back for tomorrow’s activity,
Helen


Pin It For Later!


Otilia Stocks

Otilia is the lady behind the Romanian Mum Blog mum to two beautiful bilingual girls, social media consultant for new businesses, website editor and newly owner of a brand new business Bee Funky Printing.
Pop over to her socials too: