
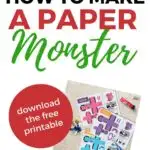
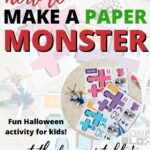
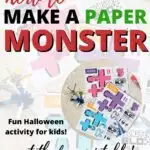
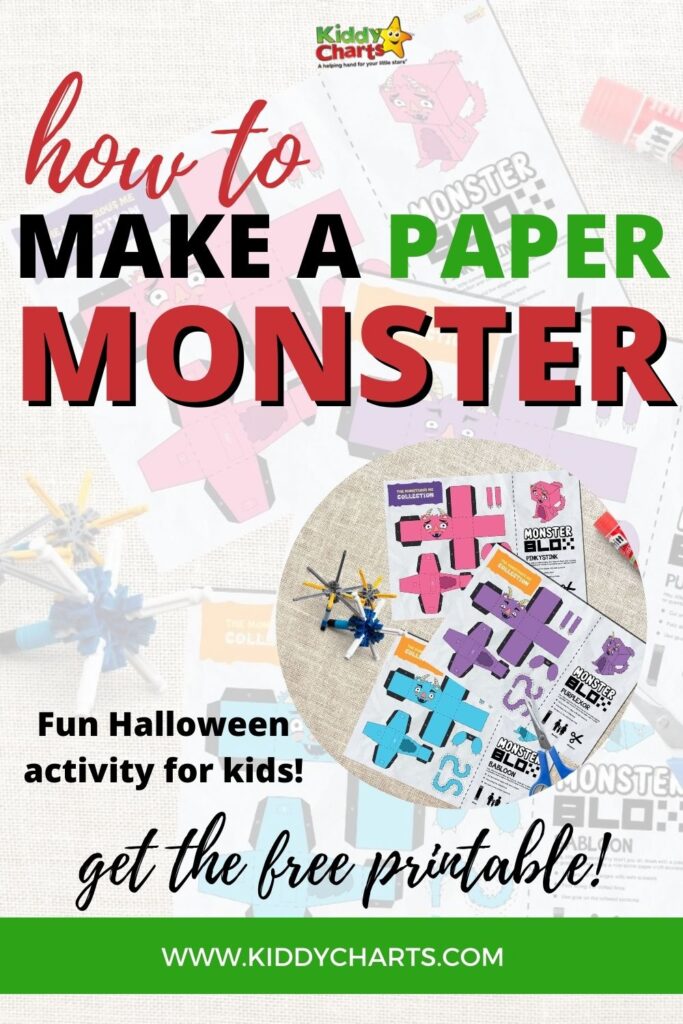
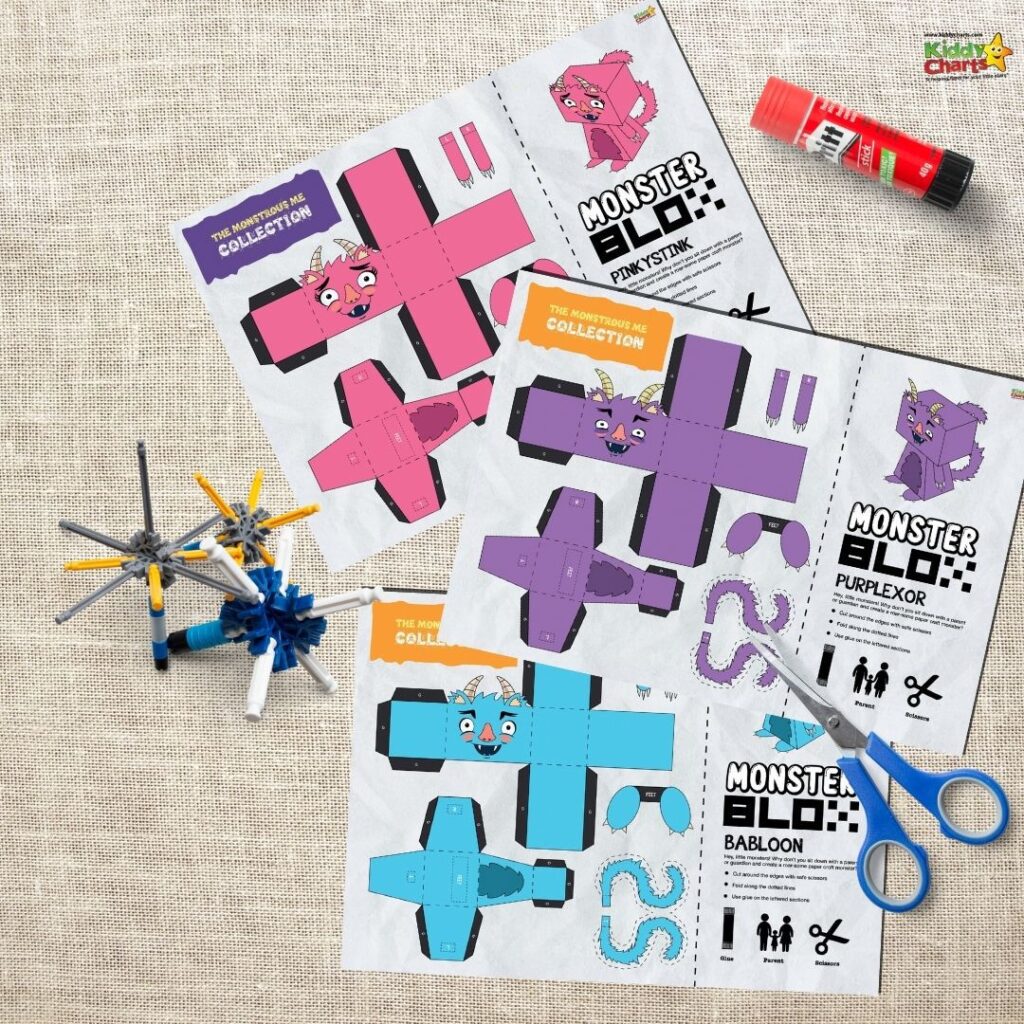
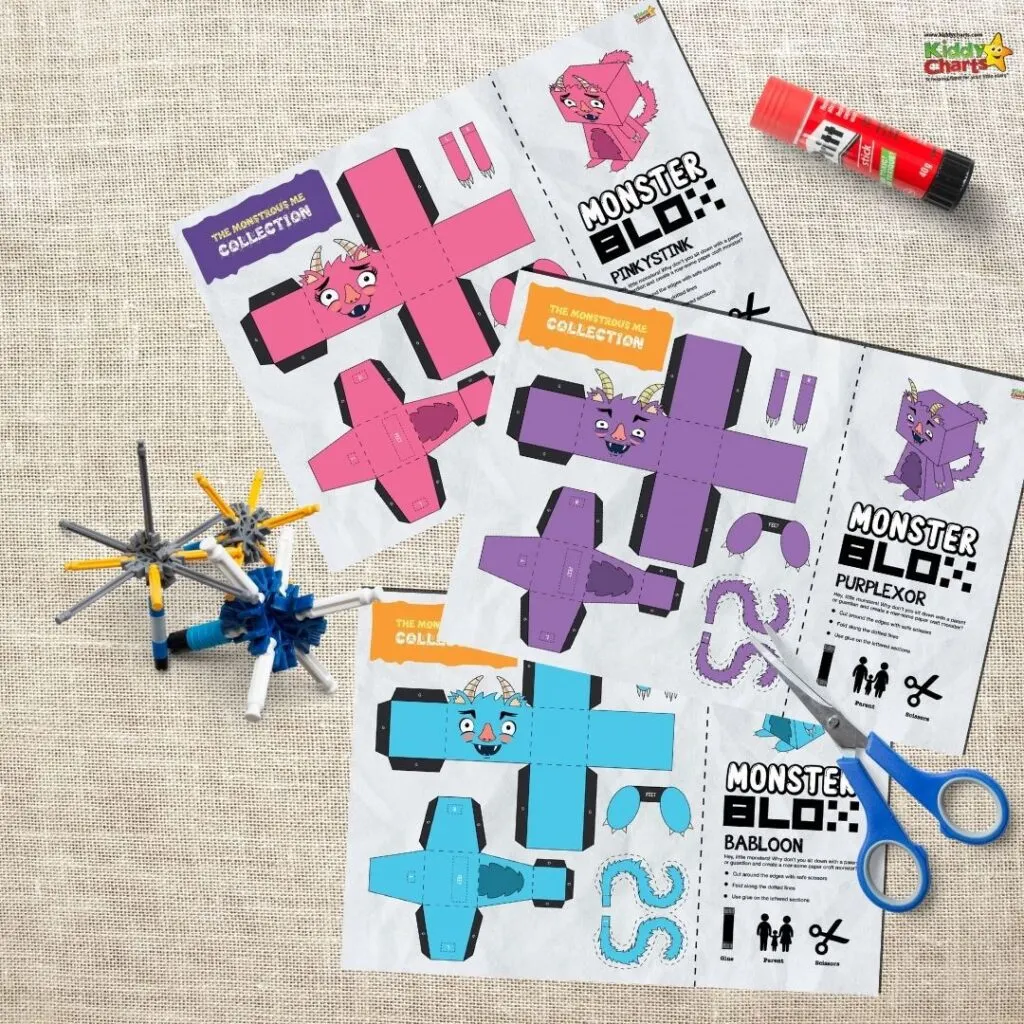
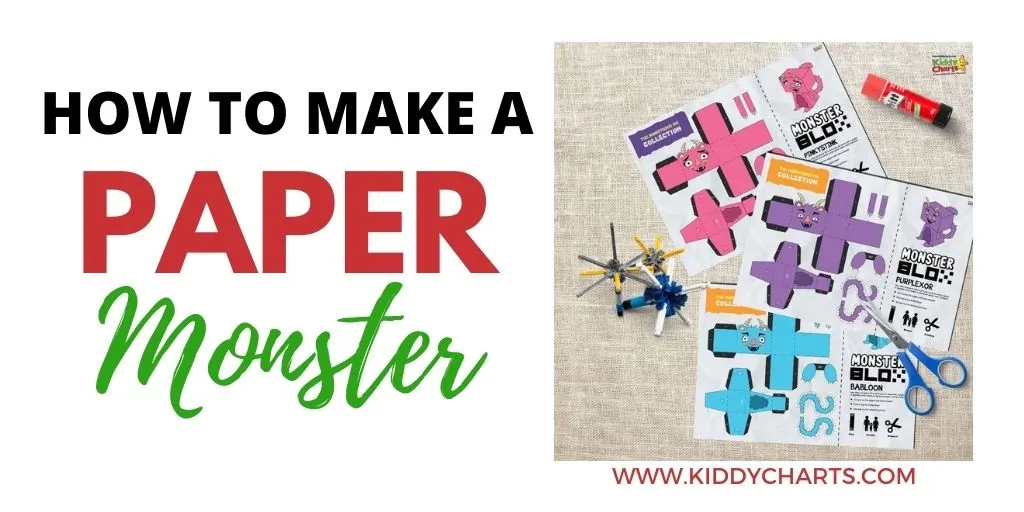
We have a treat for you today. We are sharing with you how to make a paper monster in celebration of the release of a new book within the Monstrous Me collection; My Daddy is a Monster. There are a few different paper monsters to choose from to make with your kids, so there is definitely a monster for everyone!

The Monstrous Me collection at the Lollipop Lodge store was written by Natalie Reeves Billing, and it is a collection of books for kids with a major twist:
The books are written from two perspectives; the parent AND the child’s.
My Daddy is a Monster
This is a wonderful concept for children, and it is extremely important for kids to learn to see things from another perspective. This is precisely what My Daddy is a Monster is all about.
The same story is told from two different perspectives, which really helps children to understand how a single situation can actually be seen in a totally different way depending on who you are. The series is well worth checking out, not least because alongside reading the books, you can also do this crafting activity.
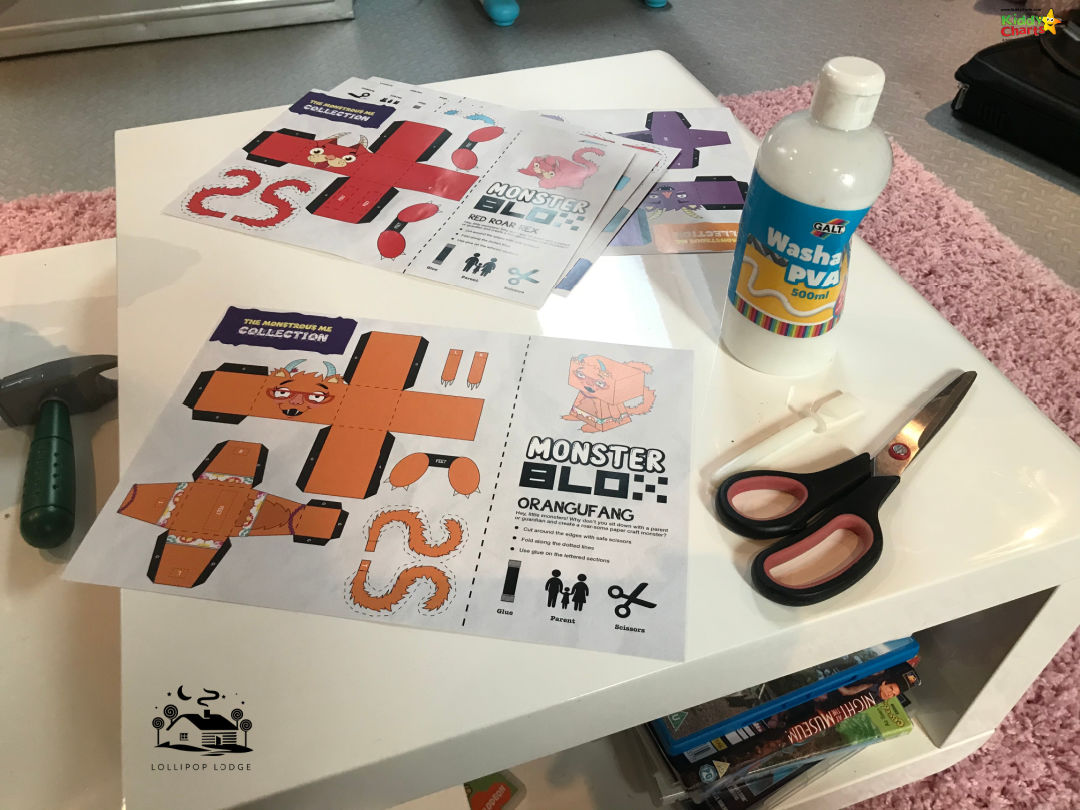
Materials
The items you need for this are, as always with out site, really simple:
- Scissors,
- Glue
- Templates: scroll down to the end of this post to download the templates that you need. Just click on the circular image at the end,
- Patience, and
- Why not grab a copy of the My Daddy is a Monster book as well?
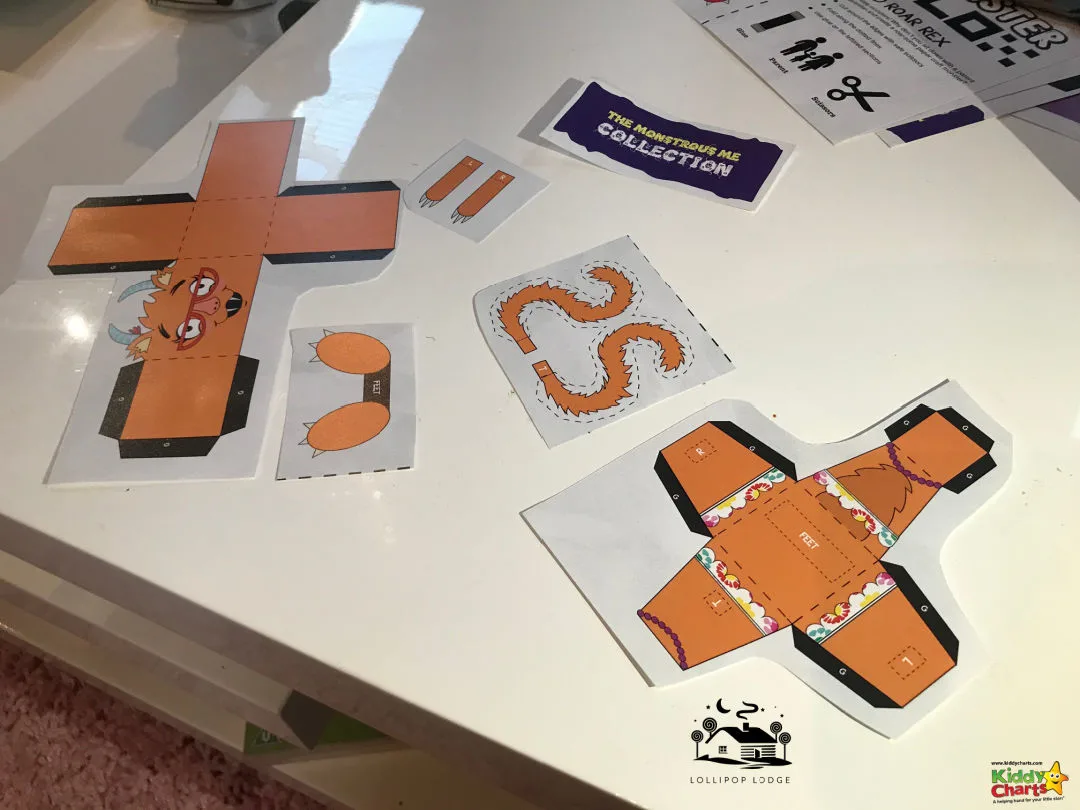
1. Cut around the monster shapes
Carefully cut around the shapes on the templates. This can be a little difficult to do, so it might be wise to help your children with this a little bit. Natalie advises that if kid struggle to cut them out, then the best thing to do is to leave white space around them, and get an adult to help finish them.


2. Create your monster’s head
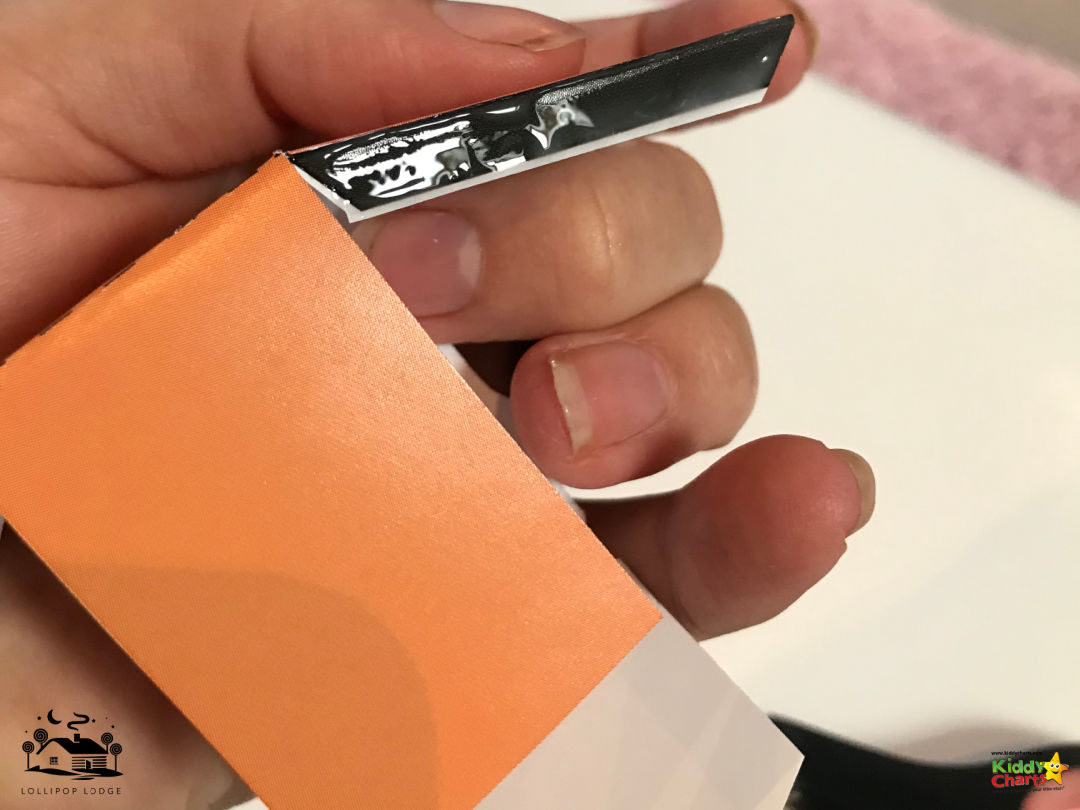
Take the head of the monster that you have cut out, and then locate the dotted lines on the template. Carefully fold along these lines to create your square head. Then fold the black tabs down. Make sure that you are as exact as you can be.

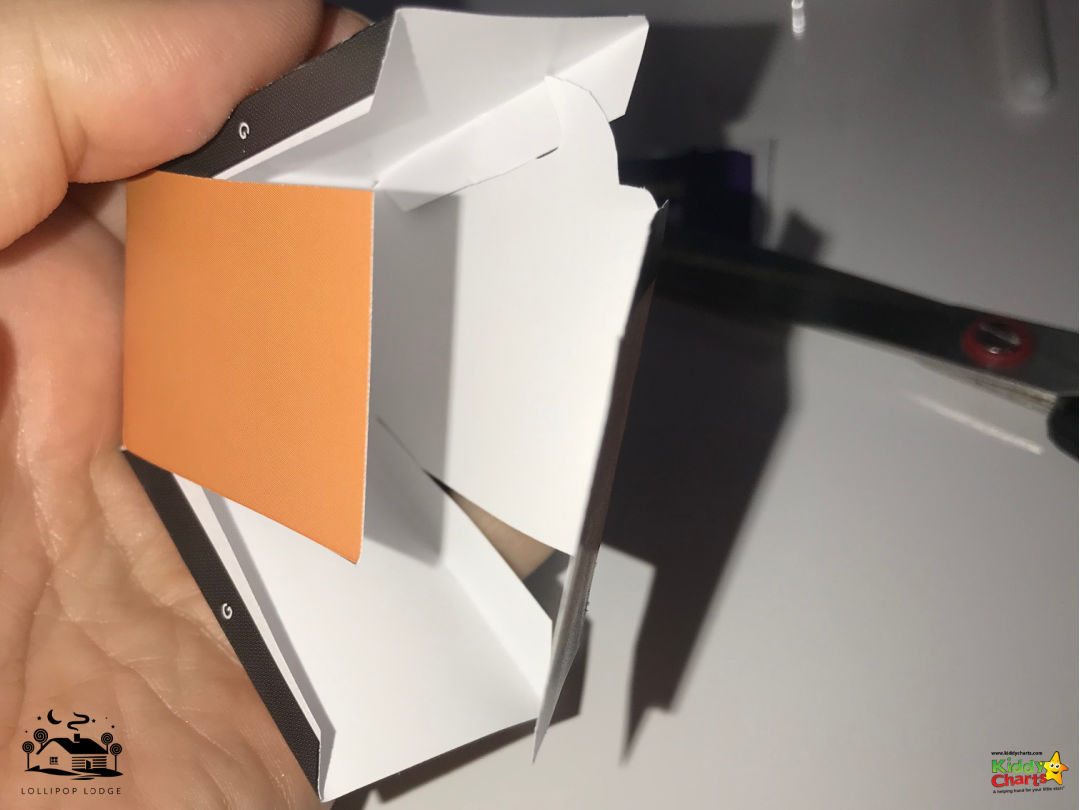

3. Stick your tabs together to shape the head….
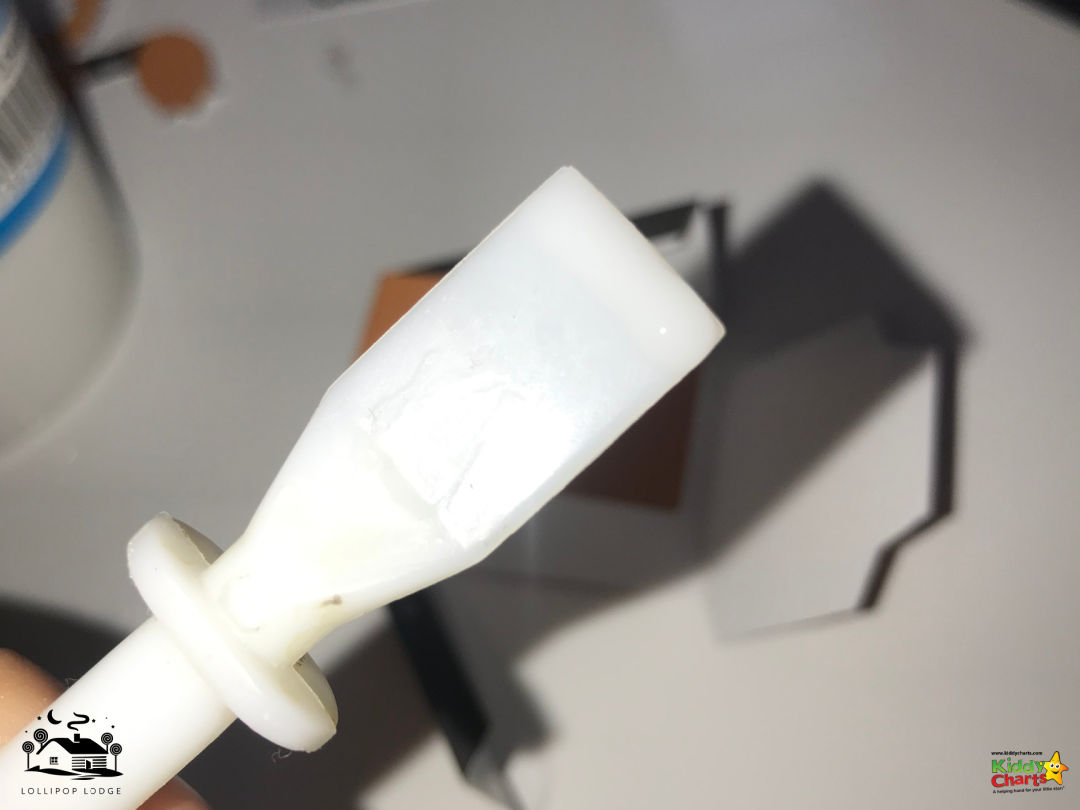
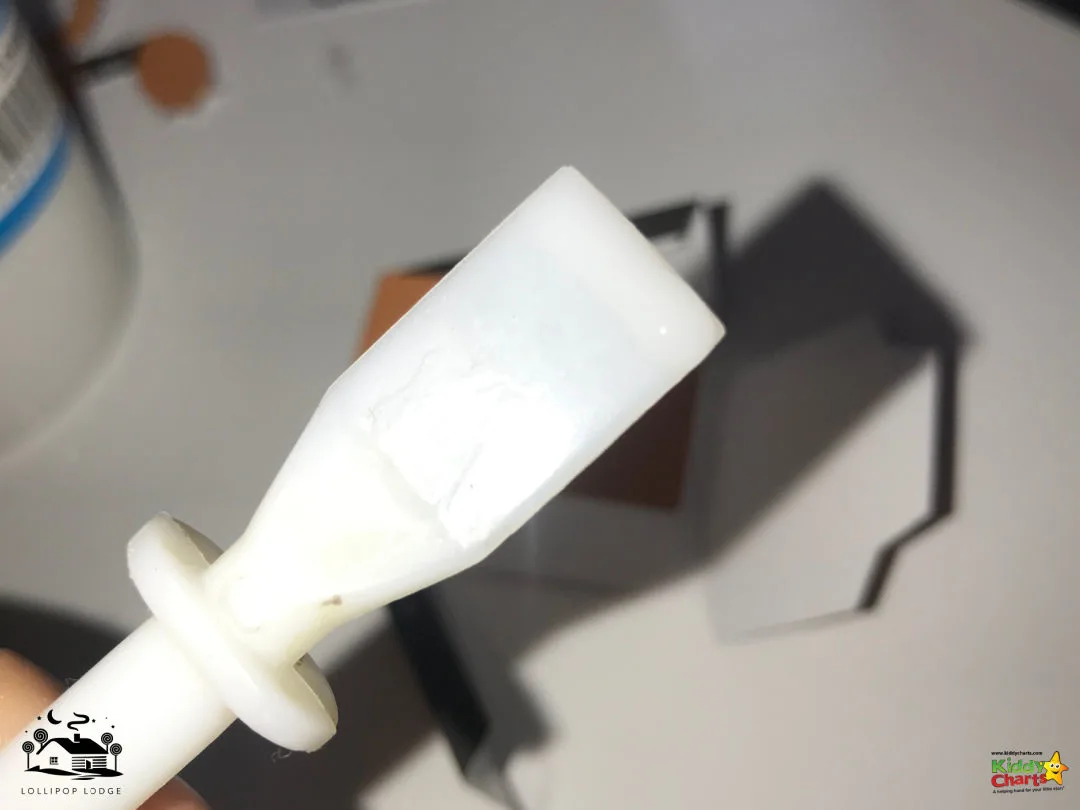
Add a very small amount of glue to your spatula, and pop a small layer of glue onto the black tabs on the monster’s head. Hold it down for about 40 seconds. Glue it and hold in the sections as advised; don’t try and do all the tabs at once.


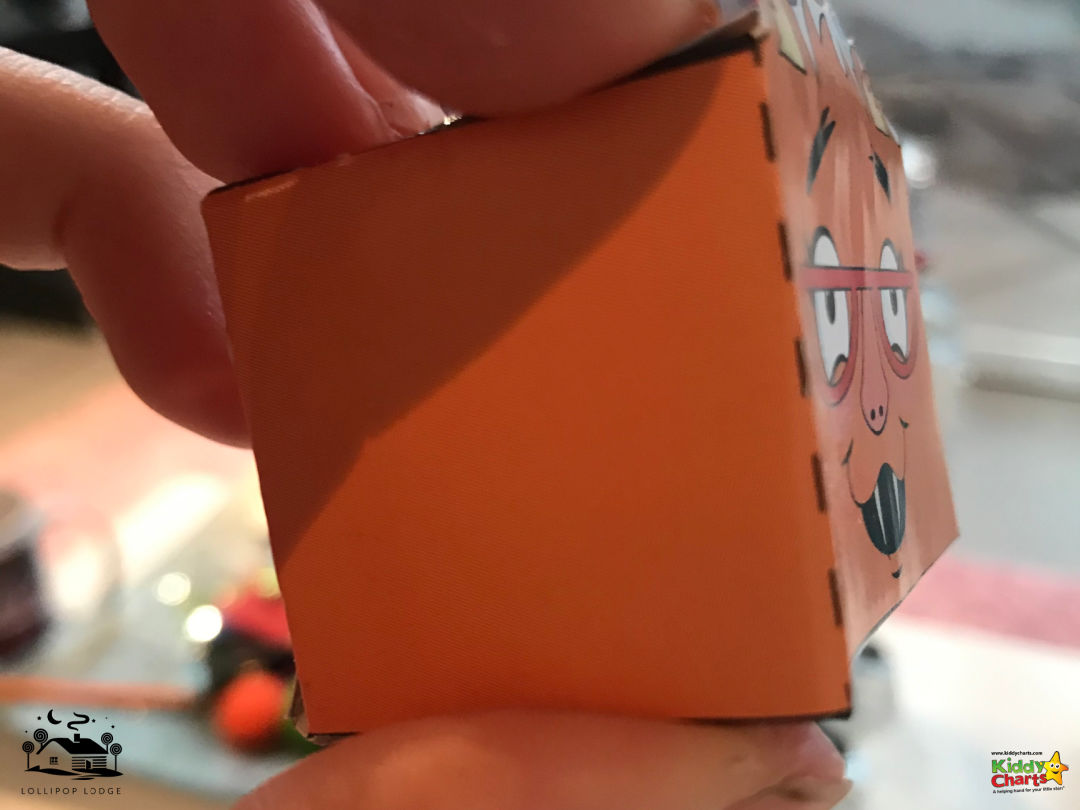

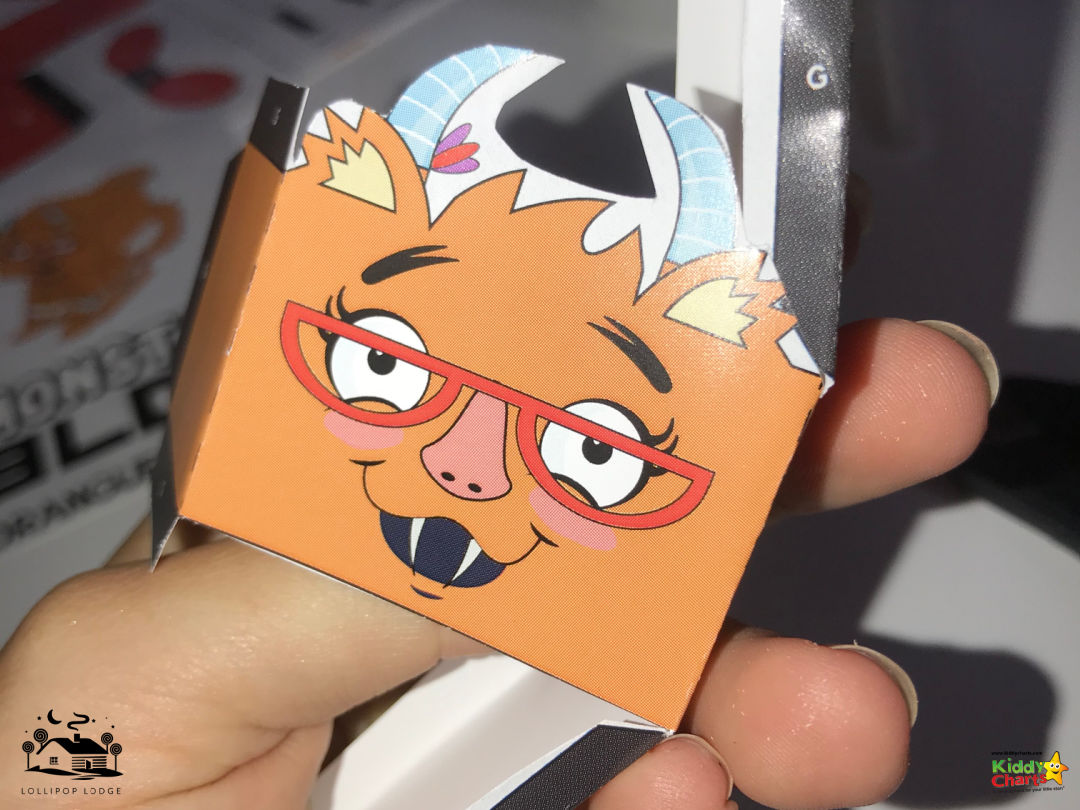
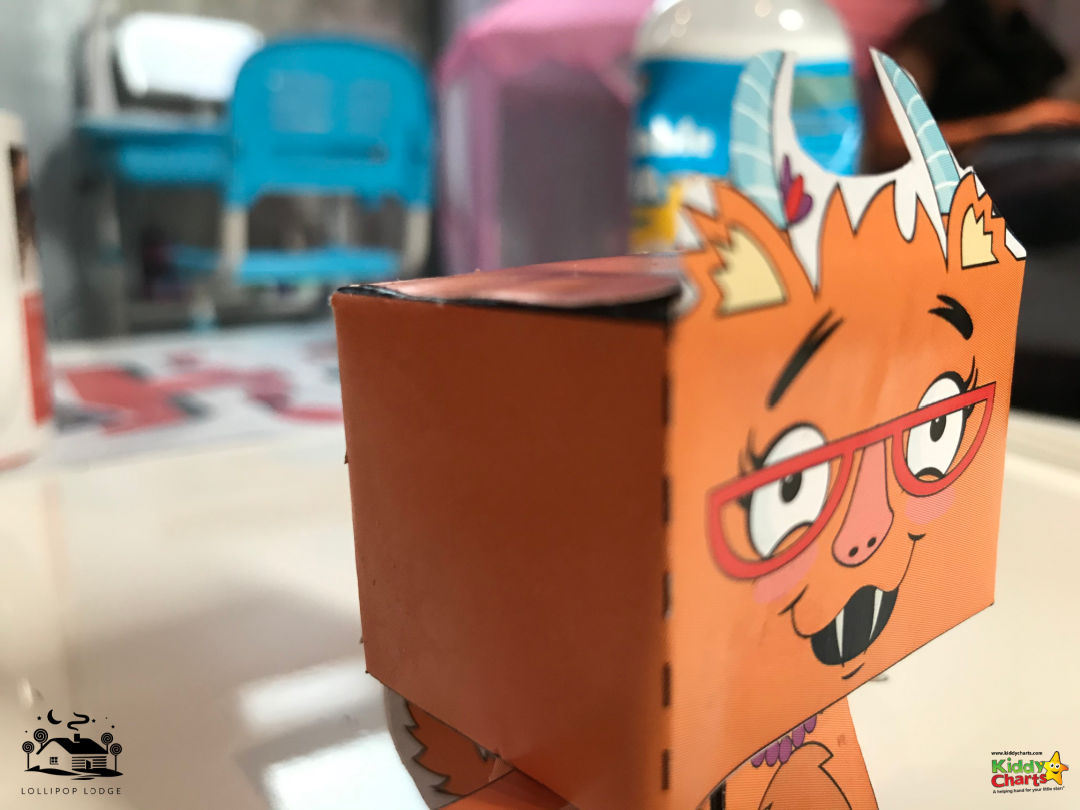
4. …then your monster head is completed!
It should look a little like this when it is ready….

5. Start making the body for your monster
Just as with the head, we need to fold along the dotted lines, fold down the black tabs, apply a small amount of glue to them, and stick them together. Each time applying a little bit of pressure until the body is complete. Make sure you are gentle each time, so that the body stays together, but doesn’t get damaged.


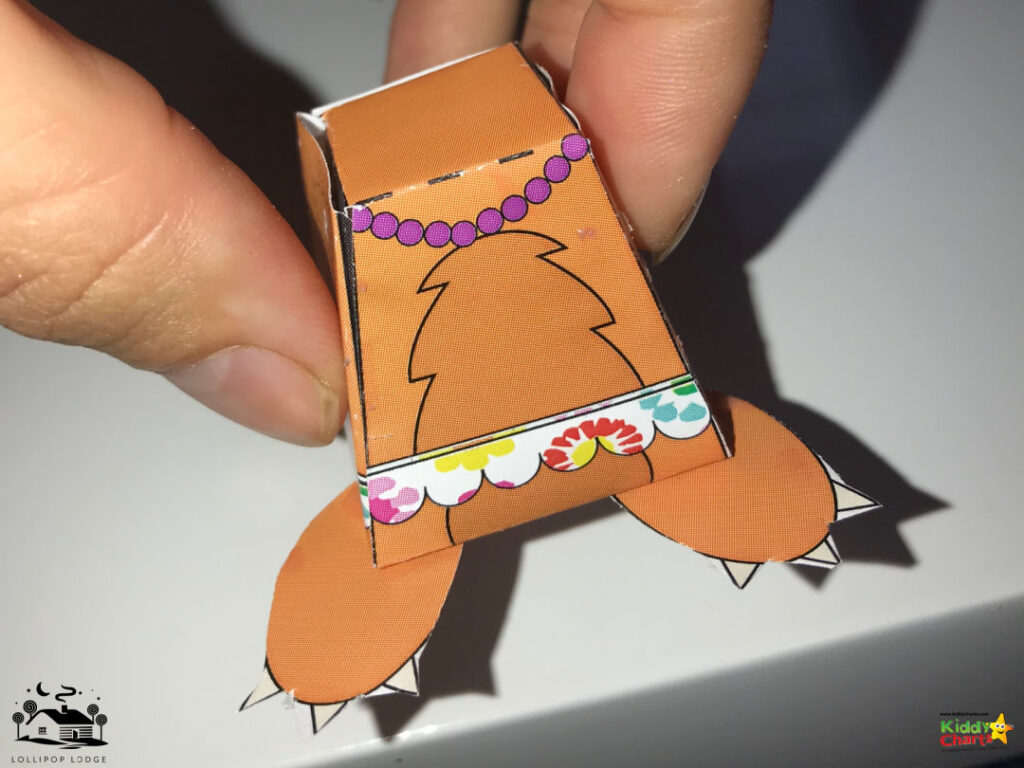
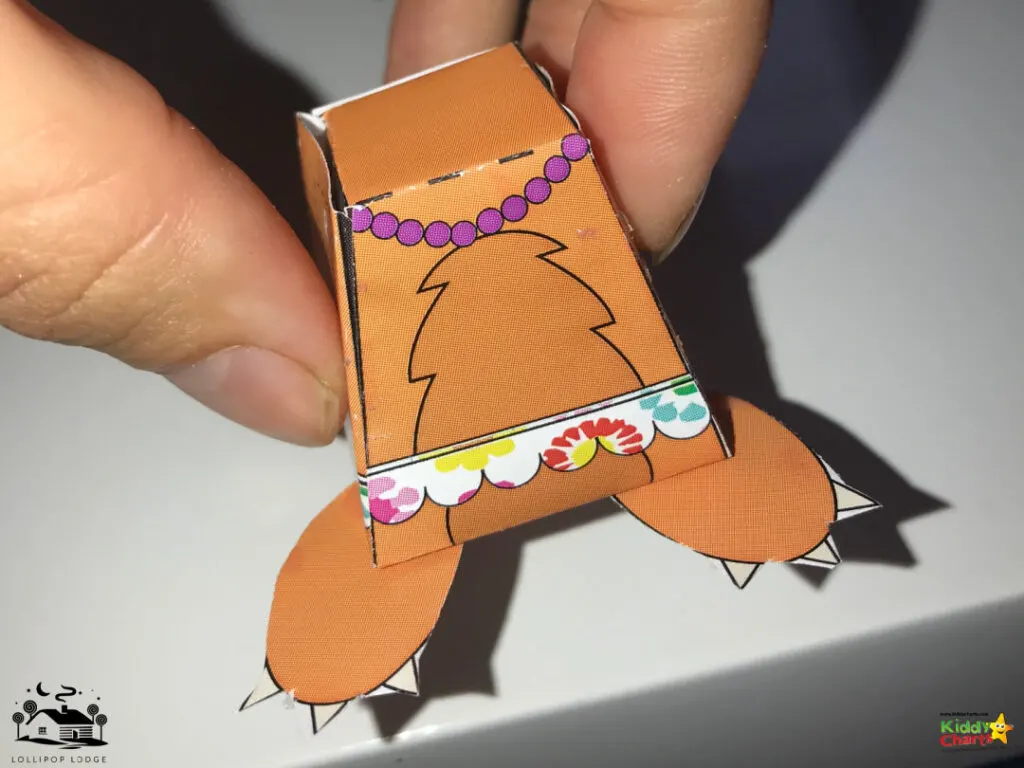
6. Add your feet
Cut out the feet, and then add a small amount of glue to them to add them to the body.
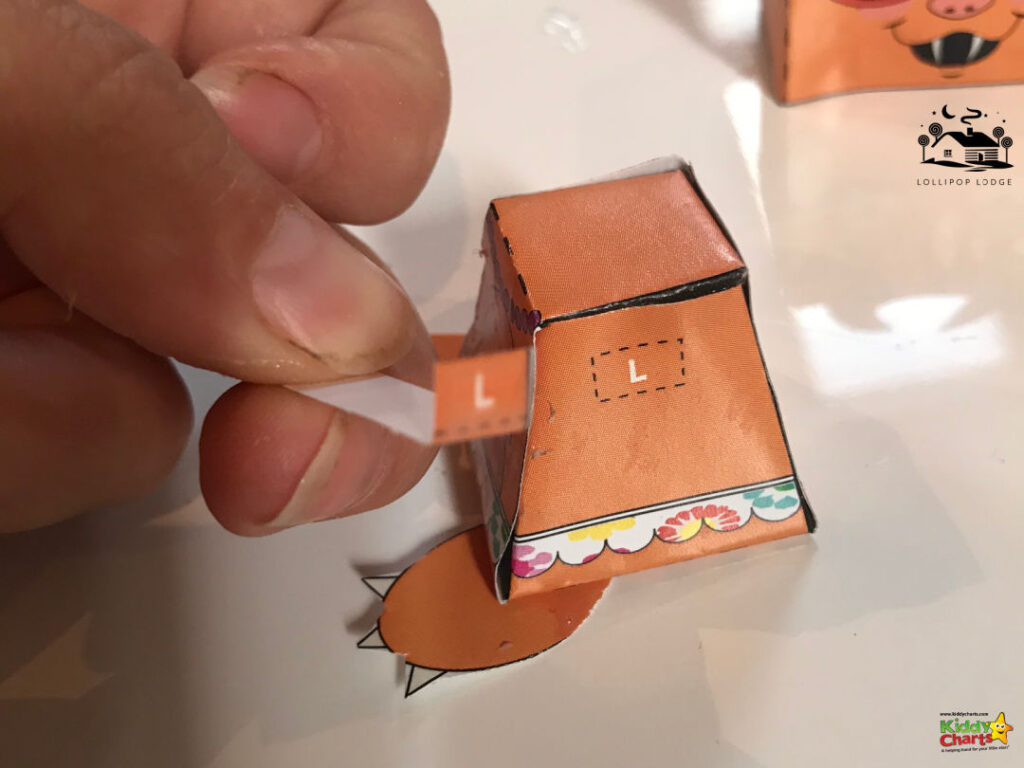
7. Add your monster arms
Cut out the arms for your monster, and located the L and the R arms. Bend down the tabs with the L and R letters on them. Glue to the monster body as we show in these pictures below. As always, keep them in place until they are set.


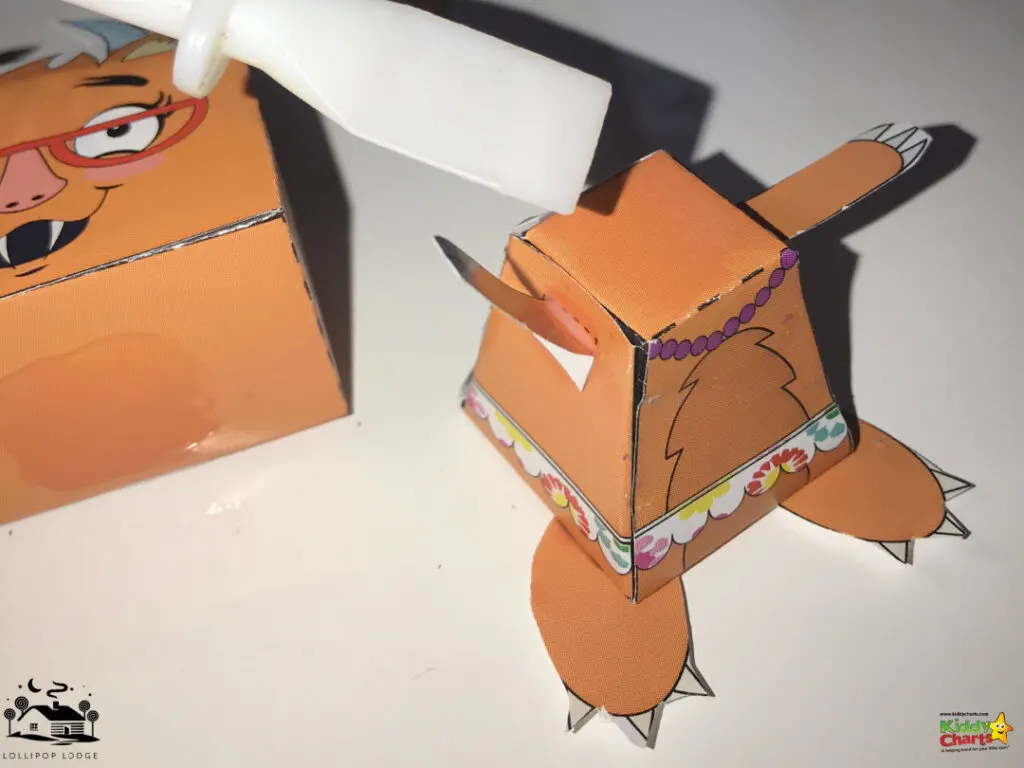
8. Add the head to your monster body
Now you need to give your monster a head! Just apply a little glue to the neck of your monster, and pop the head on. Apply a little pressure to the body and the head to push it down, and secure it into place. Make sure that you don’t get over excited and move the monster for 5-10 minutes.

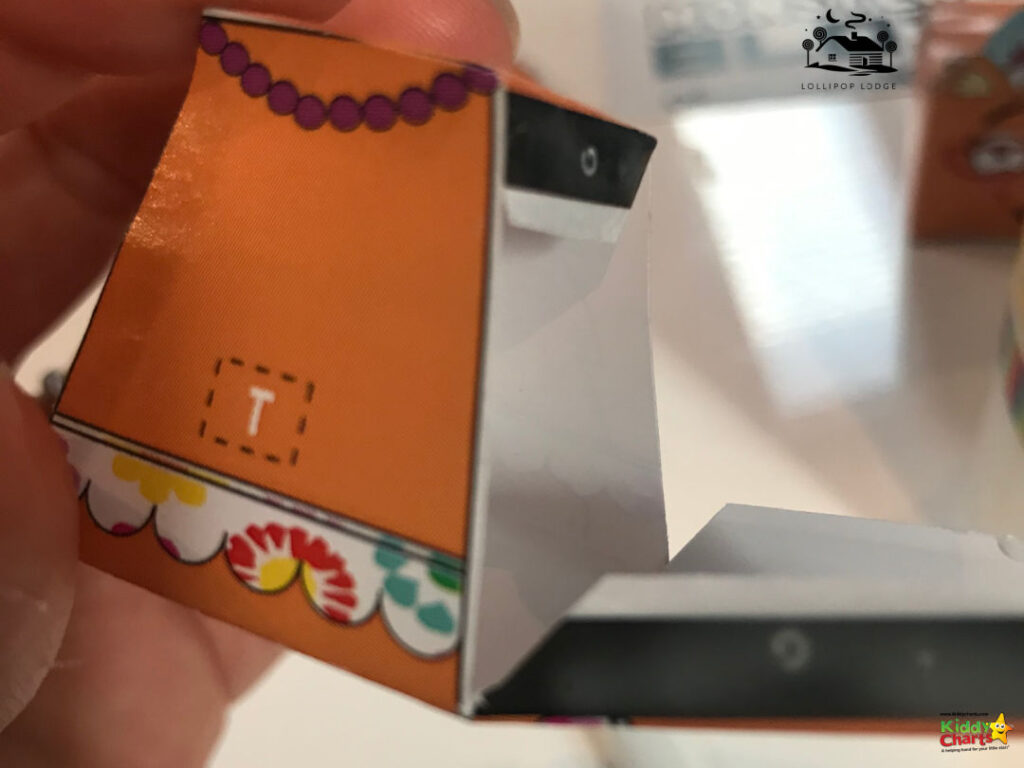
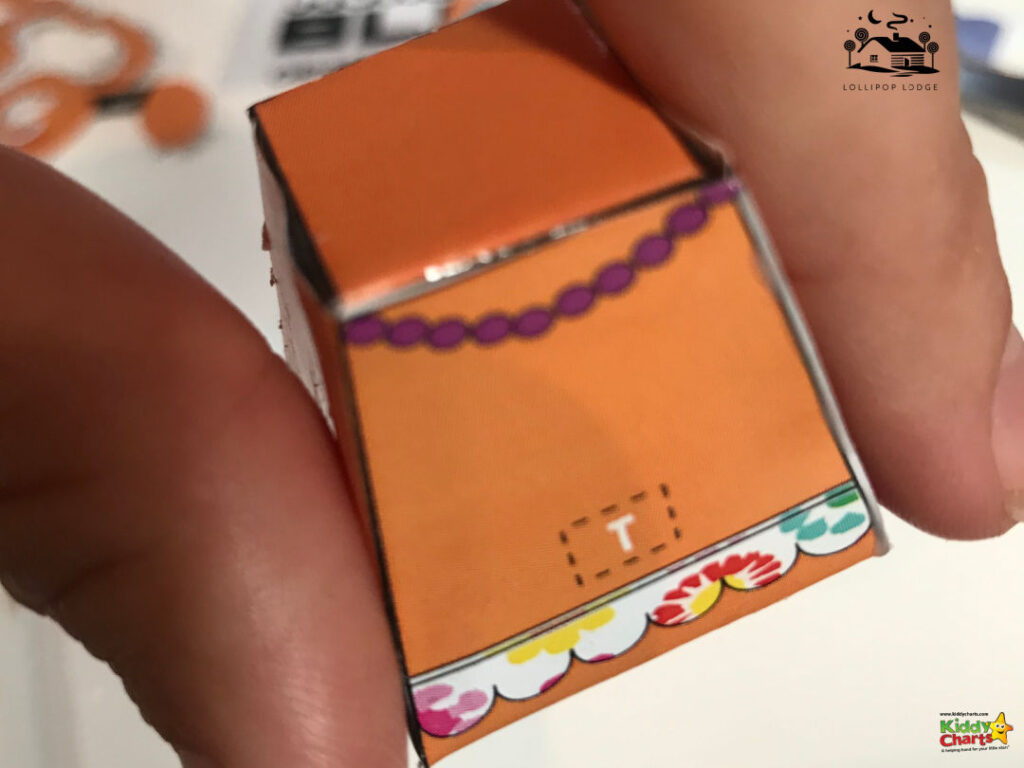
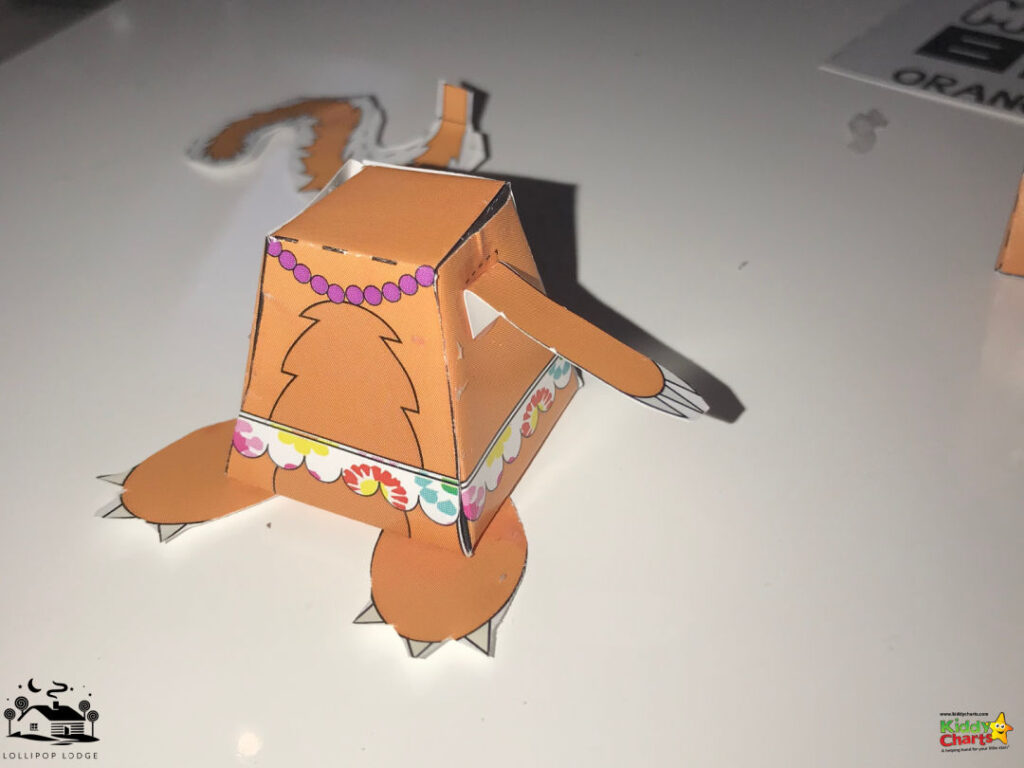
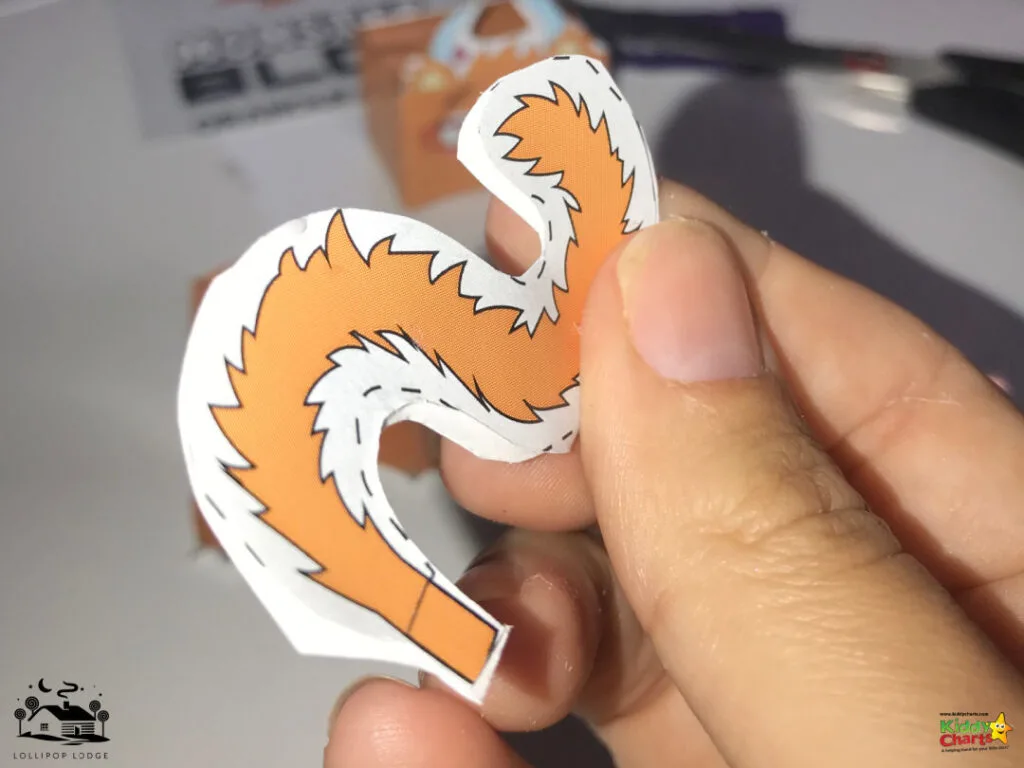
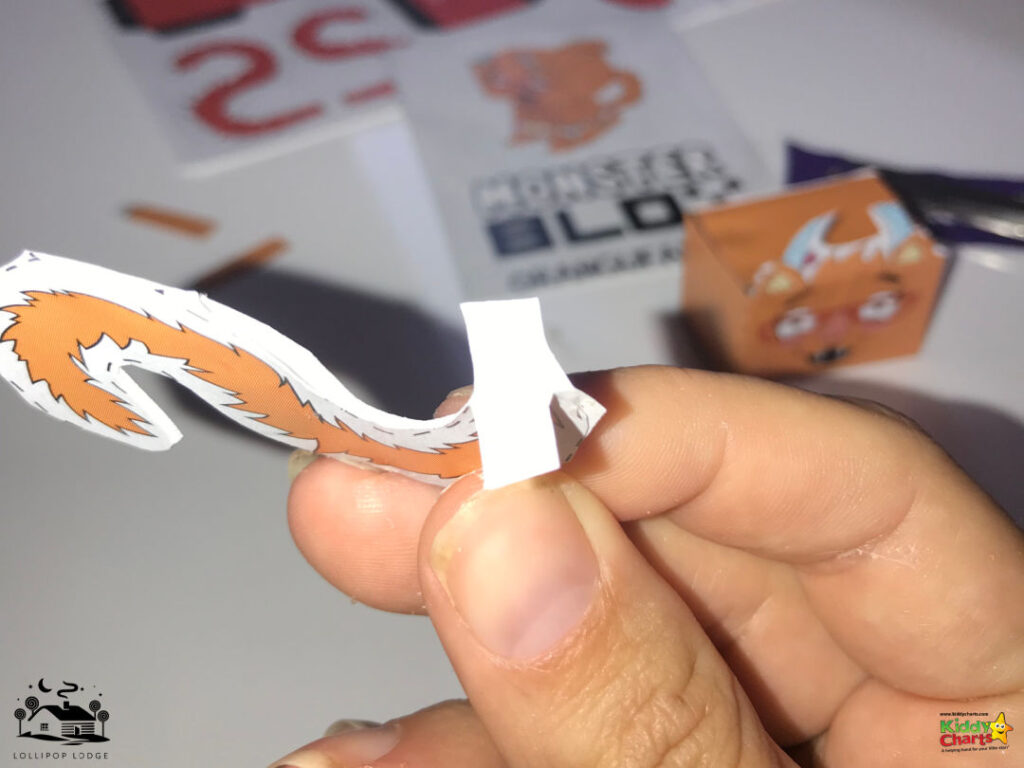
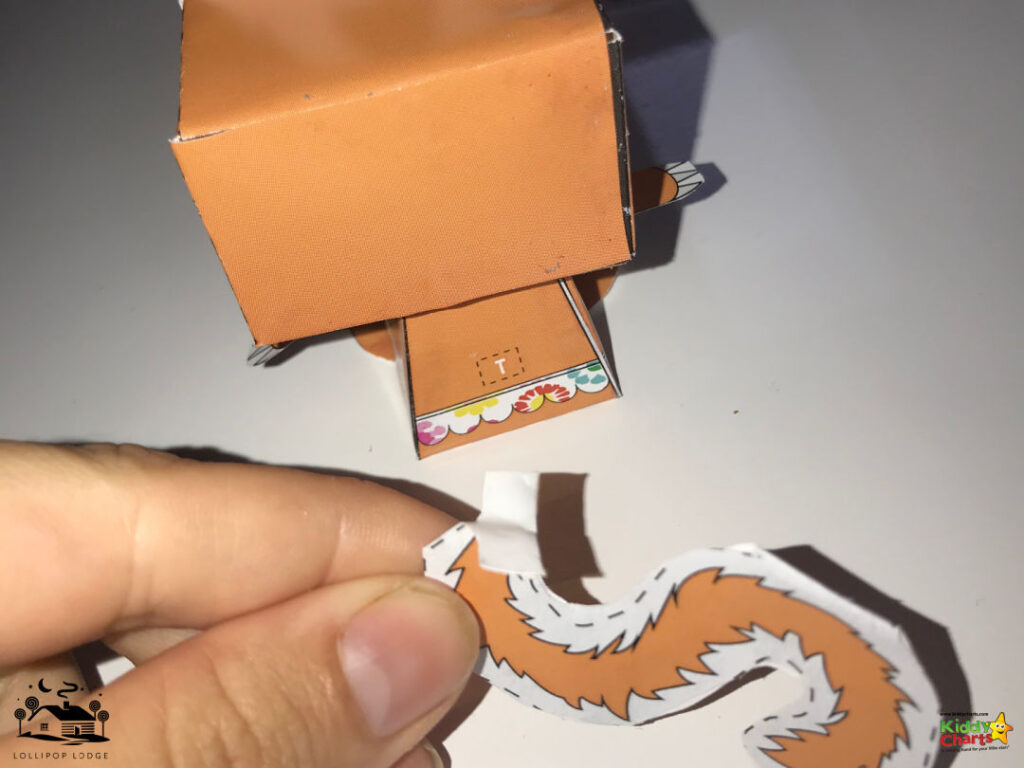
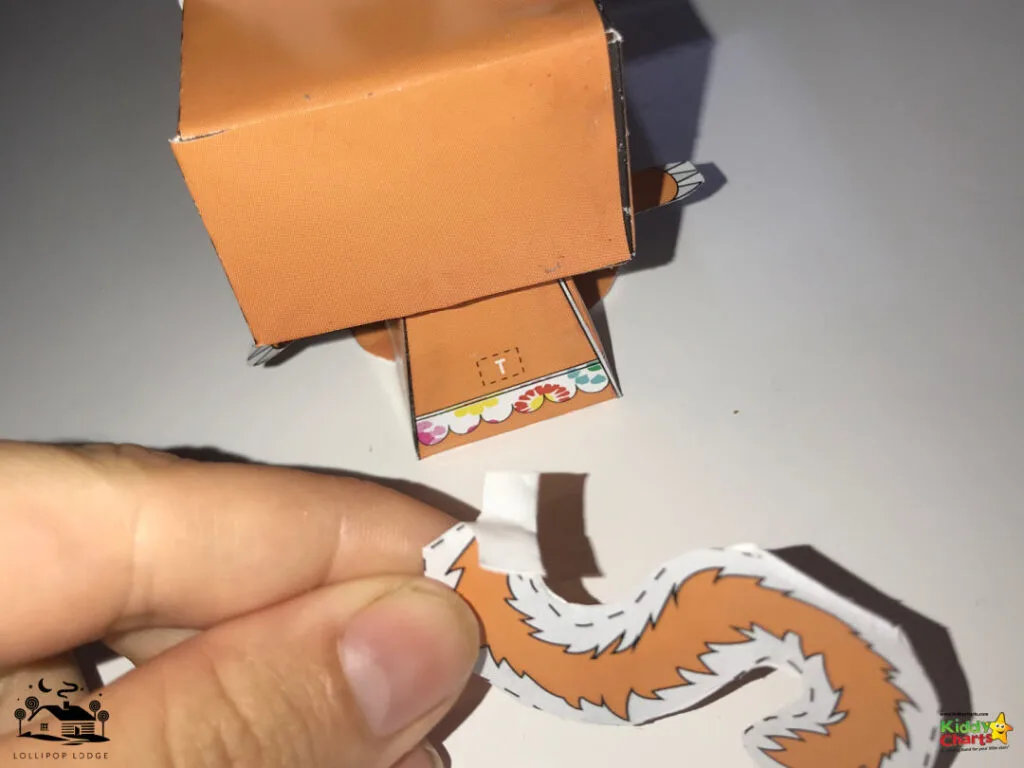
9. Make and add your monster’s tail
Cut out the tail from the templates, add glue to the white section of the tail. If you aren’t sure on this, take a look at the first picture below; this shows you where to apply the glue. This creates your bushy tail. Slap the edges and apply some more glue, and stick to the body of your monster. Look for the “T” mark to see where you have to add the tail. This could feel a bit strange, but bear with us. Apply pressure until it is dry, and curl the tail so it is out of the way of the head.


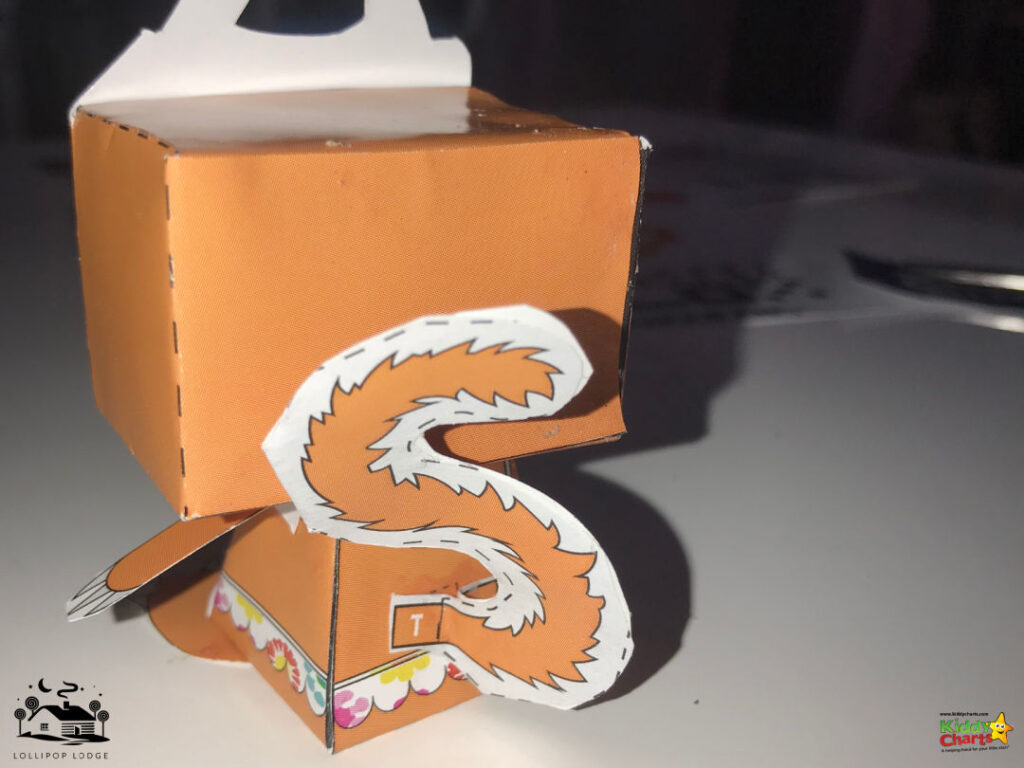

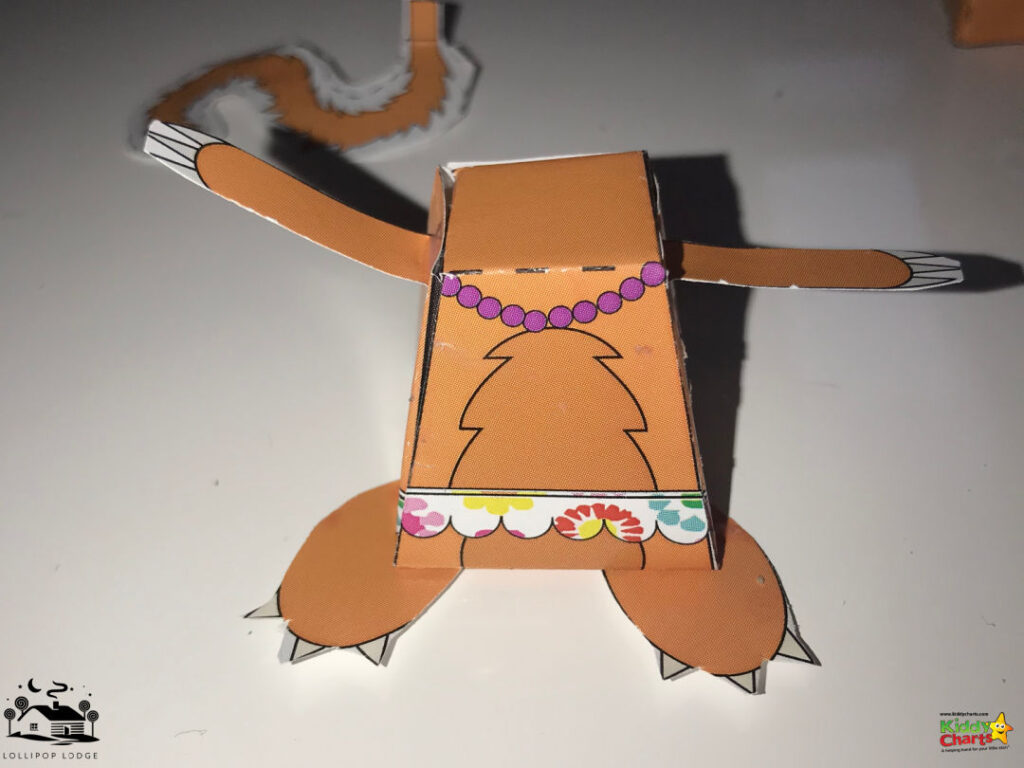
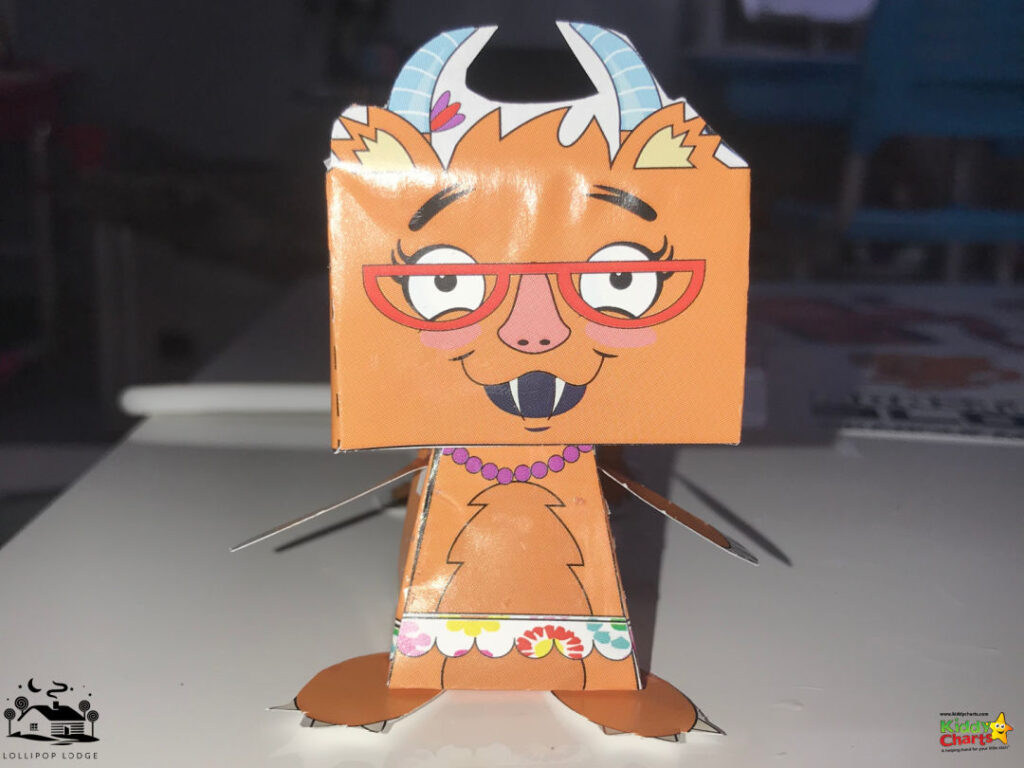
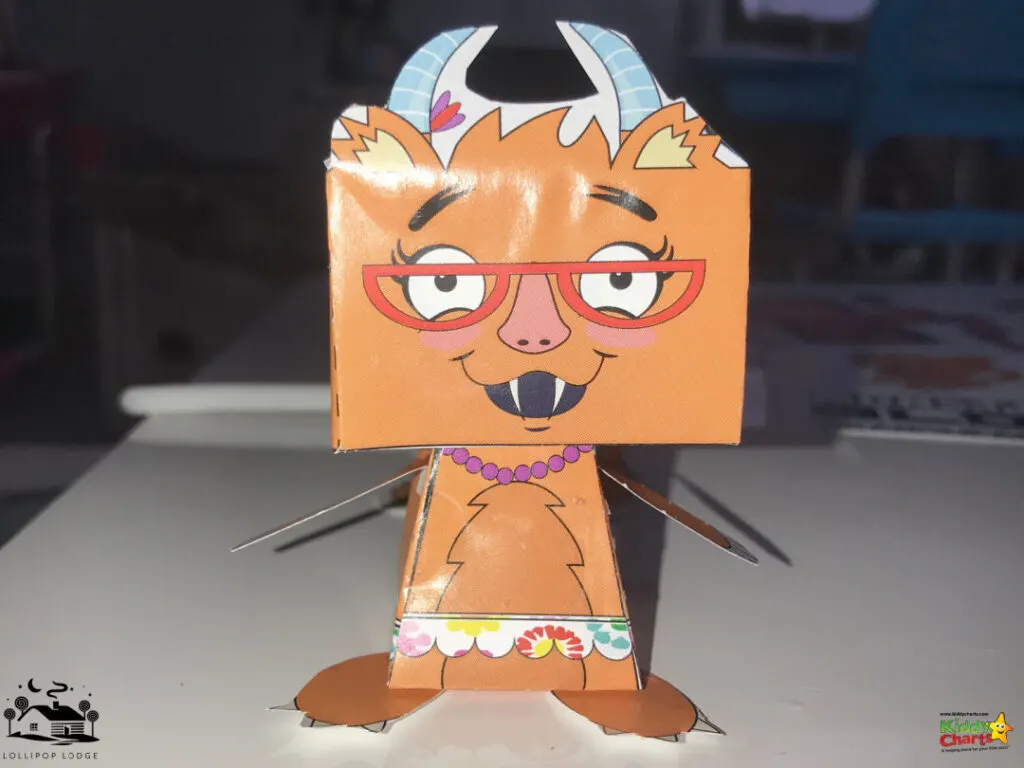
10. Your monster is complete!
Leave the monster to dry, and you are ready to play with him, read the My Daddy is a Monster book, and add to your collection of friends with the other templates that we are offering to your courtesy of Lollipop Lodge!
How to make a paper monster template
To download the template, just click on the circular image below – and it is YOURS!
Thanks so much for coming to see us today and taking a look at this how to make a paper monster craft. We hope that you enjoy doing it, and let us know how you get on. Enjoy the My Daddy is a Monster book too!
For more monster and scary crafts, why not take a look at these?
Monster and Halloween Activity Ideas
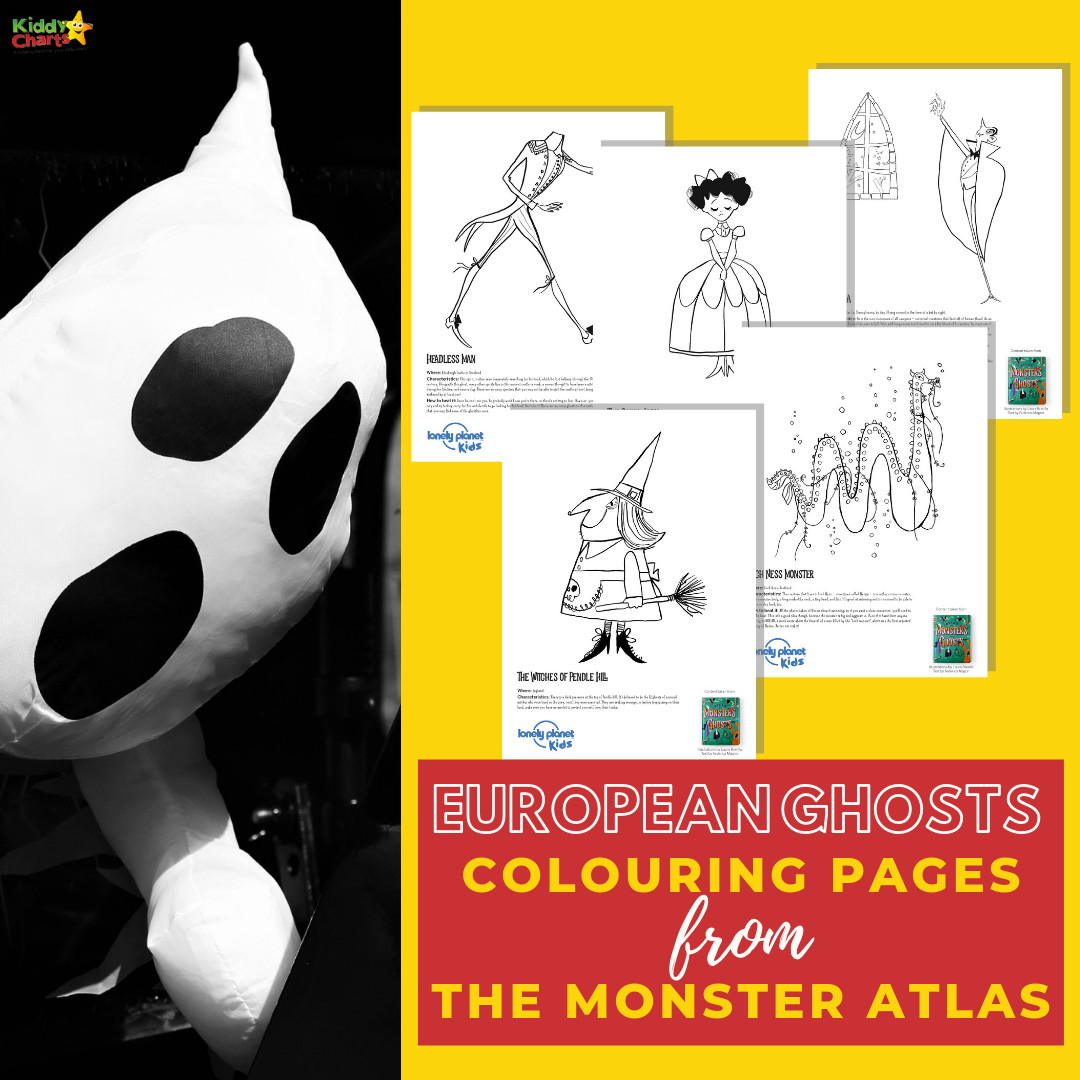
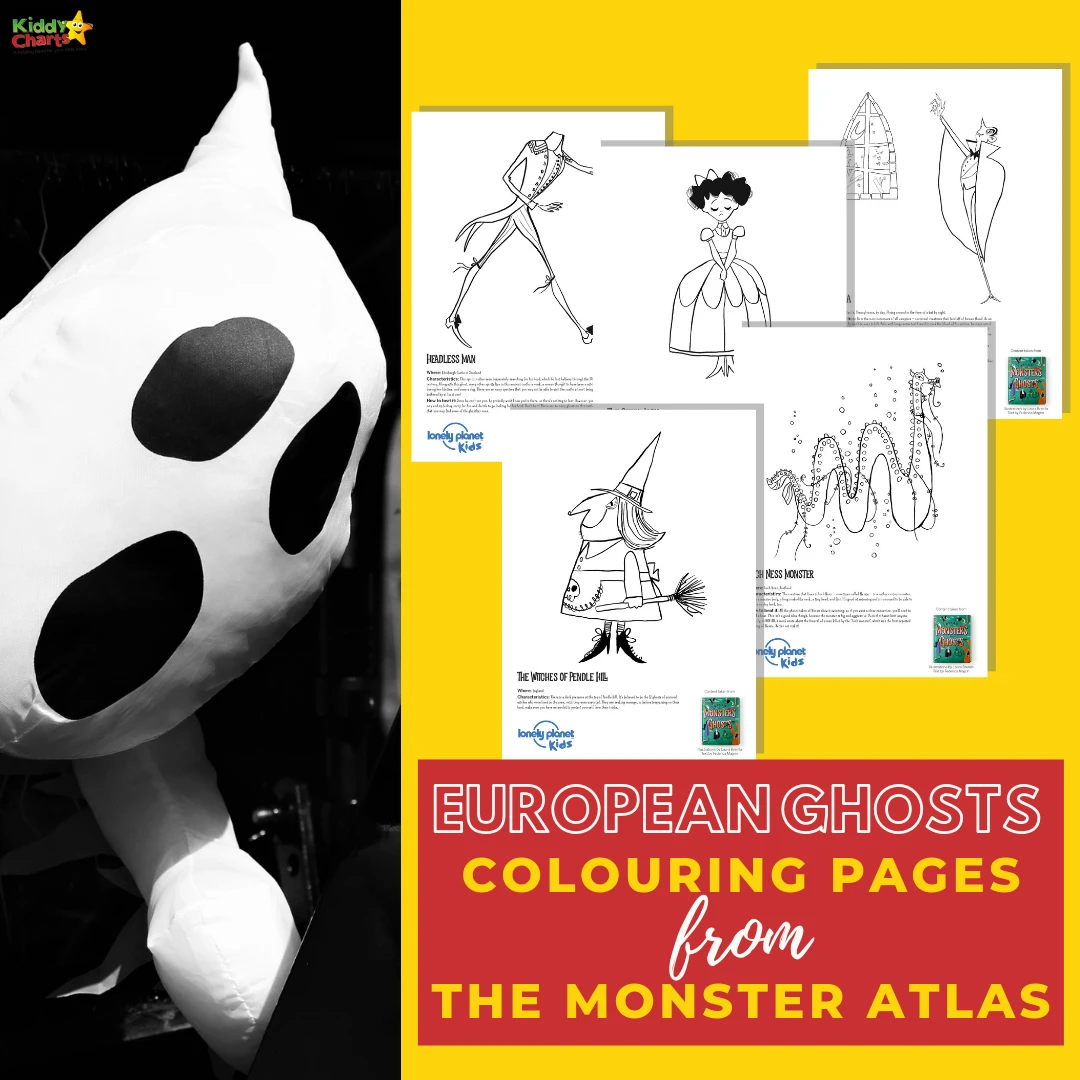
European ghosts and other colouring pages from the Monster Atlas
This is another great book for kids with a bit of a monster focus - a wonderful book giving them details of Monsters in the world - here is a sample from Europe for them to colour in and find out about!

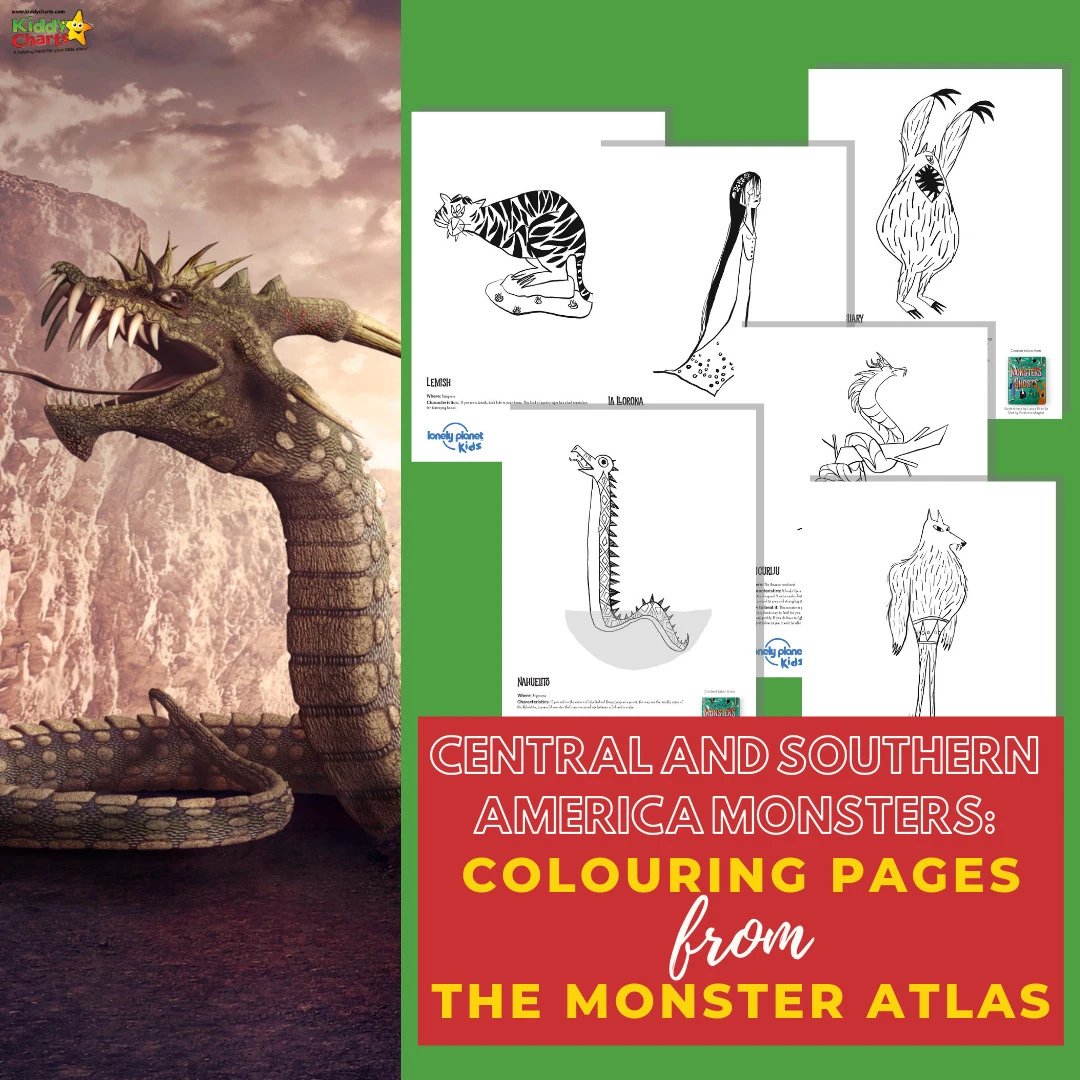
Central and South American monsters: Colouring pages from the Monster Atlas
The same book - but this time with a Central and South American focus - check these two activities out and then look for more fun within the book.


Monster Glam make up tutorial; just like Mavis from Hotel Transylvania
Make yourself look like Mavis from Hotel Transylvania with this easy make up tutorial.


Witch craft for kids: Witch paper doll
A gorgeous witch paper craft for kids for Halloween.

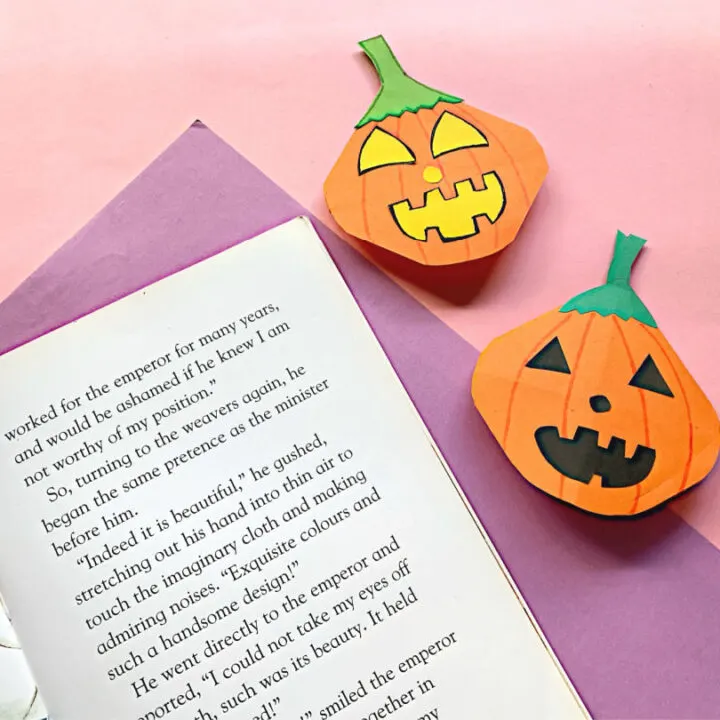
Pumpkin craft for kids: Fun bookmark
Make a lovely pumpkin bookmark - such an easy little craft, and so cute too.
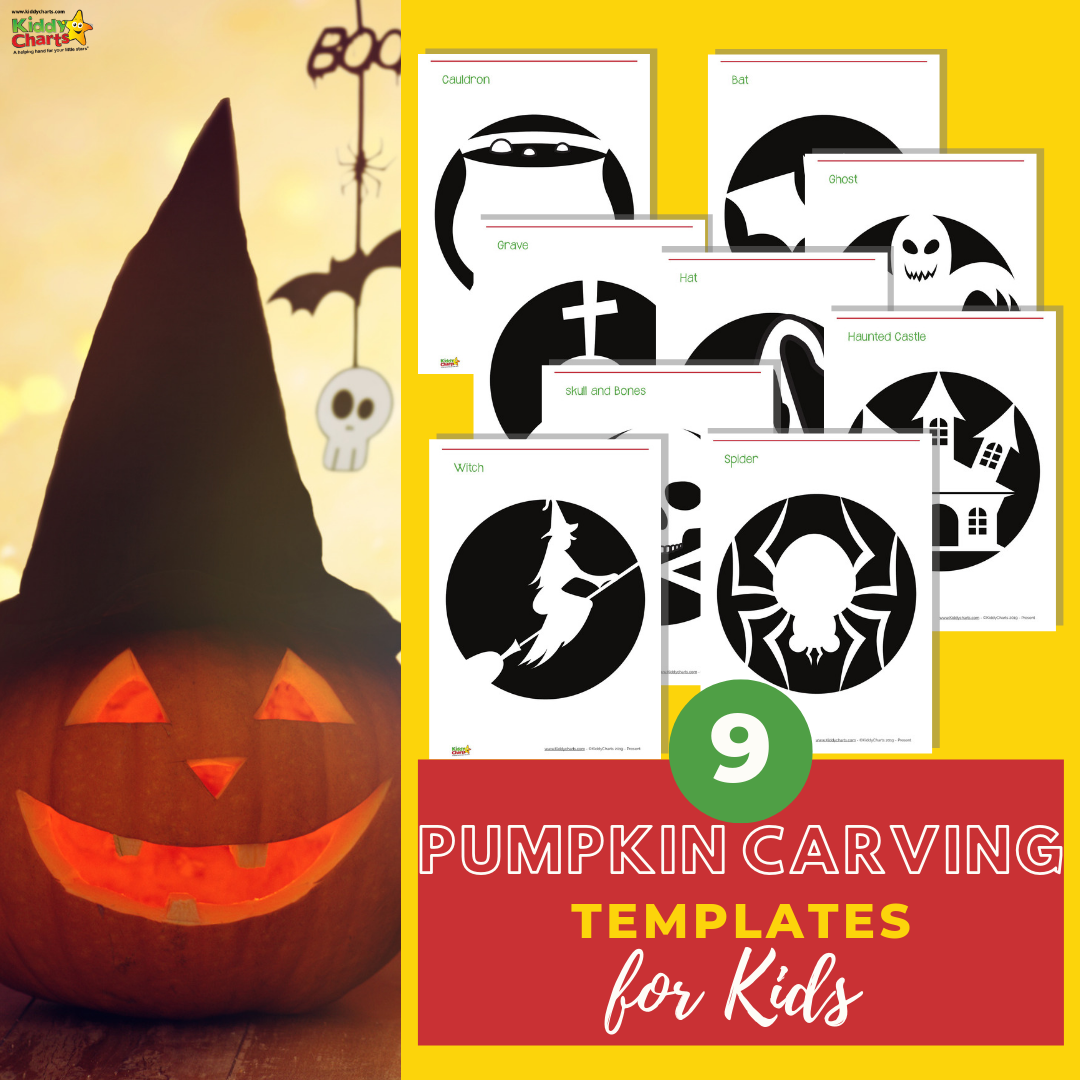
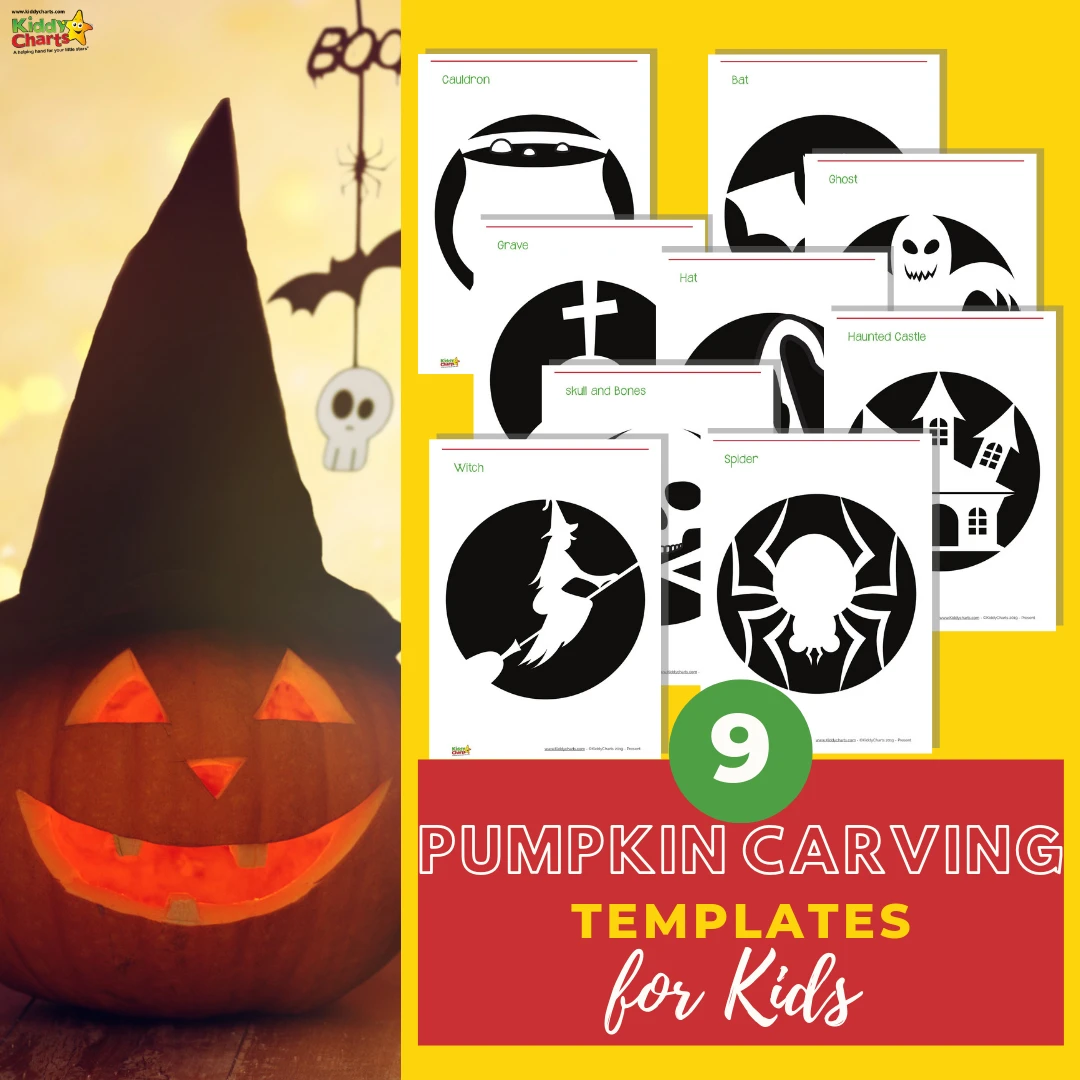
9 pumpkin carving templates for kids
Some ideas for carving the pumpkin for Halloween - 9 original templates for the kids to get stuck into.
How about these from off site for you to try too?
Monster activity ideas off site
More ideas to get create with a monster theme with the kids - from yarn to toilet roll crafts!

Learn How To Make These Easy Mischievous Yarn Monsters
These are so simple, yet so cute. Little yarn monsters for the kids to make!
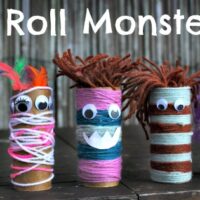
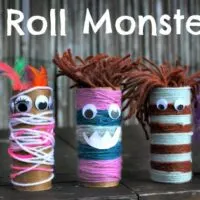
TP Roll Monsters! – Danya Banya
You cannot BEAT a toilet roll craft - so why not make some monsters with your loo rolls?

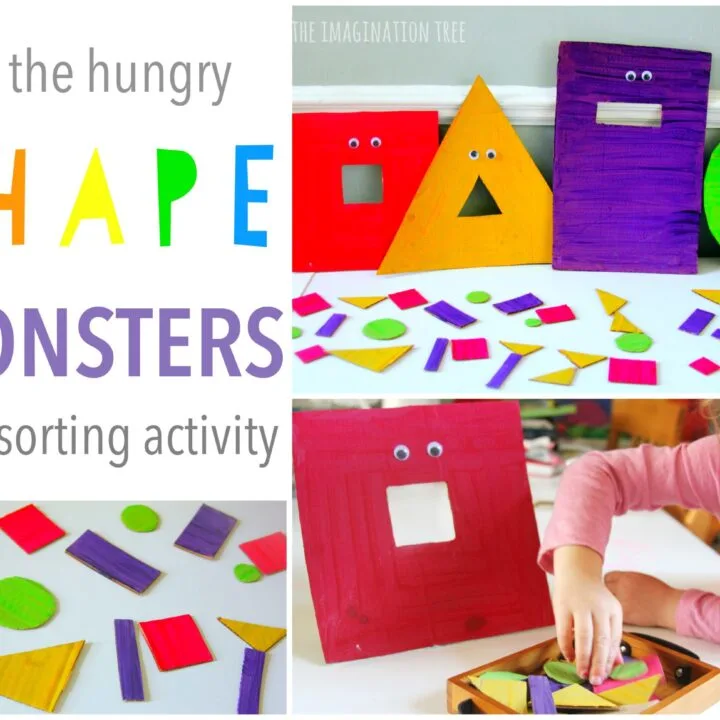
Feed the Hungry Shape Monsters Sorting Game
This is a brilliant little sorting game using monster post boxes to help kids to learn all about different basic shapes.
If you want to hear more about our article – why not sign up to our newsletter as we release articles on the site?
Alternatively, if you would rather get a weekly summary – sign up here!
Thanks as always for stopping by and we hope to see you again soon too.
Helen

Helen
Helen is a mum to two, social media consultant, and website editor; and this site is (we think) the only Social Enterprise parenting magazine! Since giving up being a business analyst when juggling travel, work and kids proved too complicated, she founded KiddyCharts so she could be with her kids, and use those grey cells at the same time. KiddyCharts has reach of over 1.1million across social and the site. The blog works with big family brands (including travel) to help promote their services, as well as offering free resources to parents of kids under 10. It gives 51%+ profits to Reverence for Life, who fund a number of important initiatives in Africa, including bringing running water and basic equipment to a school in Tanzania. Helen has worked as a digital marketing consultant (IDM qualified) with various organisations, including Channel Mum, Truprint, Talk to Mums, and Micro Scooters. She loves to be creative in the brand campaigns she works on. Get in touch TODAY!