
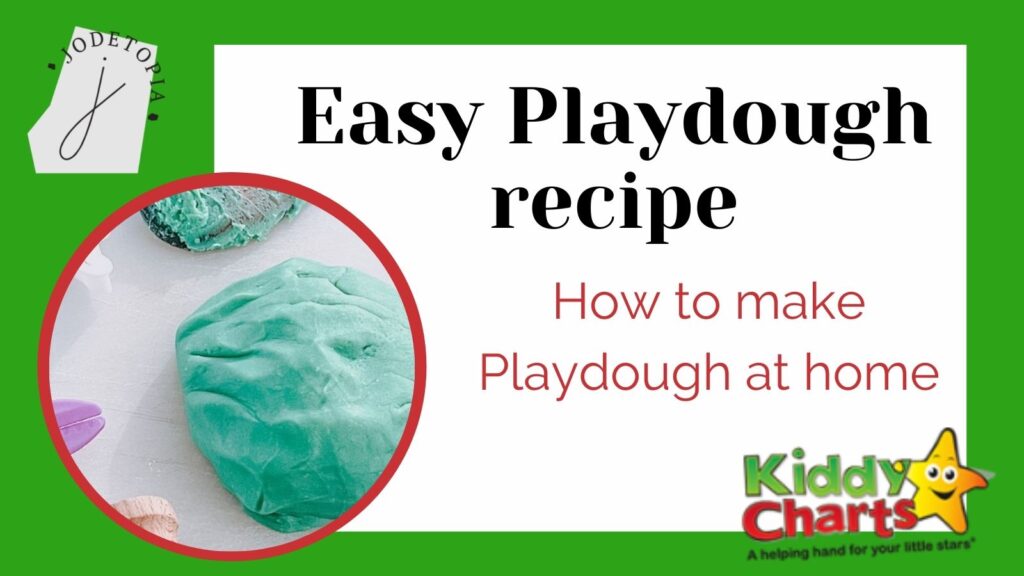
There are lots of activities that we have shared with you for our #31daysofactivities event. And for today’s post we bring you an easy Playdough recipe from Jodie at Jodetopia. Let’s find out how to make Playdough at home!
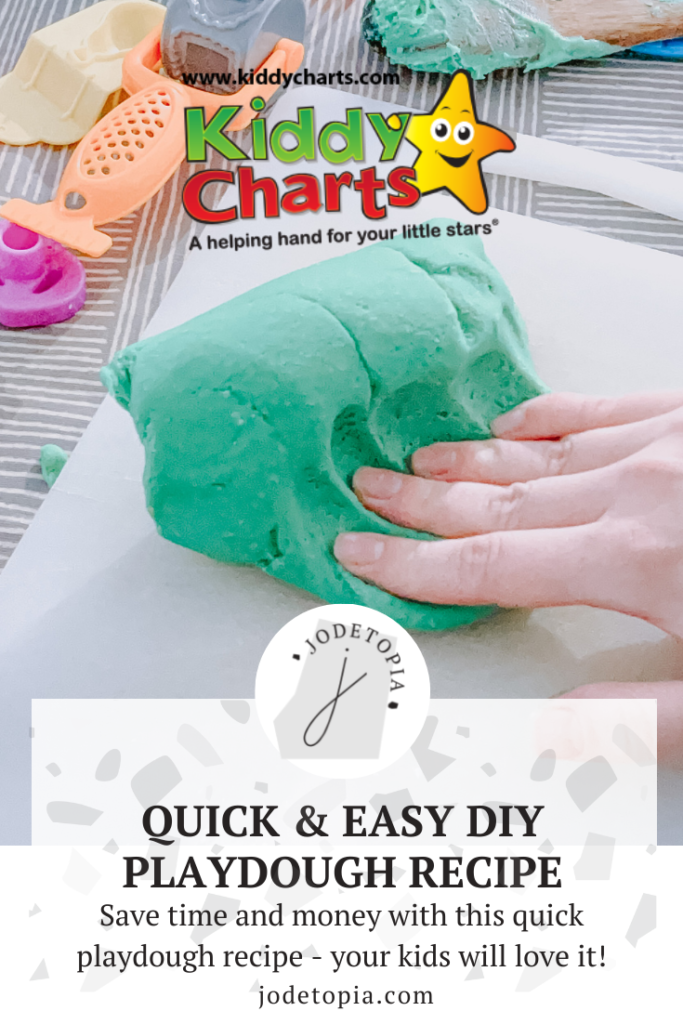

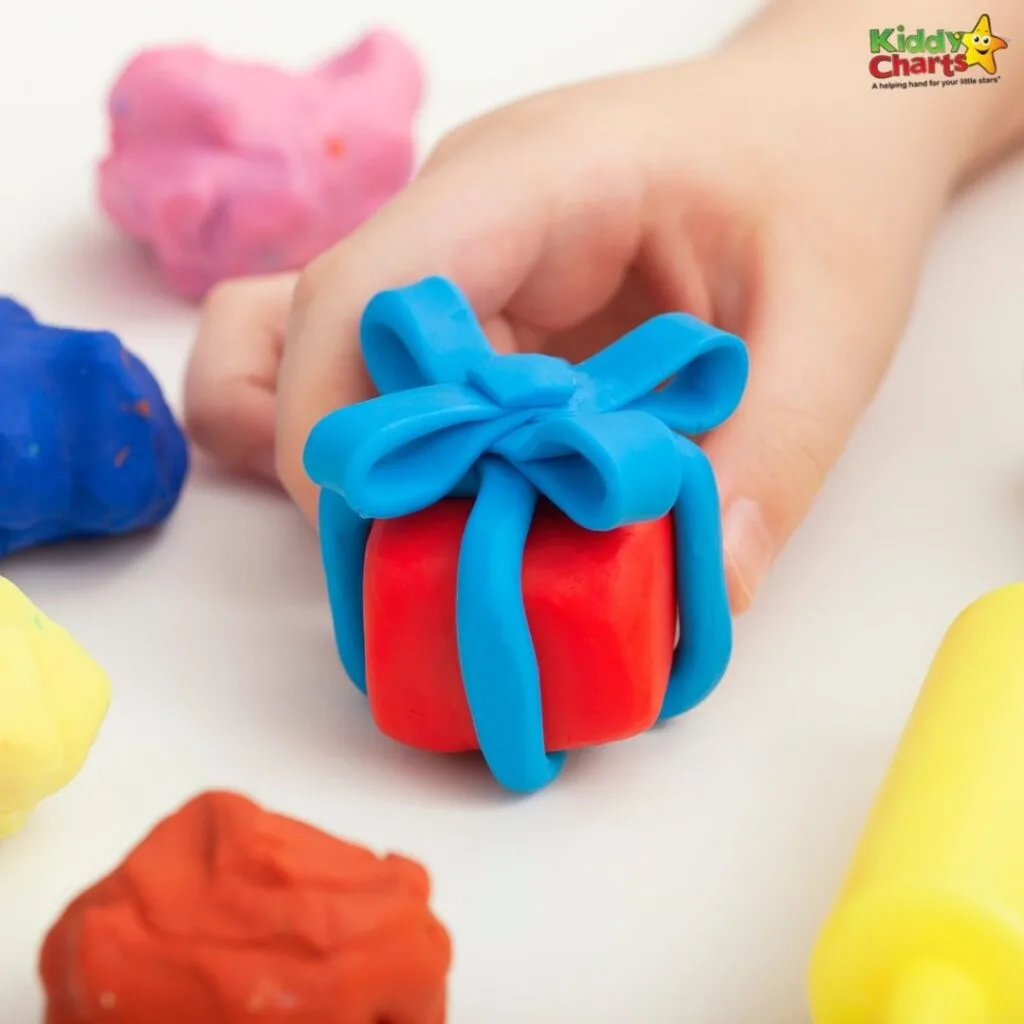
If your child is anything like my pre-schooler, they’re probably absolutely obsessed with good old playdough! As amazing as the branded kits are (you can get SO many different kits nowadays, can’t you?!), it can become quite an expensive hobby. Playdough is such a great base for countless of activities, so having an unlimited supply is certainly useful. Here’s how I make my own playdough at home using a quick, simple and easy playdough recipe!
Ingredients
To make this easy playdough recipe at home, you will need the following ingredients:
- 1 cup of plain flour,
- 1 cup of water,
- 1 tablespoon of cooking oil,
- 2 teaspoons of cream of tartar,
- ½ cup of table salt,
- food colouring of your preference (optional), and,
- sensory dry ingredients such as lavender or flower petals (optional).
A few notes about the ingredients…
You should be able to purchase all of the necessary ingredients at your usual supermarket. In the UK, cream of tartar is less common, however you should be able to find this in the cake/baking aisle – it’ll be sold either in a small tub similar to baking powder, or as small sachets.
For food colouring, I always use Sugarflair – it’s extremely vibrant and a little goes a long way, but you could also use normal food colouring from the supermarket – opt for gel food colouring over liquid, if possible. FYI – Sugarflair is great for making sensory rainbow rice or normal baking, too!
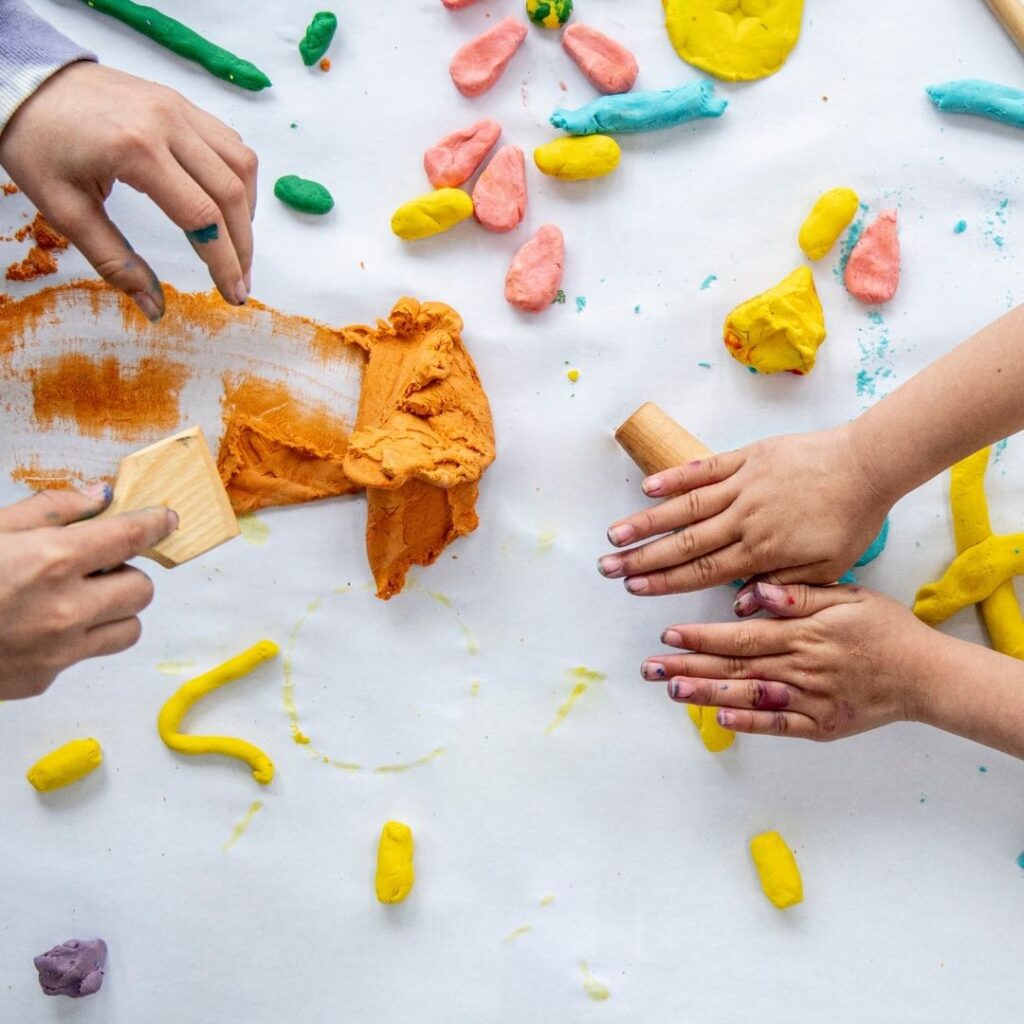
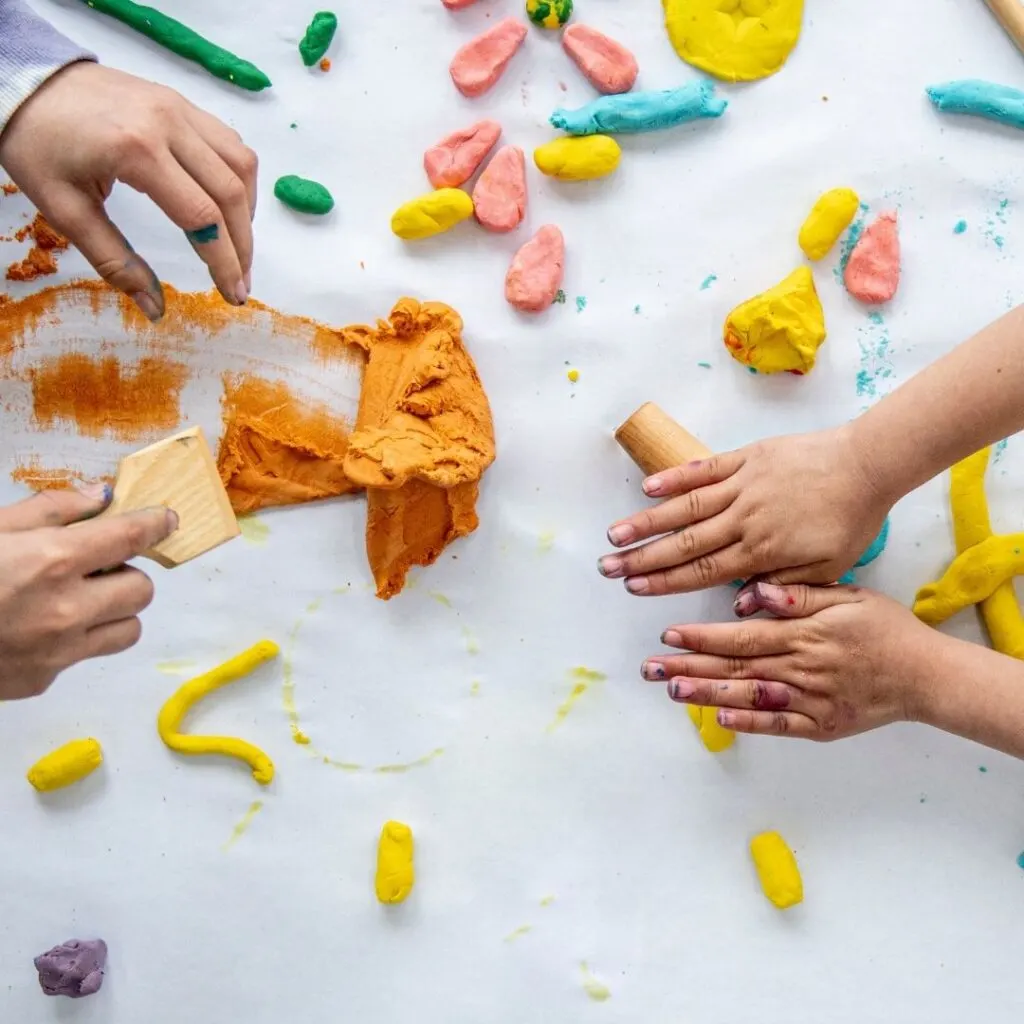
You can make the playdough a more sensory experience by adding in further dry ingredients such as dried lavender or dried flower petals. I normally incorporate this into my son’s play – I will set up a tuff tray with the playdough, lavender, spoons and playdough cutters, and let him mix and explore these himself, although you can, of course, add these in yourself when you are making up the playdough. Why not try adding coffee powder into a brown playdough mixture, or dried herbs into a green playdough mixture?
Equipment
You will also need the following pieces of kitchen equipment:
- Saucepan (preferably non stick),
- Spoon (a wooden spoon or robust silicone spatula works well!), and,
- Chopping board or other hard surface to knead the playdough on.
Recipe
- Put all of the ingredients in the saucepan,
- Put the saucepan on the hob and turn the heat on low – the lowest setting your hob has,
- Stir continually until the ingredients are well mixed then stir continuously until the mixture thickens – it will feel like nothing is happening and then within seconds it will suddenly come together and begin to resemble playdough,
- When the mixture has come together to form one big lump of playdough, turn your heat off and tip the playdough onto a hard work surface, such as a chopping board,
- Let it sit until it is cool to touch, then gently knead until fully mixed, with no lumps or unmixed ingredients,
- Let it cool completely if it has not already. If you are adding further dry ingredients such as lavender or flower petals then do this now.
Your DIY playdough is now ready to play with!
How to store DIY playdough
To store DIY playdough, I recommend keeping it in the fridge.
Firstly, you need to make sure your playdough is clean from any dirt or debris – we all know how playdough loves to miraculously get full of crumbs or hair! Pick off any of these parts and dispose of them.
Then, roll the playdough you want to save into a large ball, and then wrap this in a good amount of cling film, trying to get as much air out as possible. Then, I place my cling-film wrapped ball of playdough into either an air tight container such as Tupperware or a resealable plastic bag such as Ziploc.
When you are ready to play with your DIY playdough again, simply remove from the fridge and allow to cool for 5 to 10 minutes. Inspect your playdough to look for any signs that it has expired – spots of discolouration, mould (if food has got into it!), a funny smell etc – if it looks off or funny, then dispose of it – best to be safe than sorry! I’ve never experienced this myself, but it’s important to know what to look for, just in case.
Then, tip out your playdough onto a hard surface and gently knead. It may take a few minutes of kneading for it to feel pliable and properly playdough like again. Now it’s time to play with your playdough – have fun!

How long does the playdough last for?
This easy playdough recipe, when made following this recipe, played with with clean hands and stored in the fridge in an airtight container, should last for weeks – if not months!
Be sure not to leave the playdough out on the side if it is not being played with, as it will start to dry out.
Remember to check for signs that the playdough has expired, as explained above. I recommend disposing and remaking your playdough every 3 months, even if it looks okay. If you play with your playdough a lot, or you have added additional sensory dry ingredients into the playdough, then you might want to dispose and remake more often than this for hygiene purposes – use your own judgement.
Is DIY playdough edible?
This DIY playdough is ‘taste safe’ – this means that all of the ingredients are individually considered edible or safe to consume, but it is not nor should it be considered as edible food. If your child accidentally mouthes, teethes or consumes a small amount of the playdough, this will not cause major cause for concern as it is not toxic – you won’t need to panic and call poison control.
However – that being said, this DIY playdough should NOT be considered edible or ‘okay to eat’. Please do not let your child eat the playdough or leave your child unattended with the playdough if they are young.
If your child does eat a large amount of playdough then I would recommend seeking medical assistance the same way you would if your child ate anything else that was not intended to be food.
There are even more fun activities on our site, take a look and find something for the kids to do.
Crafty ideas on KiddyCharts
Here are more ideas for kids to get crafty with on KiddyCharts.
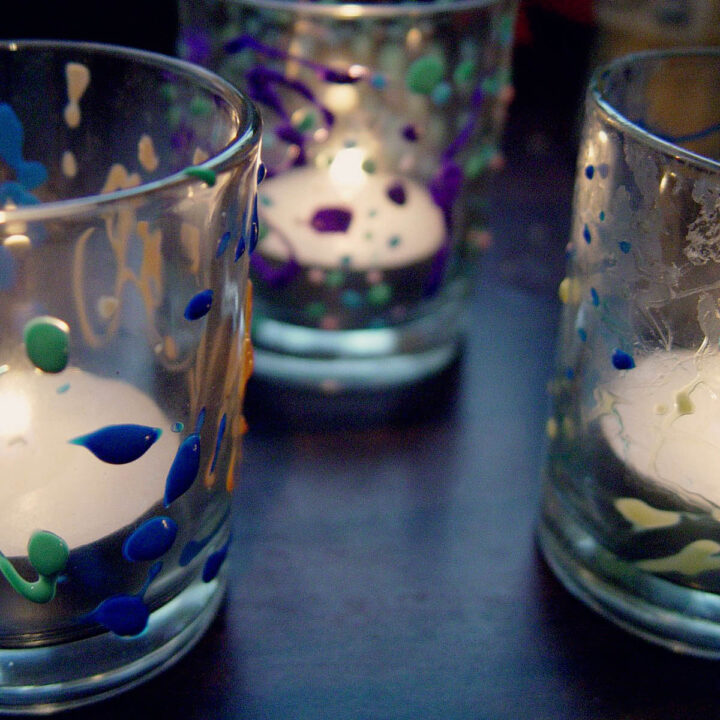

Tea candle craft: Decorating glasses #31daysofactivities
This is a lovely idea - how to make a tea candle with the kids. A perfect activity anytime of year.


Toilet Roll craft: Feathered friends
Who doesn't love a toilet roll craft? Make yourself a feathered friend with this one!


How to paint an owl
Anyone can paint this stunning owl - check out our instructions in this fantastic craft for the kids.
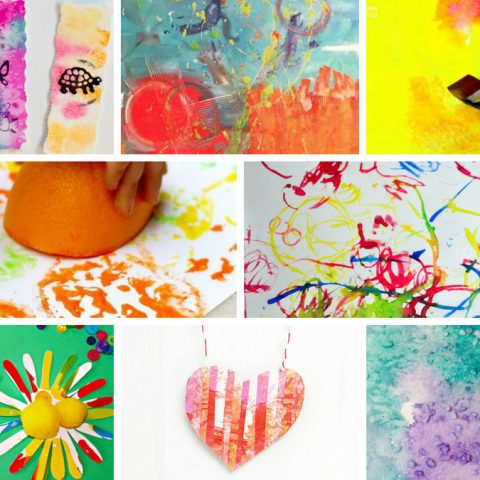
There are more activities for you from around the web below.
Articles on art and creativity from the internet
Here are some ideas for getting the kids creative with their art.

Fun Outdoor Arts and Crafts Ideas for Kids
Ideas for outside for you and the kids to get stuck into from Fireflies and Mudpies.

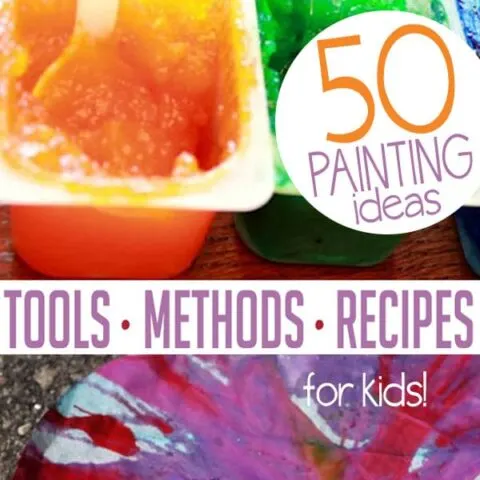
Painting Ideas for Kids with 50 Tools, Methods & Recipes
Some thoughts and ideas on painting, including tools and techniques to help kids with their creativity.

50 Fun & Engaging Process Art Projects for Kids
Finally, loads of great ways of using process art to inspire your kids.
Have fun!
See you for the next post,
Helen

Jodie Keith
Jodie is a twenty-six-year-old woman living in Kent, in England. Mum of two to a pre-schooler and a baby, she runs Jodetopia.com - your go-to for all things motherhood and family life in Kent. On Jodetopia you’ll find parenting tips, play ideas, reviews of days out and baby groups, toy recommendations, beauty and so much more.