

This post contains Amazon affiliate links.
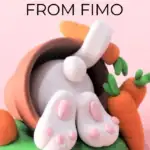
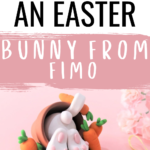
We have an absolute treat from you today Mummy and Moose! This is a gorgeous tutorial on how to make an Easter Bunny from Fimo for our 31 Days of Learning just in time for Easter! Take it away Natasha….I have been playing around with polymer clay since I was a child. My Aunt loved it and she passed the bug onto me! When I was pregnant with my daughter (cough, 14 years ago) I decided that the life of an artist was for me and I took the plunge into making things from clay for a living. Luckily with a lot of work and a very patient husband I am still doing what I love, making wedding cake toppers.
Fimo soft is great for playing with at home too. Besides being non toxic, it is brightly coloured and easy to mold into different shapes developing motor skills and helping with hand eye coordination!
My kids love getting stuck into using the clay for homework projects or to make scenes to play with alongside other mediums such as LEGO or Playmobil (although, never ever use unbaked Fimo with plastic – it melts it!)
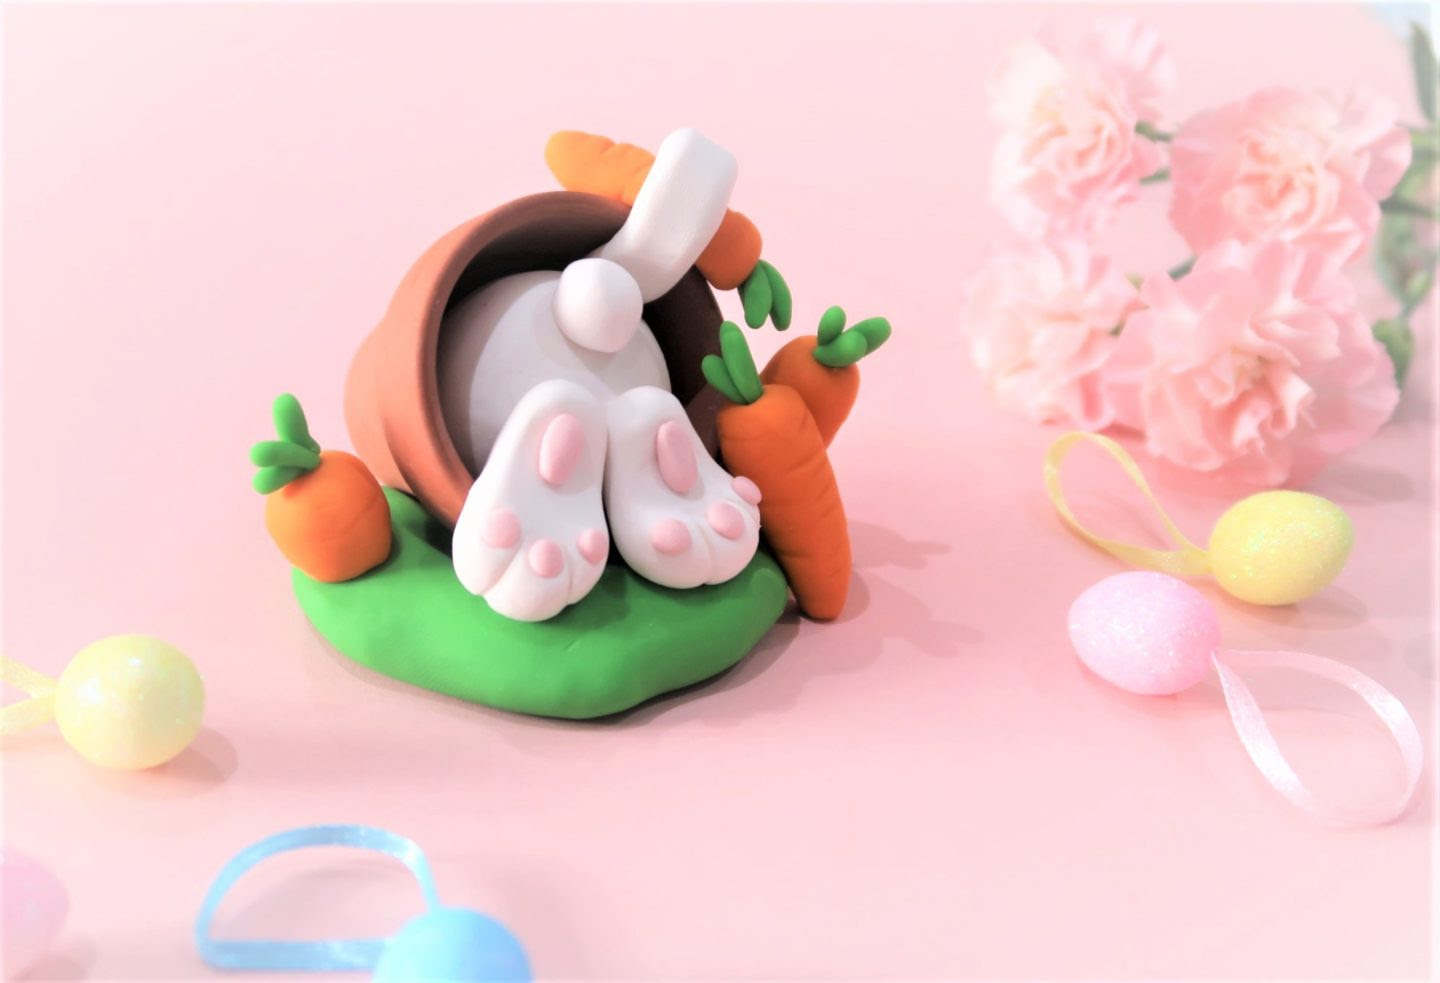
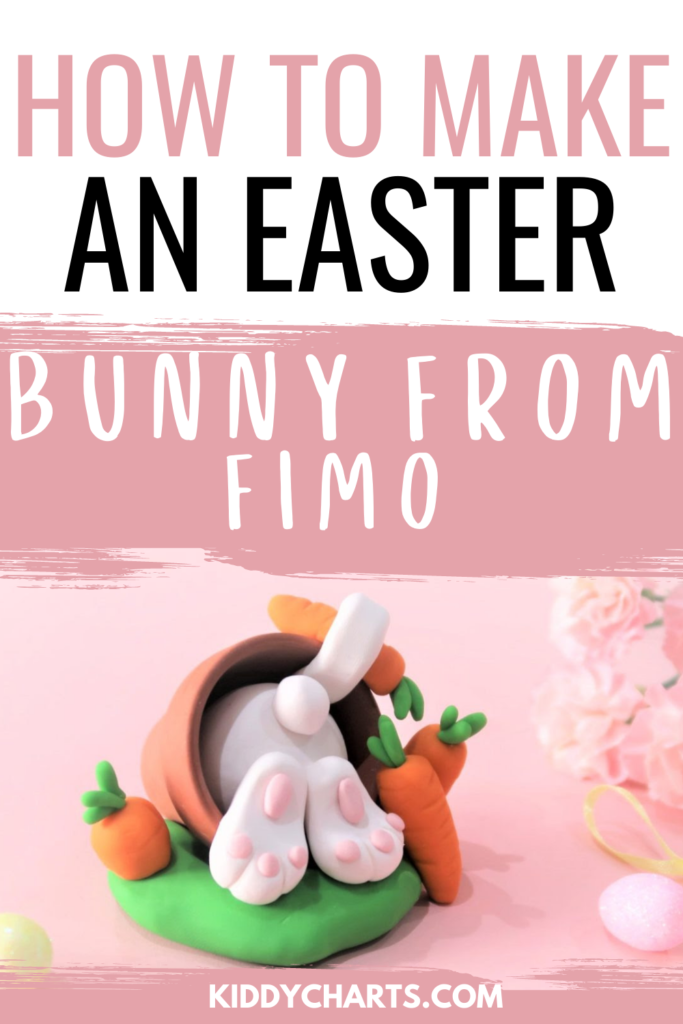
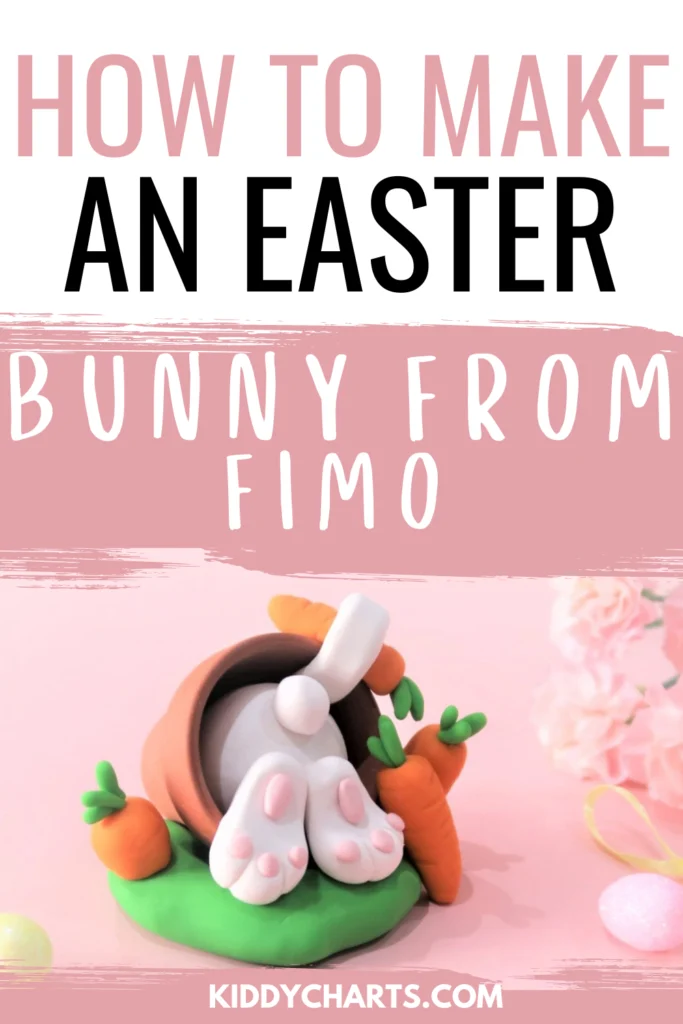
I made this cake topper for an Easter cake with my daughter a few years ago and it’s so cute and easy to do I thought I would put together a tutorial.
Equipment:
The great thing about polymer clay is that there are very few specialist tools that you actually need. Sure I have some tools that I have picked up on the way but honestly, wooden toothpicks and the barrel of my craft knife are what I use day to day!

For this project you will need
- Wooden toothpick,
- Something to roll the clay. Ideally an acrylic roller but a clean drinks can would work. Anything smooth,
- 1 miniature terracotta plant pot (you can find these in craft stores and online for around £1),
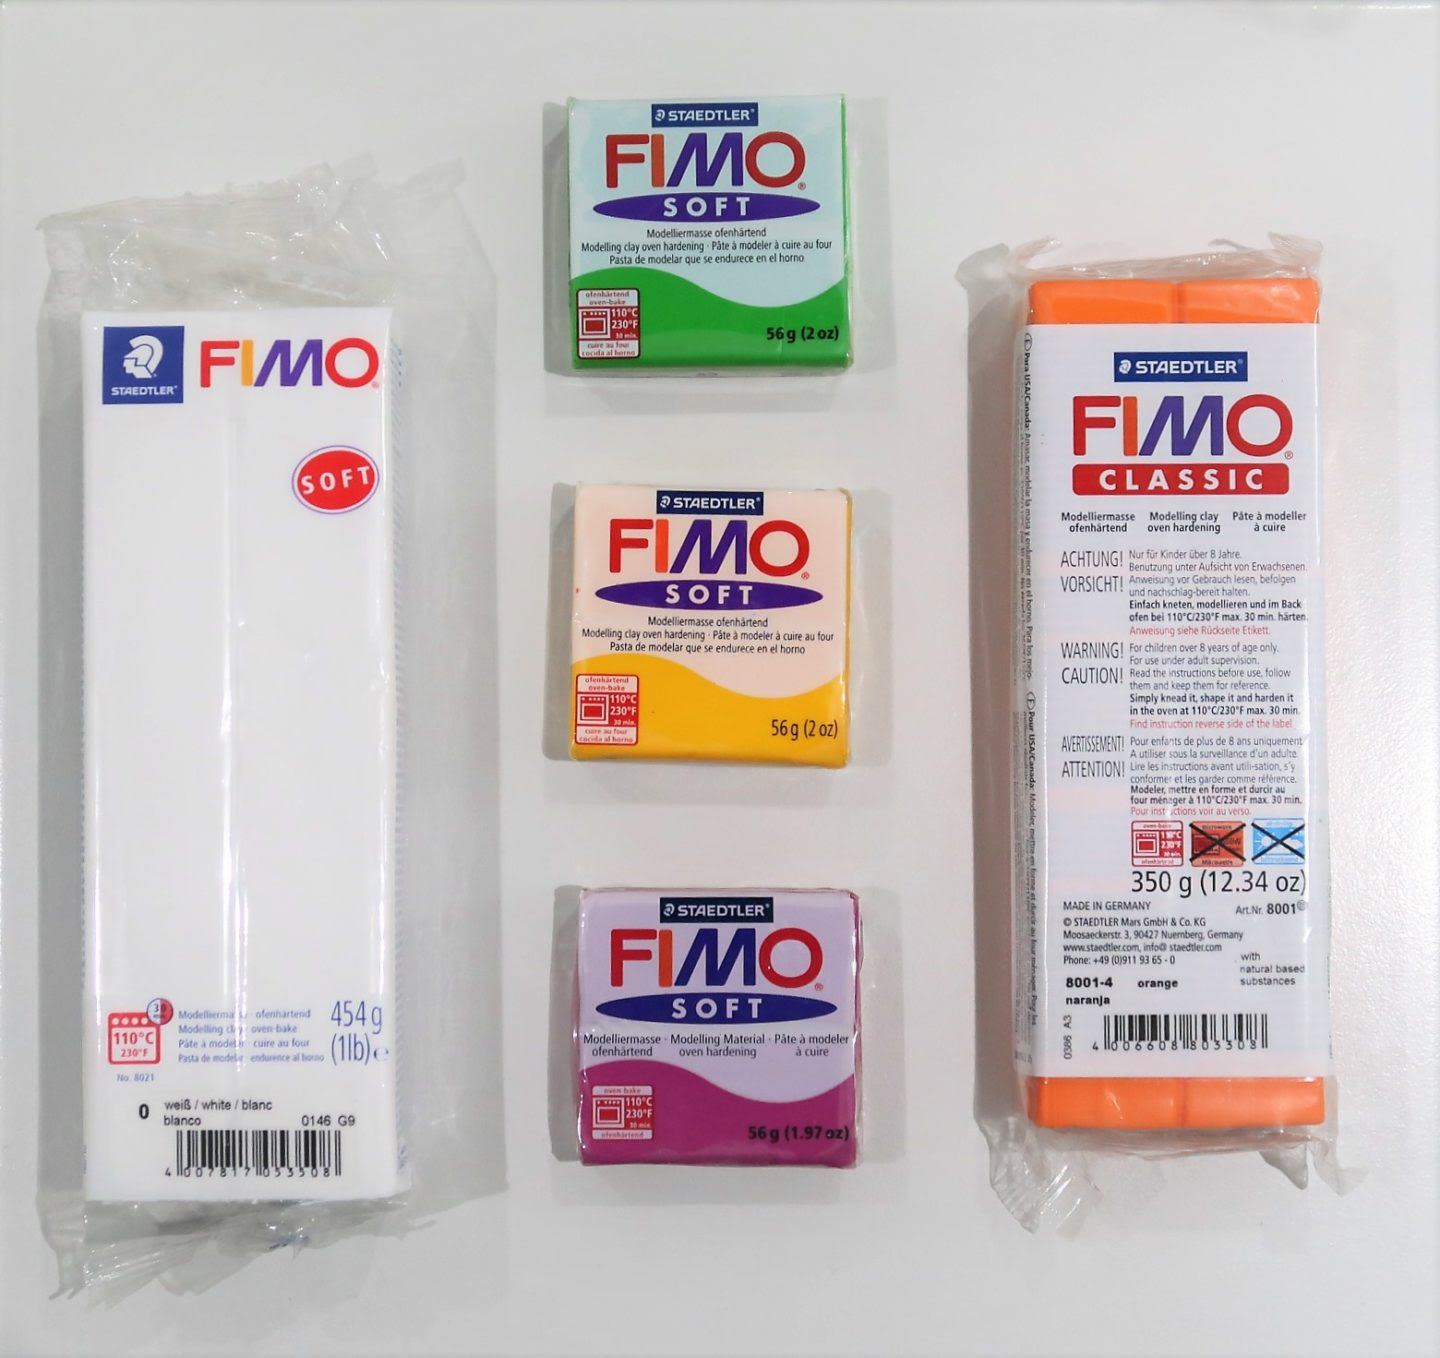
- Fimo soft white,
- Fimo soft violet,
- Fimo soft orange,
- Fimo soft tropical green, and
- Fimo soft yellow.
How to make it.

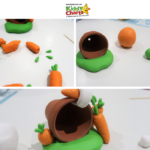
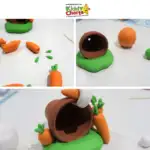
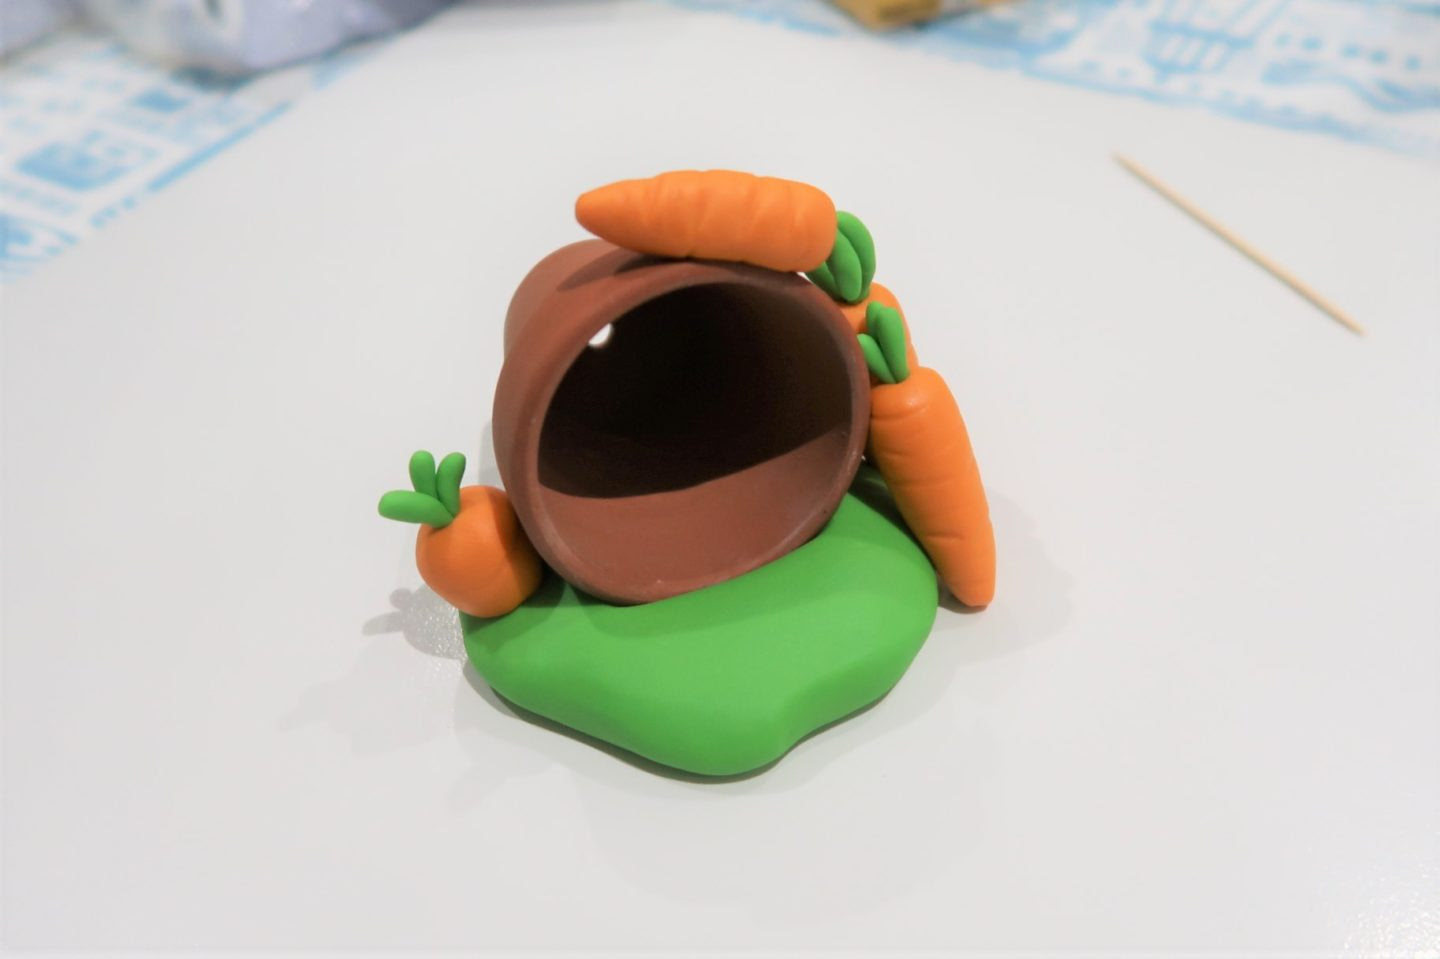
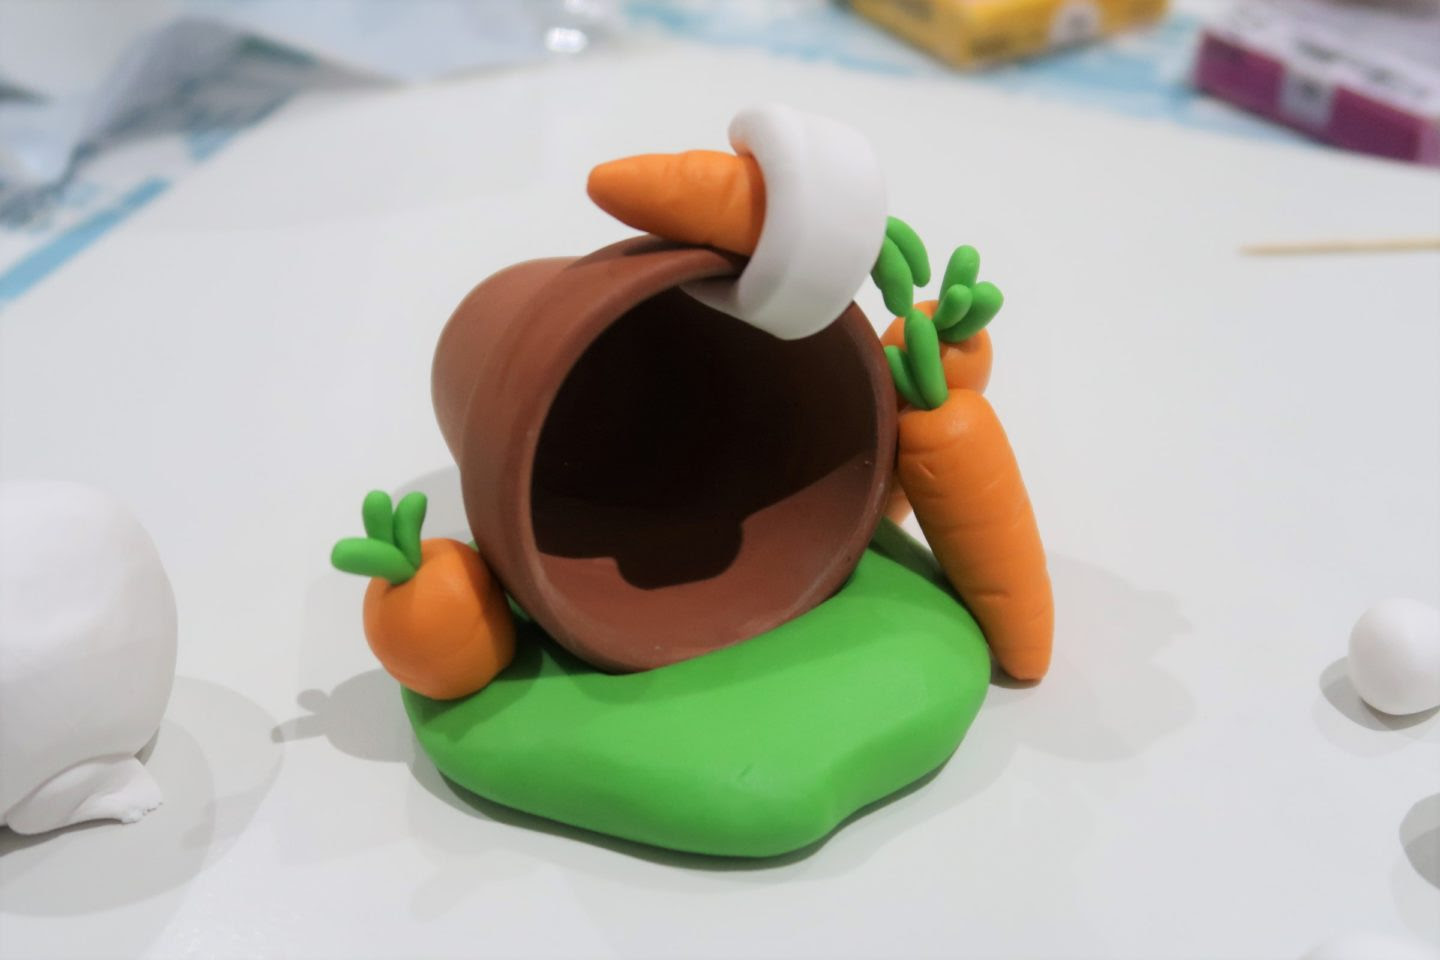
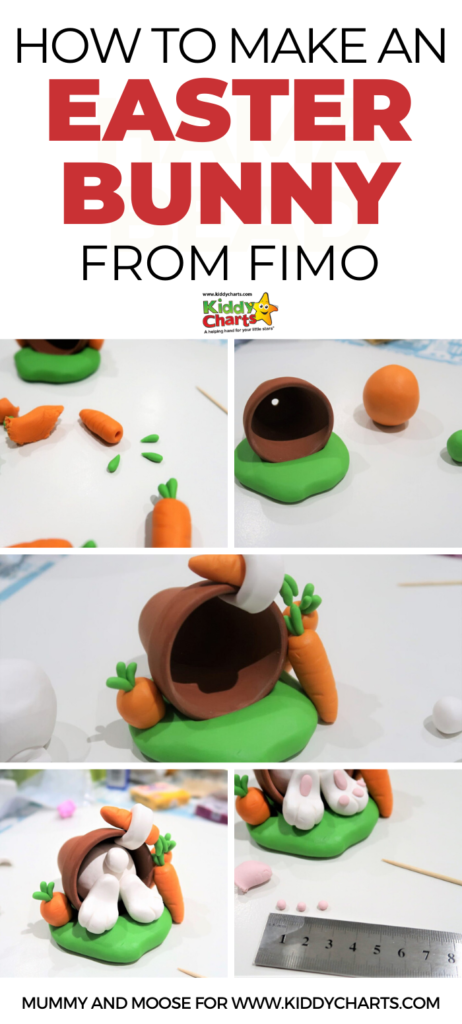
You should start by making the base for the topper. You will need to condition and roll a ball of green clay approx 4cm wide. You should roll a ball of orange around the same size and then a ball of the green clay about half this size.
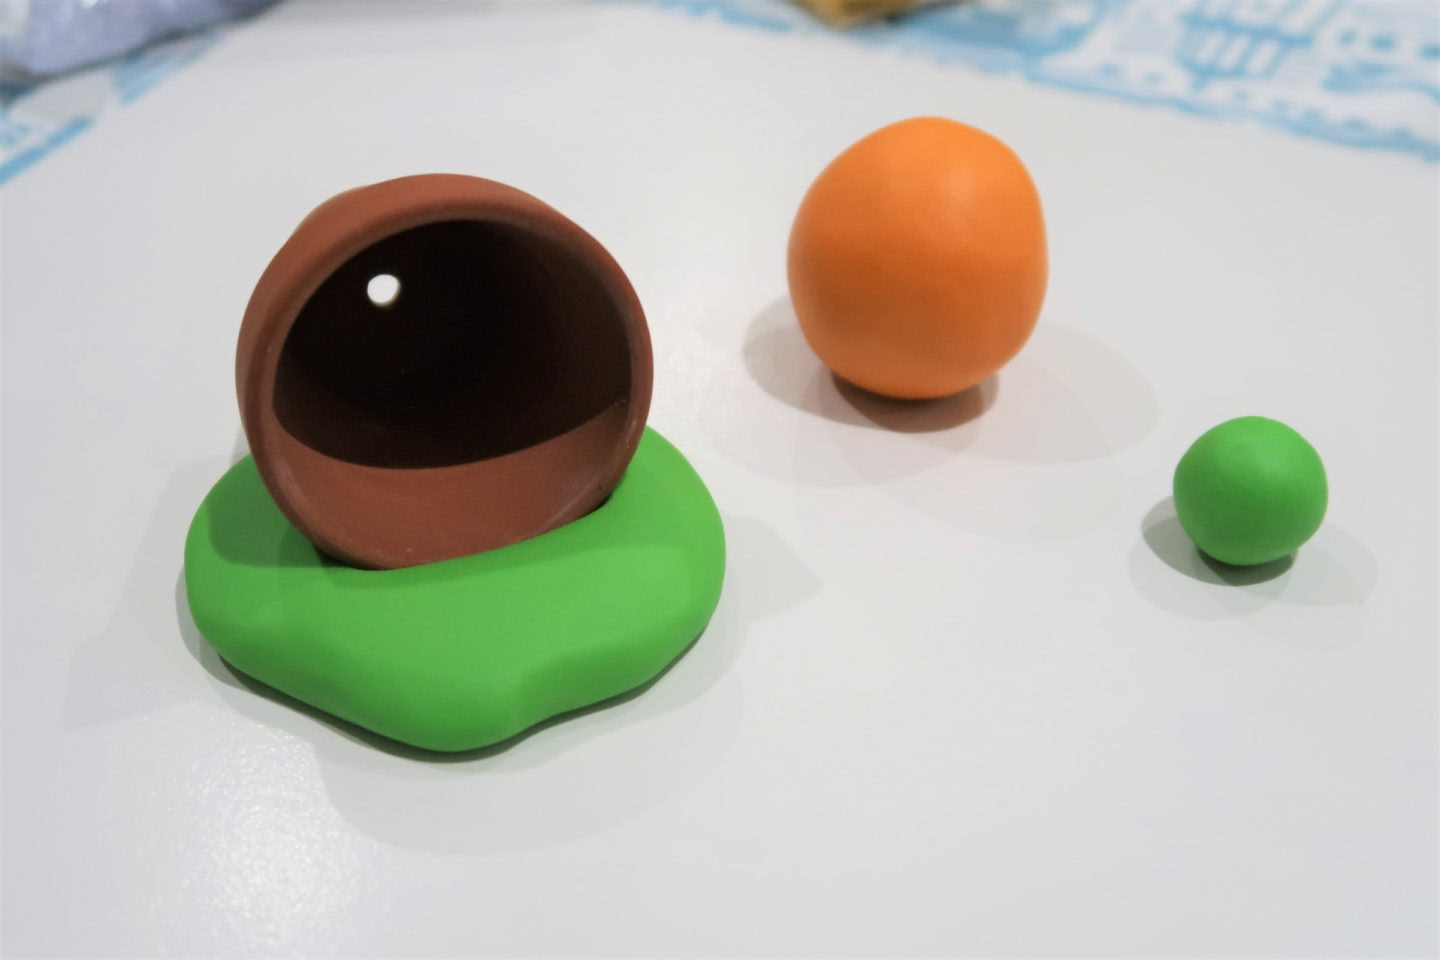
Once you have conditioned your larger ball of green clay and you have rolled it into a ball, squish it into a flatter shape. There is no exact science to this. The only rule really is that your mini plant pot should be able to be pushed into the clay with enough left to make the figure stable on standing. You can make it as big as you like if, say, you want to add other Fimo decoration to it.
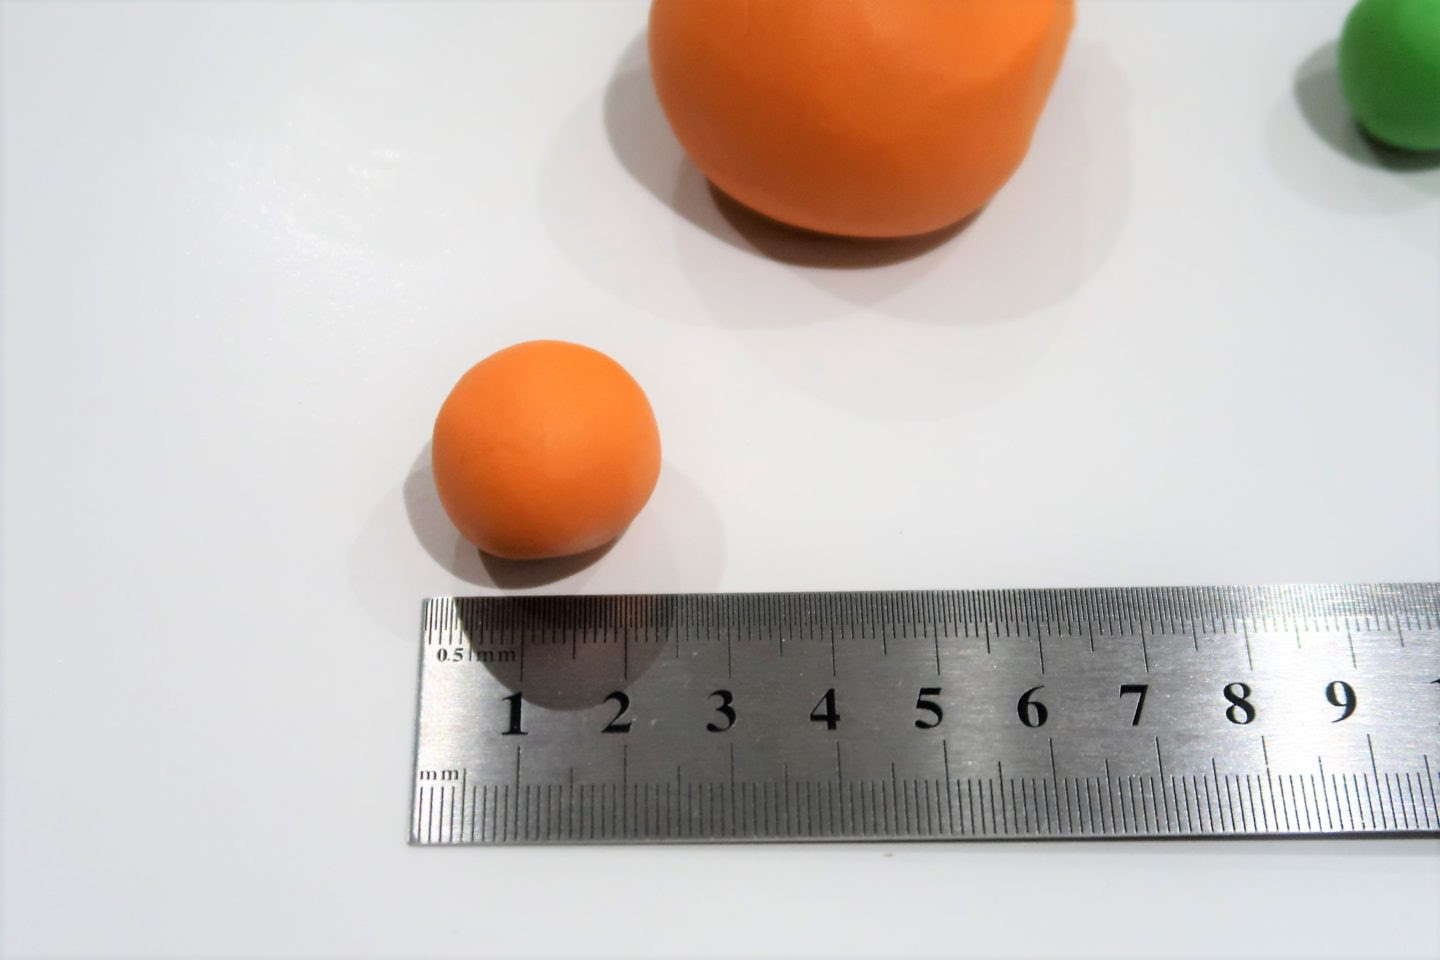
After your have made your base it’s time to add some carrots! condition your orange clay again and break off small chunks for your carrot. The photo shows the size I used but this is your model so do what feels right. You can make your carrots larger or smaller depending on your tastes!
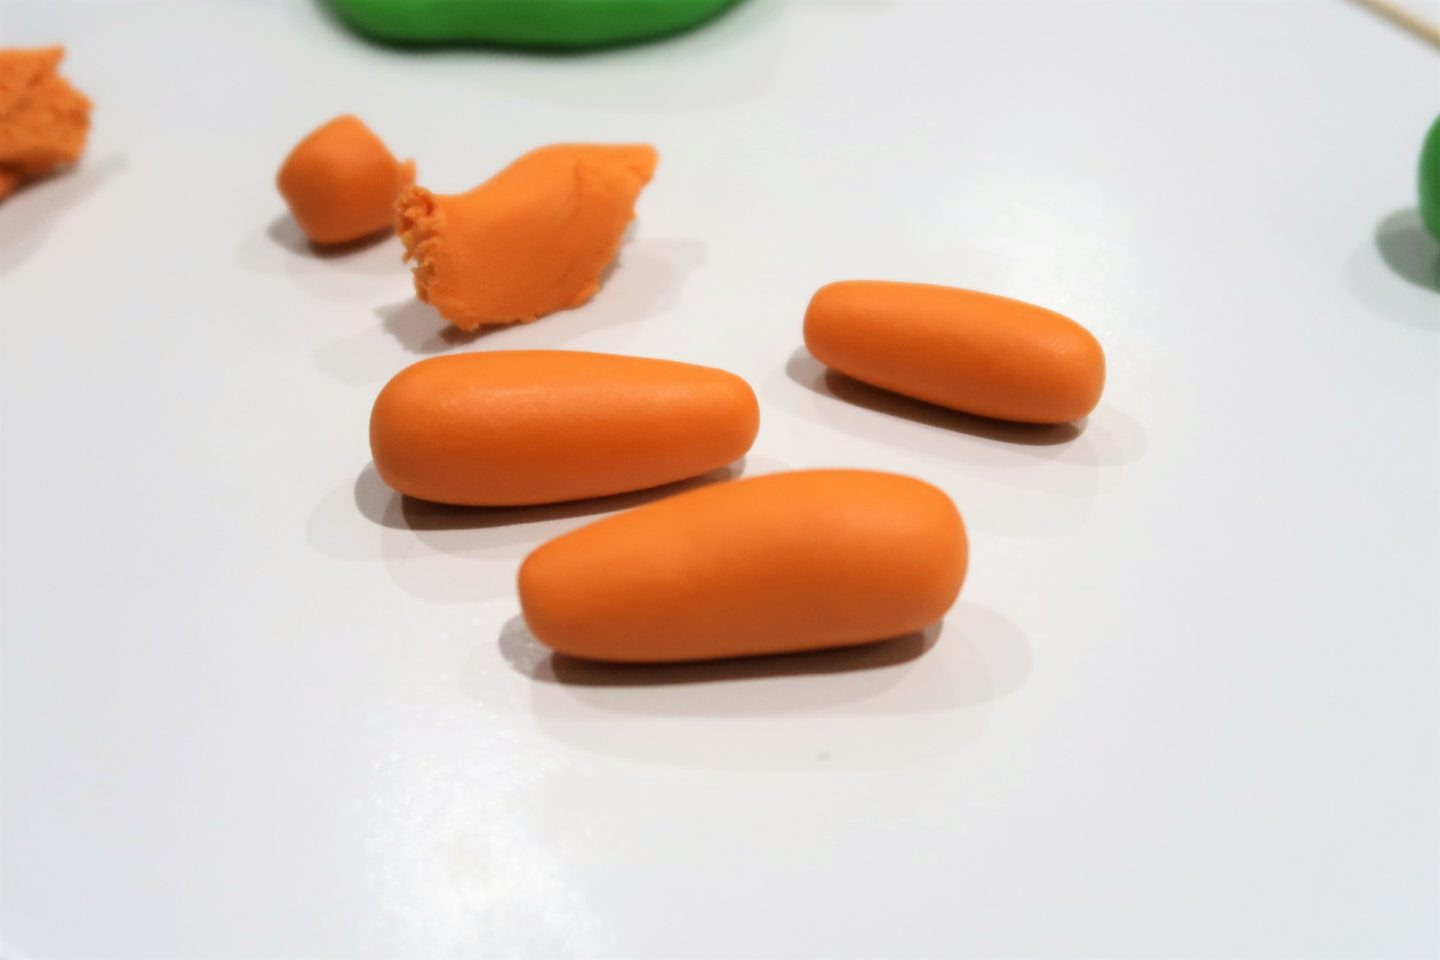
Roll your smaller pieces of orange clay into carrot shapes
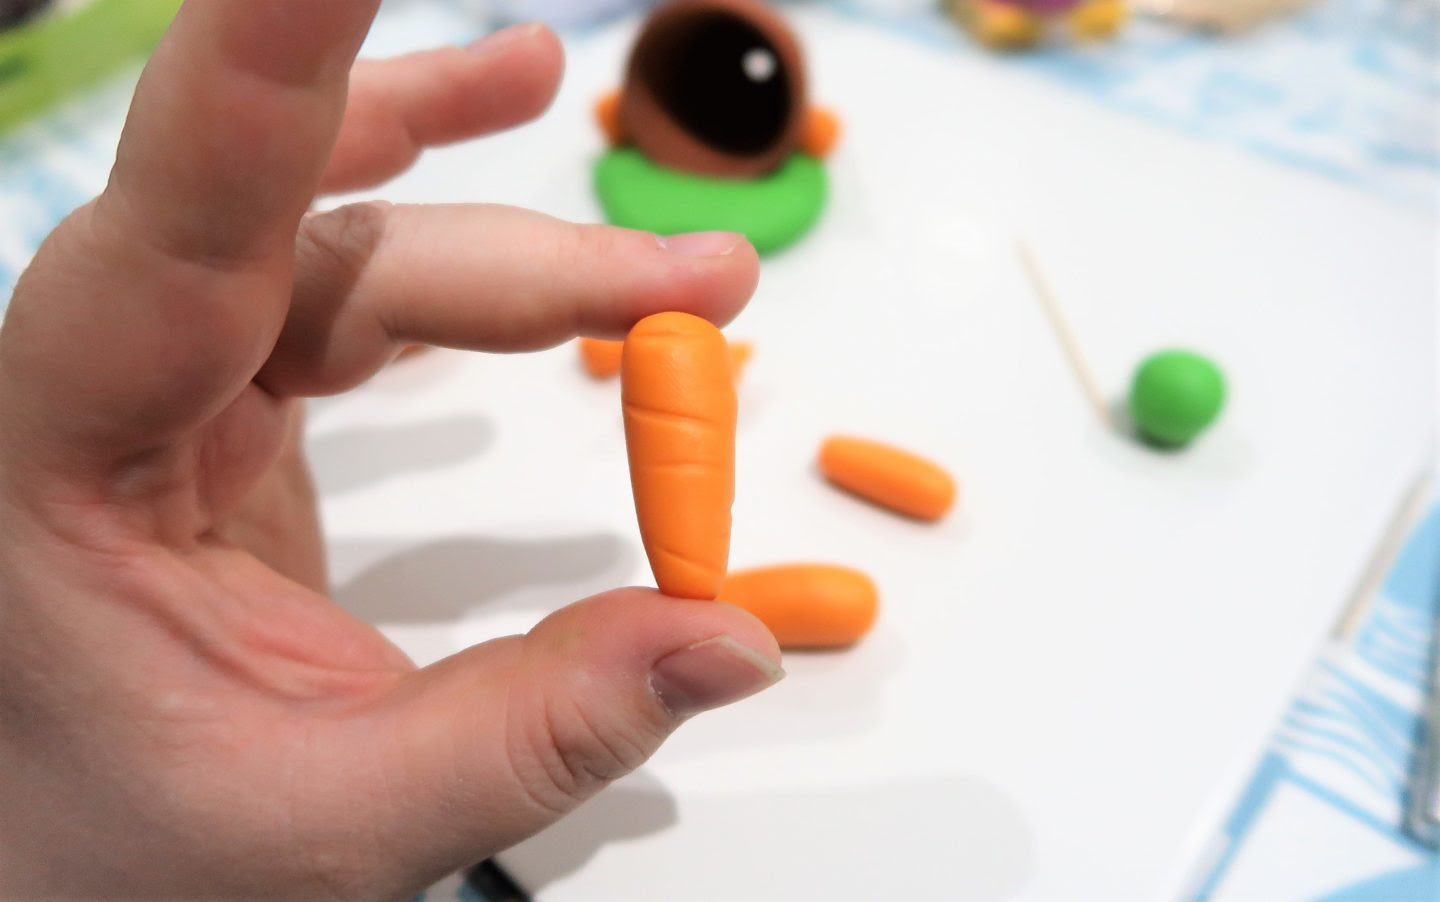
Now you need to make those shapes a little more carroty! Take your toothpick and make indentations in the clay.
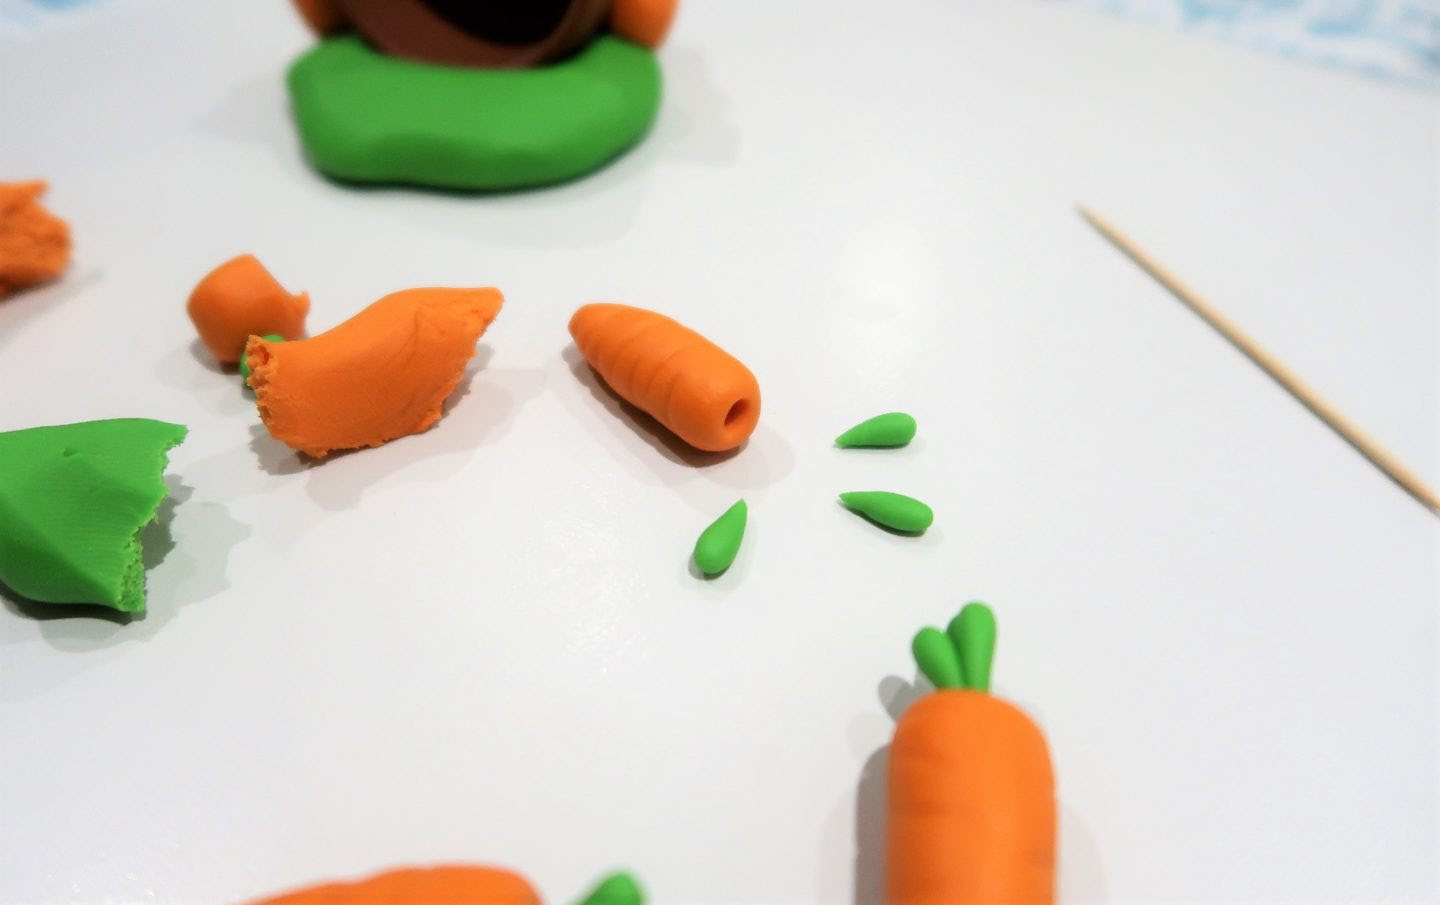
I think the carrots look better with a bit of greenery on top so I made a little hole in the top of the carrot with my toothpick and popped a few teardrop shaped pieces of green clay in there.
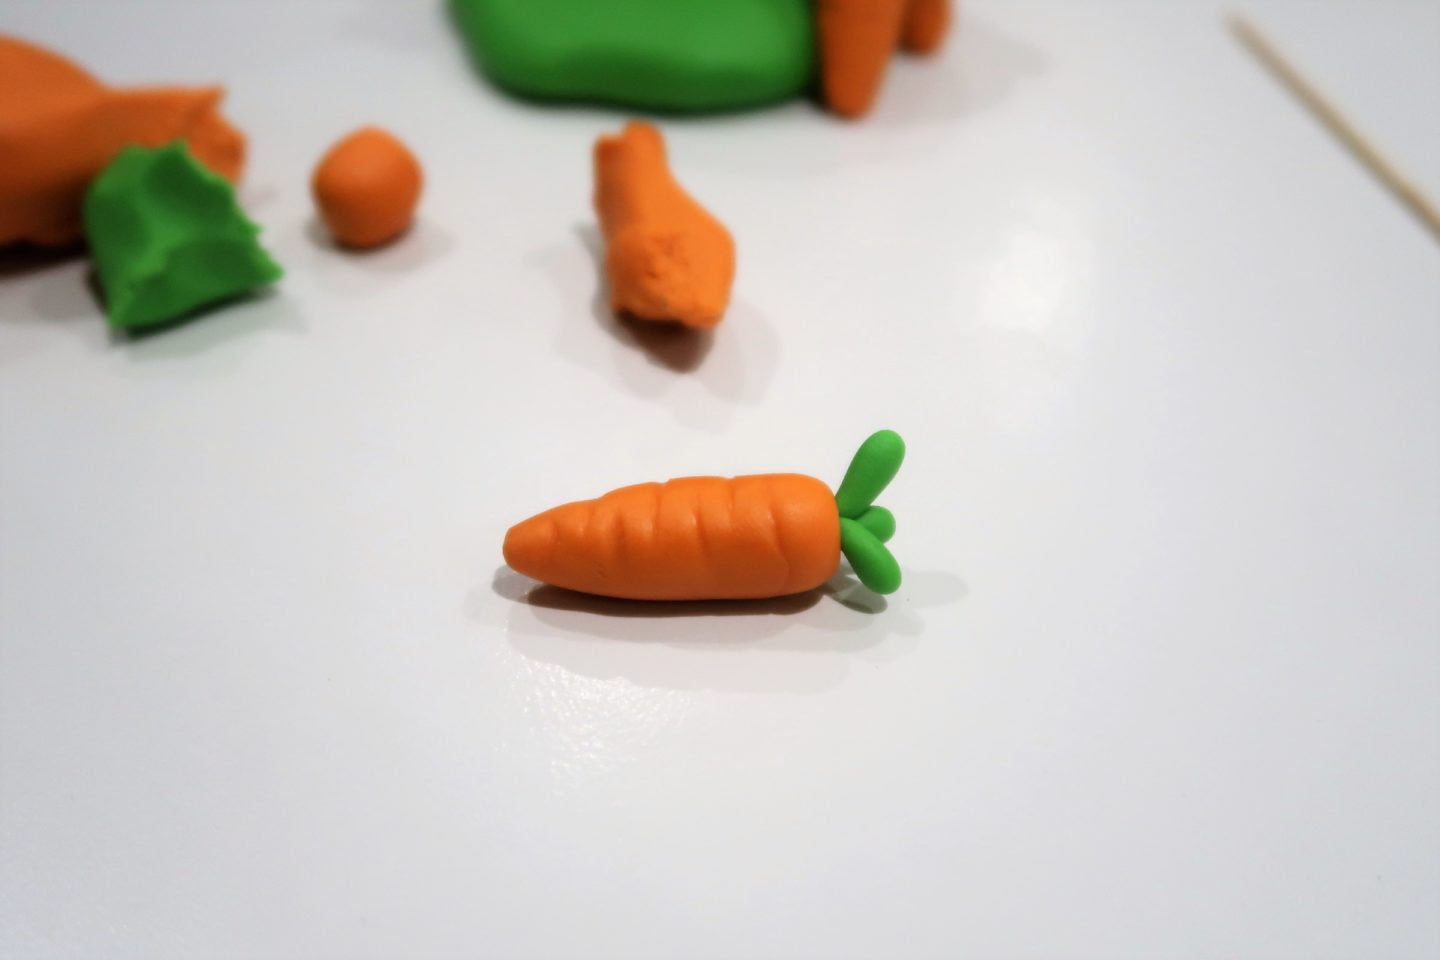
There you have it! 1 Carrot. You can make as many or as few as you like, I went with 4 this time.
There are 2 schools of thought when it comes to polymer clay. You could, if you wanted to, bake your model at this point. Leaving you free to finish it later.
I didn’t want to do that but you could, if the mood took you.
Now that you have your base and carrots, it’s time to add the bunny.
Polymer clay colour transfer is a sad thing so make sure to scrub your hands thoroughly before you touch white clay.
Pro tip: dry your hands on a tea towel rather than a regular towel and have a piece of spare (white) clay to smoosh to prevent any bits of dust or whatever getting onto your model.
Firstly. Roll a white ball around 2cm into a thick sausage shape and flatten a little to form the bunny’s arm. Mold this to the plant pot.
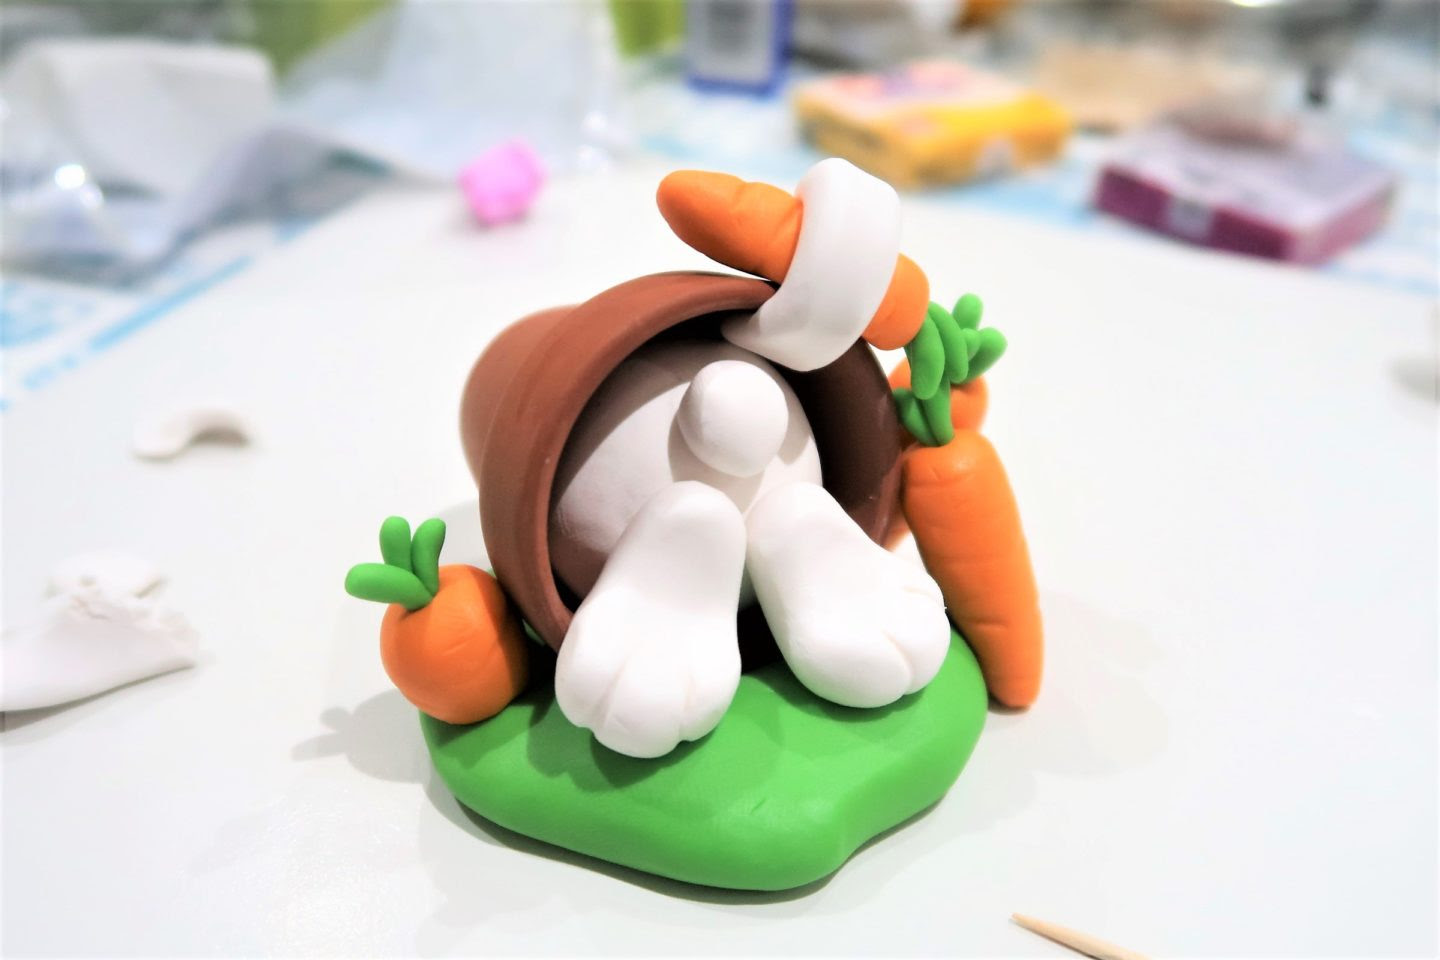
Next up, roll a larger ball of white clay approx 5cm across. This is to be placed inside the plant pot and will be the bunny’s body. You can then add a small ball of white clay for the bunny’s tail and 2 feet. Use your toothpick to make the indentations on the feet.
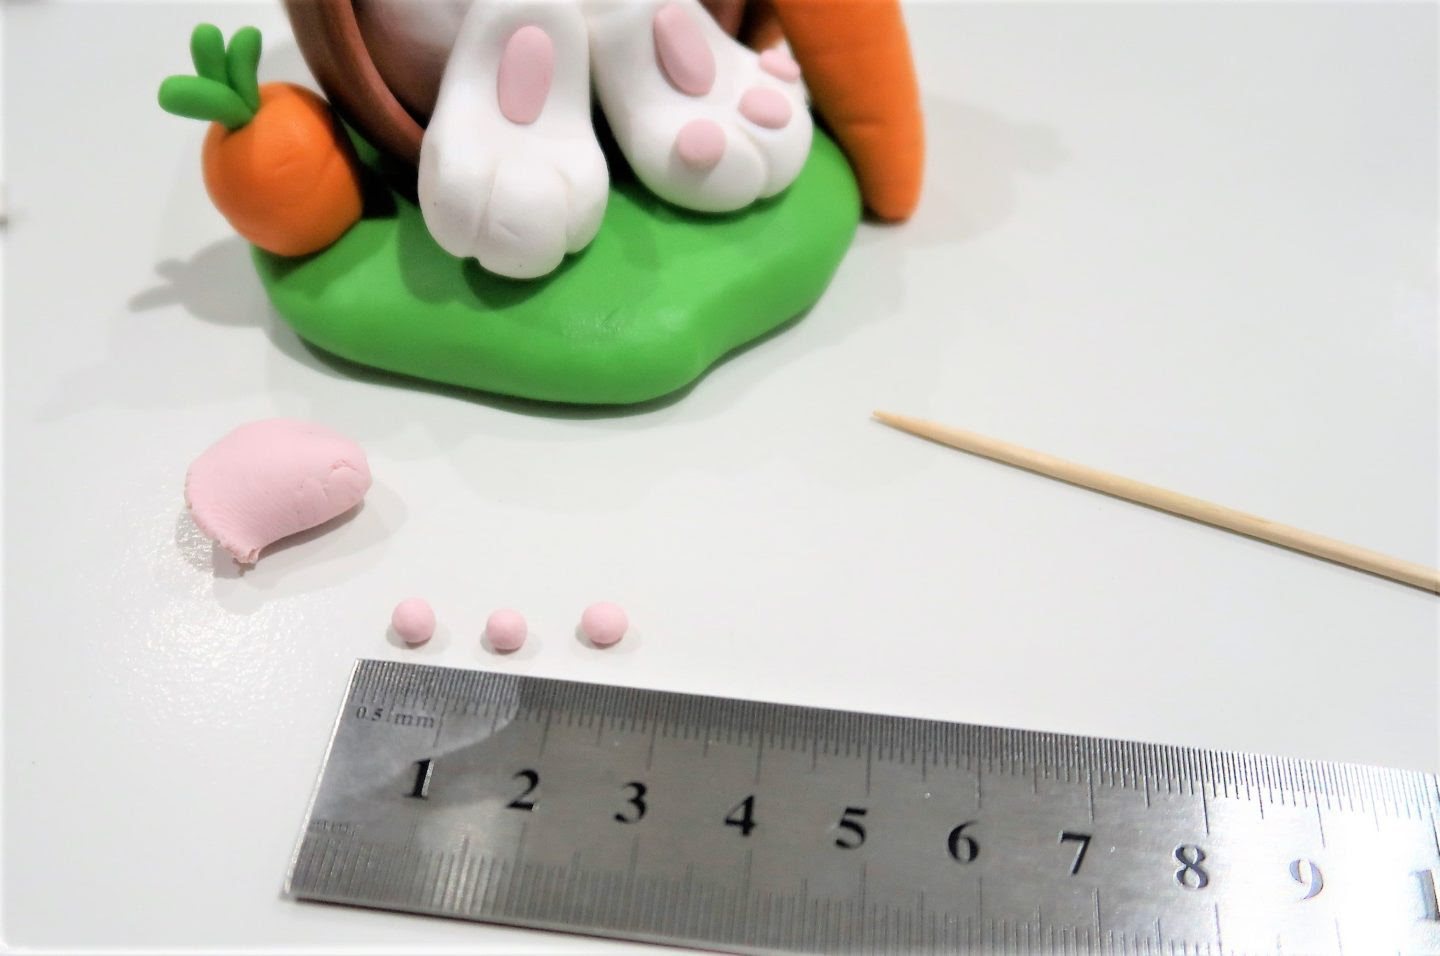
The last thing to do is add pads to the bunnys feet. You don’t have to do this but I think it adds a nice little touch. Your’s could be any colour you like! Roll small balls of violet mixed with white Fimo and flatten them to make the pads. I used 1 slightly larger and then 3 smaller balls for my model.
How to bake
When you have finished your Fimo model you will need to bake it in order to harden the clay and keep it forever! Use a sturdy baking tray and place your model on a sheet of foil or paper. I use paper. Fimo clay should be baked in an empty oven at 110°C/230°F for around 45 minutes. Once baked, leave the model to cool before handling.
We know you will agree that this is a fantastic craft for you to do with your kids – you will need to supervise the younger ones of course, and it might not look quite like the above pictures; but who cares? So much fun to be had, and what a gorgeous little Easter Bunny as well!
Don’t forget to sign up to our newsletter (weekly) for more fun and games, and loads of free printables and activities. We aim to give you one a week of course.
If you want to take a look at some of the other Easter activities on the site, then do take a look at these as well.
Easter ideas from the site
If you want more great ideas for Easter activities then we've got loads for you here. Take your pick!
Easter Activities for Kids
As many Easter activities as we can find from the blog all in one place!


Easter dinner ideas: Chocolate egg fondant
My favourite choccy treat for Easter - a little more complicated than some but well worth it!


Easter egg hunt printables for fab chocolate fun
Our gorgeous Easter Eagg hunt printables. These are just the best fun with the kids.


Easter egg adult and kids coloring pages
Easter egg adult and kids colouring pages. Why can't you have fun with Easter too?
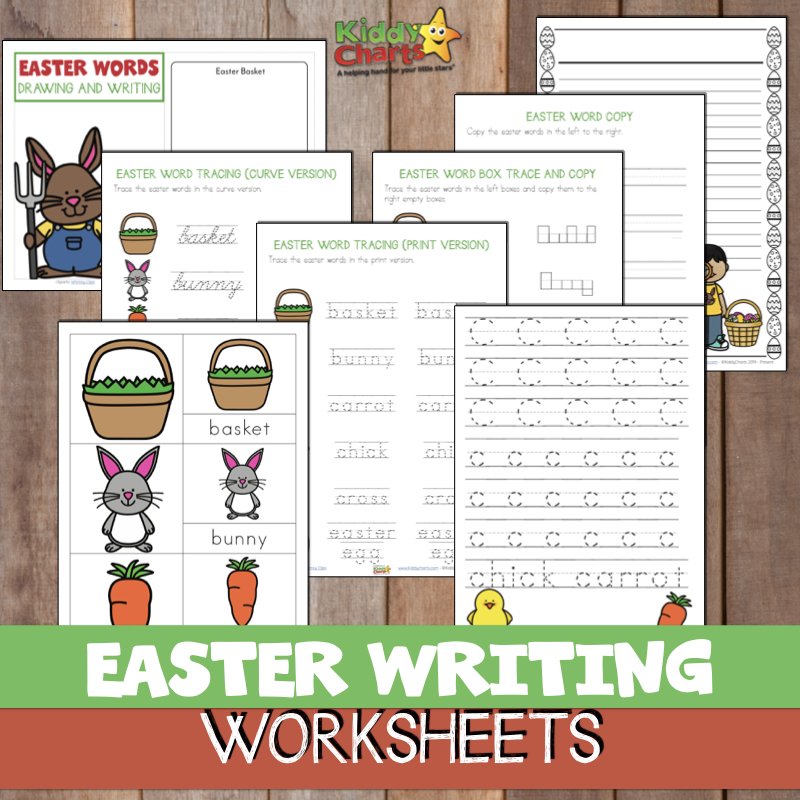

Easter writing worksheets and eBook
Some writing sheets for Easter for the kids - includes prompts and a letter to the Easter Bunny too.


50 Easter printables to crack you up
Some great Eater printables from all over the t-interwebs.
Thanks so much as always for popping by.
Take care,
Helen

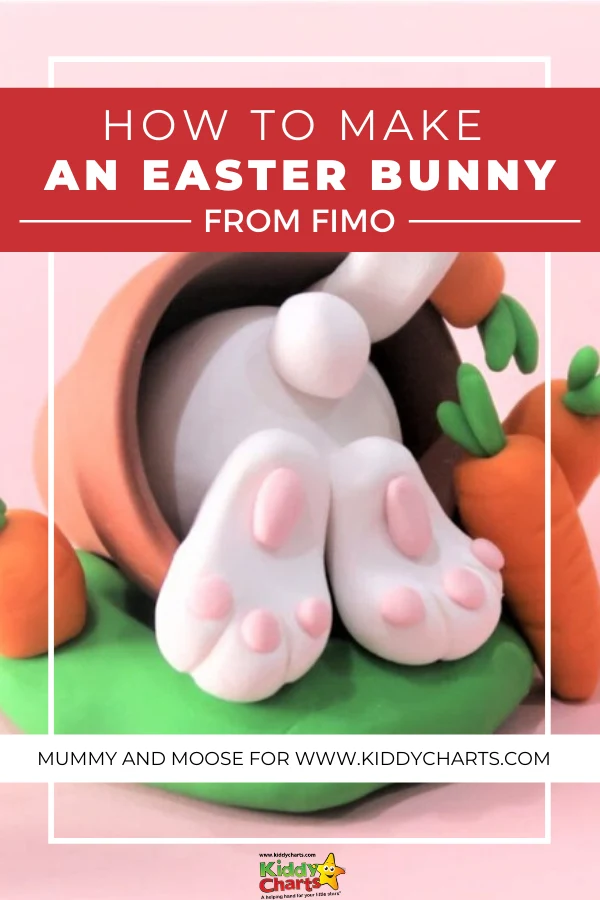
Pin It For Later!
Natasha Dewdney
Established in 2012, 'Mummy B' was a way of keeping special note of special memories it has now grown into something more than just another "mummy blog". Blogger, Kay hopes to capture modern day family life in the UK whilst producing useful content for like-minded mums. With a strong emphasis on wellbeing and mindfulness, Kay prides herself on a 'honest picture' of motherhood. As well as blogging, Kay is also a secondary school art teacher and enjoys being able to bring the two together in her content.
You can also find her on social here: